The Applications of 3D Printing in Theatre and Entertainment
Bachelor of Arts in Theatre Design and Technology — Capstone Research Project, University of New Hampshire, Fall 2021 / Spring 2022. Faculty Advisor: Szu-Feng Chen.
From Theatre to Cybersecurity
My orginal degree is in Theatre Design and Technology, but I have always been as interested in computers as I was in the live event production. The two interests coexisted throughout college — the 3D printing research on this page is a direct product of that overlap.
Graduating in 2021 during the tail end of COVID made the usual path into theatre work difficult. Live production had been gutted for two years, venues were still recovering, and entry-level positions in technical theatre were scarce. Sitting with a degree and a set of technical and problem-solving skills but limited options in my field, I turned toward what I had always been drawn to: computers and technology.
The transition was more natural than it might look on paper. Theatre technology builds habits that carry directly into IT — reading documentation, diagnosing problems , building and maintaining equipment under pressure, and communicating technical constraints to non-technical people. I leaned into those transferable skills, taught myself the foundations of networking and systems administration, and landed my first IT role. From there the path into cybersecurity followed.
The capstone research below represents where those two worlds genuinely met. It is the project I am most proud of from my time at UNH, and it reflects the mindset I still bring to technical work today.
Project Files
| 📄 Research Paper | Download DOCX |
| 📊 Presentation Slides | Download PPTX |
| 🎬 Video Presentation | Watch on UNH Media |
Background
This research started as an independent study with my advisor and grew into a presentation at Naked Arts — the creative arts division of the UNH Undergraduate Research Conference — and ultimately into my senior capstone project. The question driving it was simple: how can 3D printing be practically applied to theatre and entertainment, and what does a department like UNH THDA need to actually make it work?
To answer that I read through industry articles, visited local print shops, interviewed a technical director actively using the technology in production, and did the printing myself — learning what works, what fails, and what it costs in time and money.
What Is 3D Printing?
3D printing is a family of rapid prototyping methods that build objects layer by layer from digital models. The market exploded after key patents expired around 2007, and today there are two types that matter most for theatre:
FDM (Fused Deposition Modeling) is the most accessible. A heated nozzle extrudes plastic filament in layers on a build plate. Most affordable desktop printers use this method.
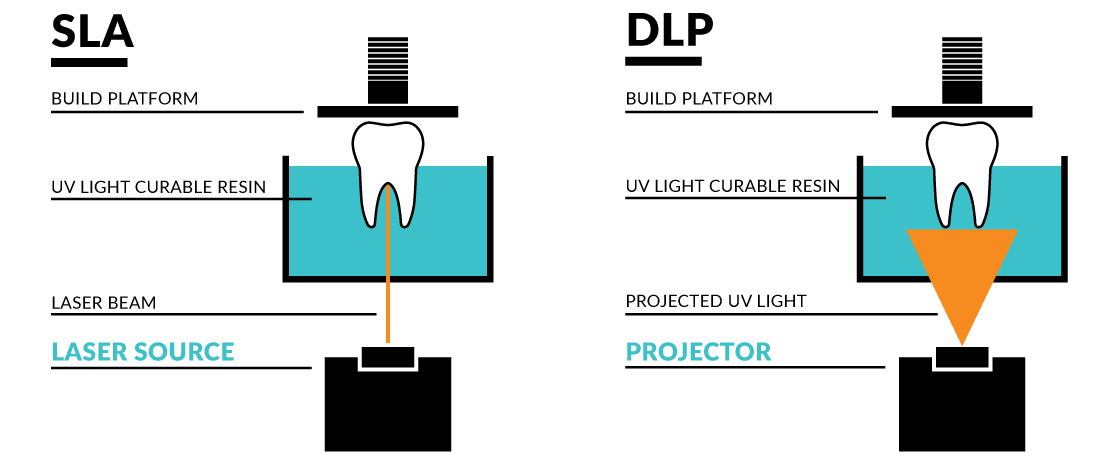
SLA / MSLA (Stereolithography / Masked SLA) uses UV light to cure liquid resin layer by layer. Far higher detail than FDM, but messier, slower to post-process, and more expensive per part.
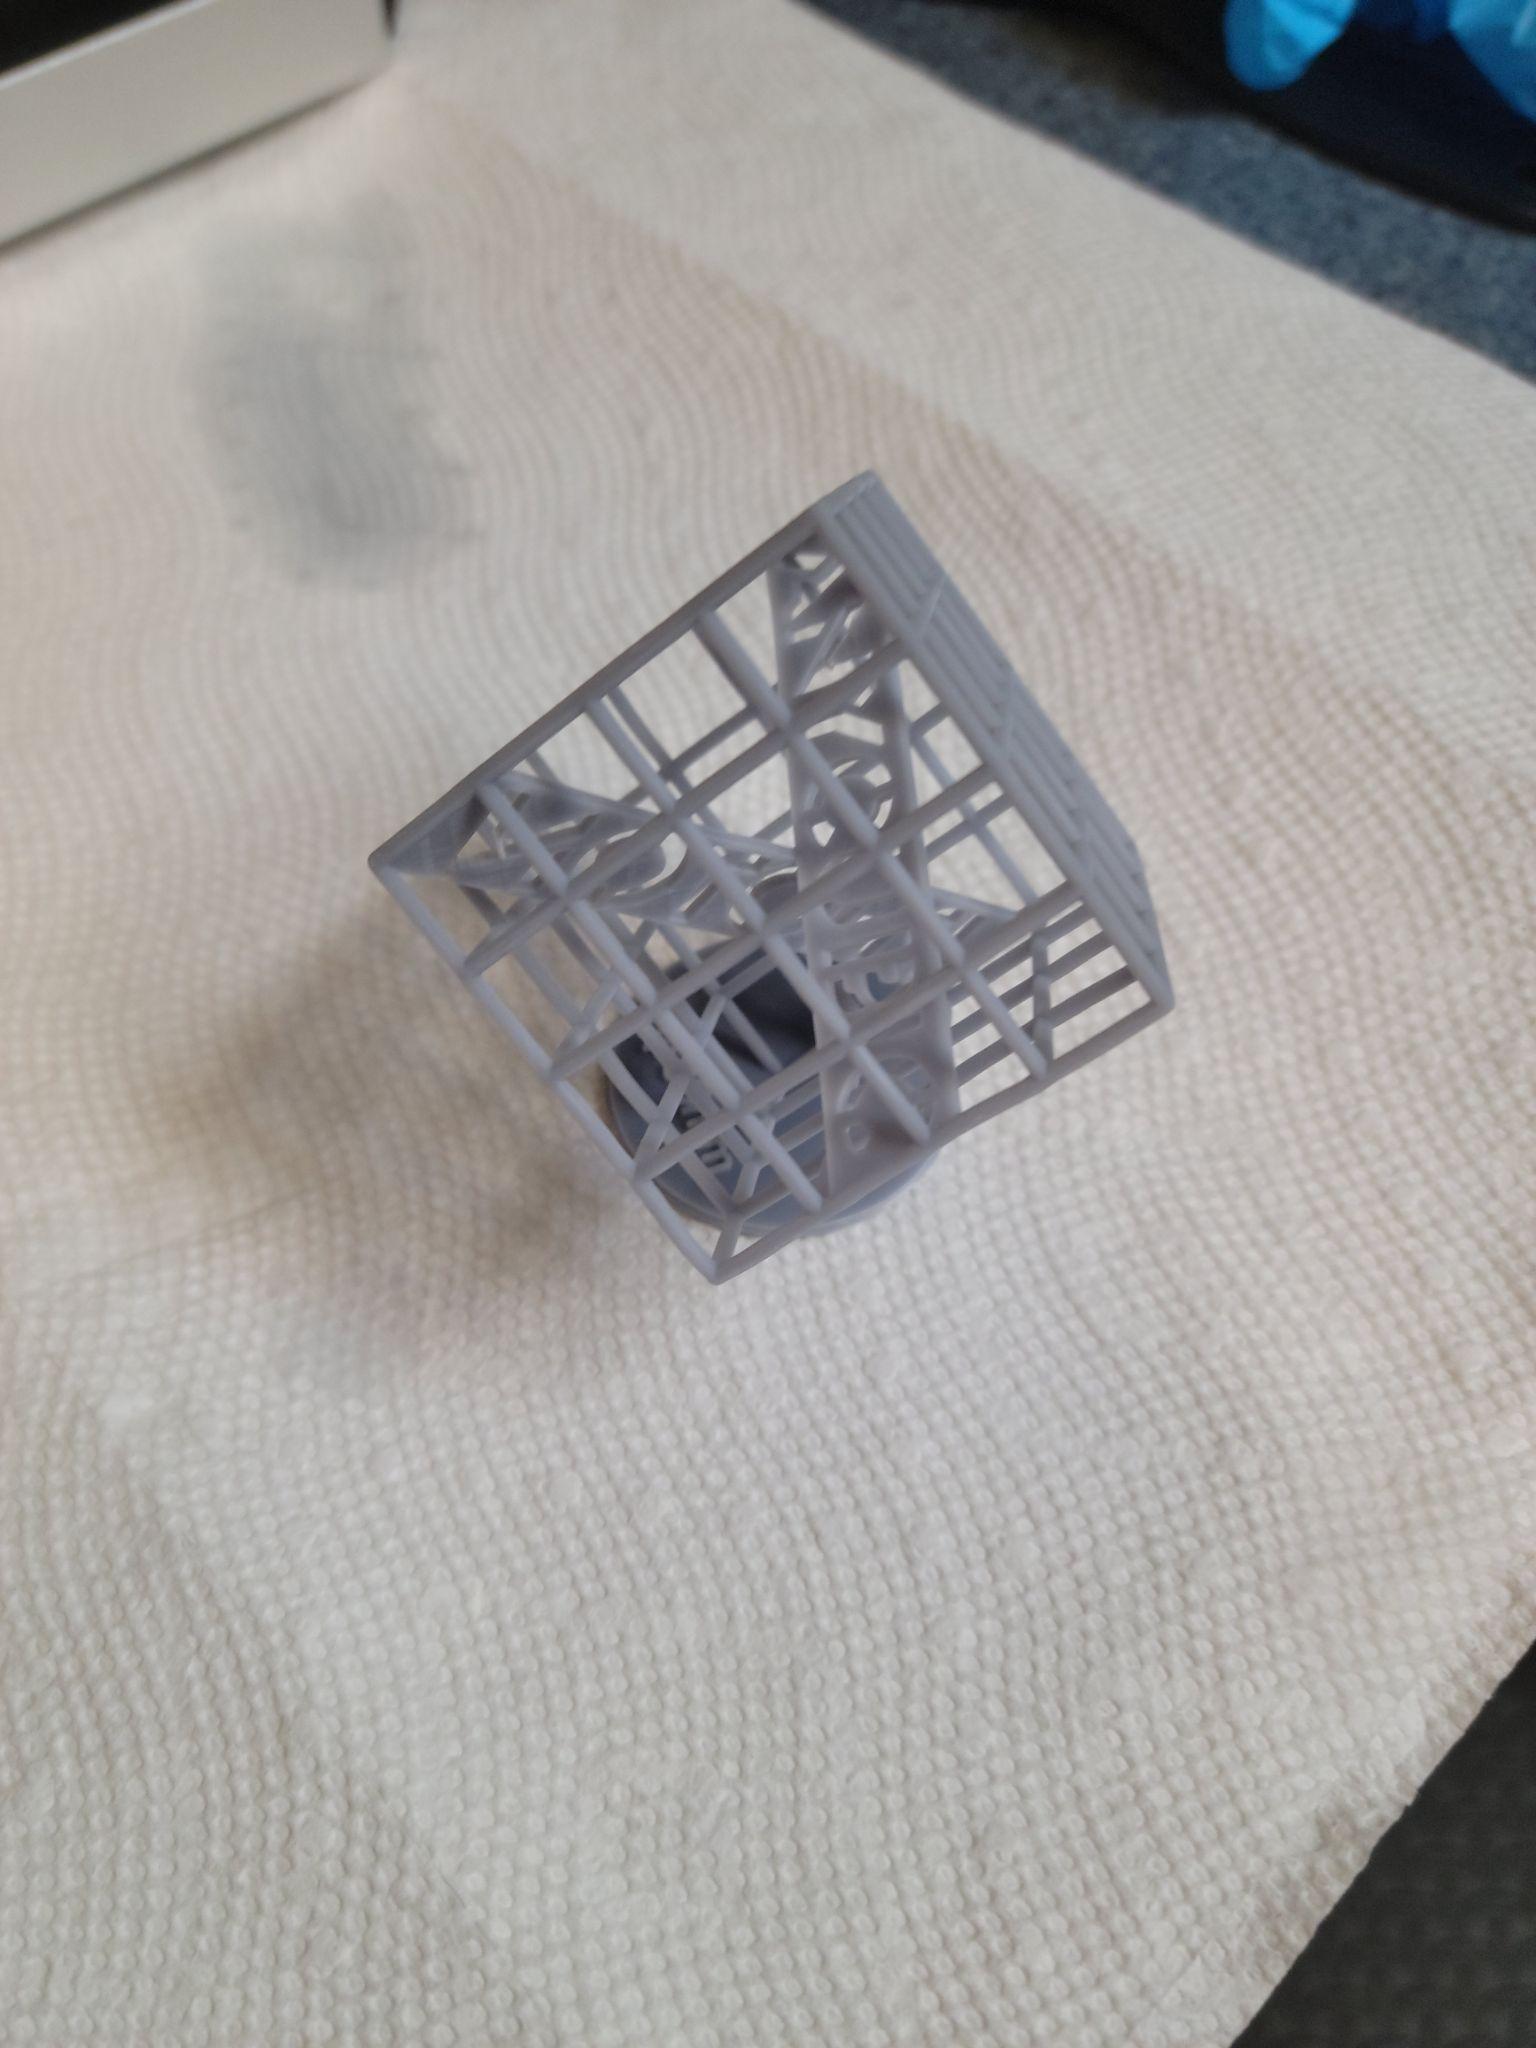
A sample print from an SLA resin printer, showing the high surface detail achievable with the process
Materials
Choosing the right material is the first decision — it dictates which printer you need, how post-processing works, and what the finished piece can withstand.
| Material | Ease of Print | Toughness | Notable Feature | ~Price |
|---|---|---|---|---|
| PLA | High | Low | Cheap, easy, most common | ~$20/kg |
| ABS | Low | Low–Medium | Heat resistant; toxic fumes, needs enclosure | ~$20/kg |
| PETG | Medium | Upper Medium | Stronger than PLA, similar print behavior | ~$20/kg |
| Nylon | Low–Medium | High | High impact resistance | ~$30/kg |
| TPU | Low | Very High | Flexible | ~$20/kg |
| PC (Polycarbonate) | Low–Medium | High | Easy to post-process | ~$50/kg |
| Resin (SLA) | Difficult | Medium | Extreme surface detail, small layer lines | ~$30/bottle |
A few gotchas worth knowing: ABS dissolves on contact with isopropyl alcohol — useful for smoothing seams, disastrous if you accidentally expose a finished piece. Wood-fill PLA is abrasive and chews through brass nozzles quickly; a hardened steel nozzle is required.
Printers
The printer landscape splits roughly into budget and prosumer tiers.
| Printer | Price | Ease of Use | Type |
|---|---|---|---|
| Creality Ender 3 / Ender 3 Pro | ~$200 | Moderate | FDM |
| Monoprice Mini Select Pro | ~$150 | Easy–Moderate | FDM |
| Qidi Tech X-Max | ~$1,000 | Easy | FDM |
| Ultimaker S5 | ~$6,000 | Easy | FDM |
| Anycubic Photon Mono X | ~$400 | Difficult | SLA (Resin) |
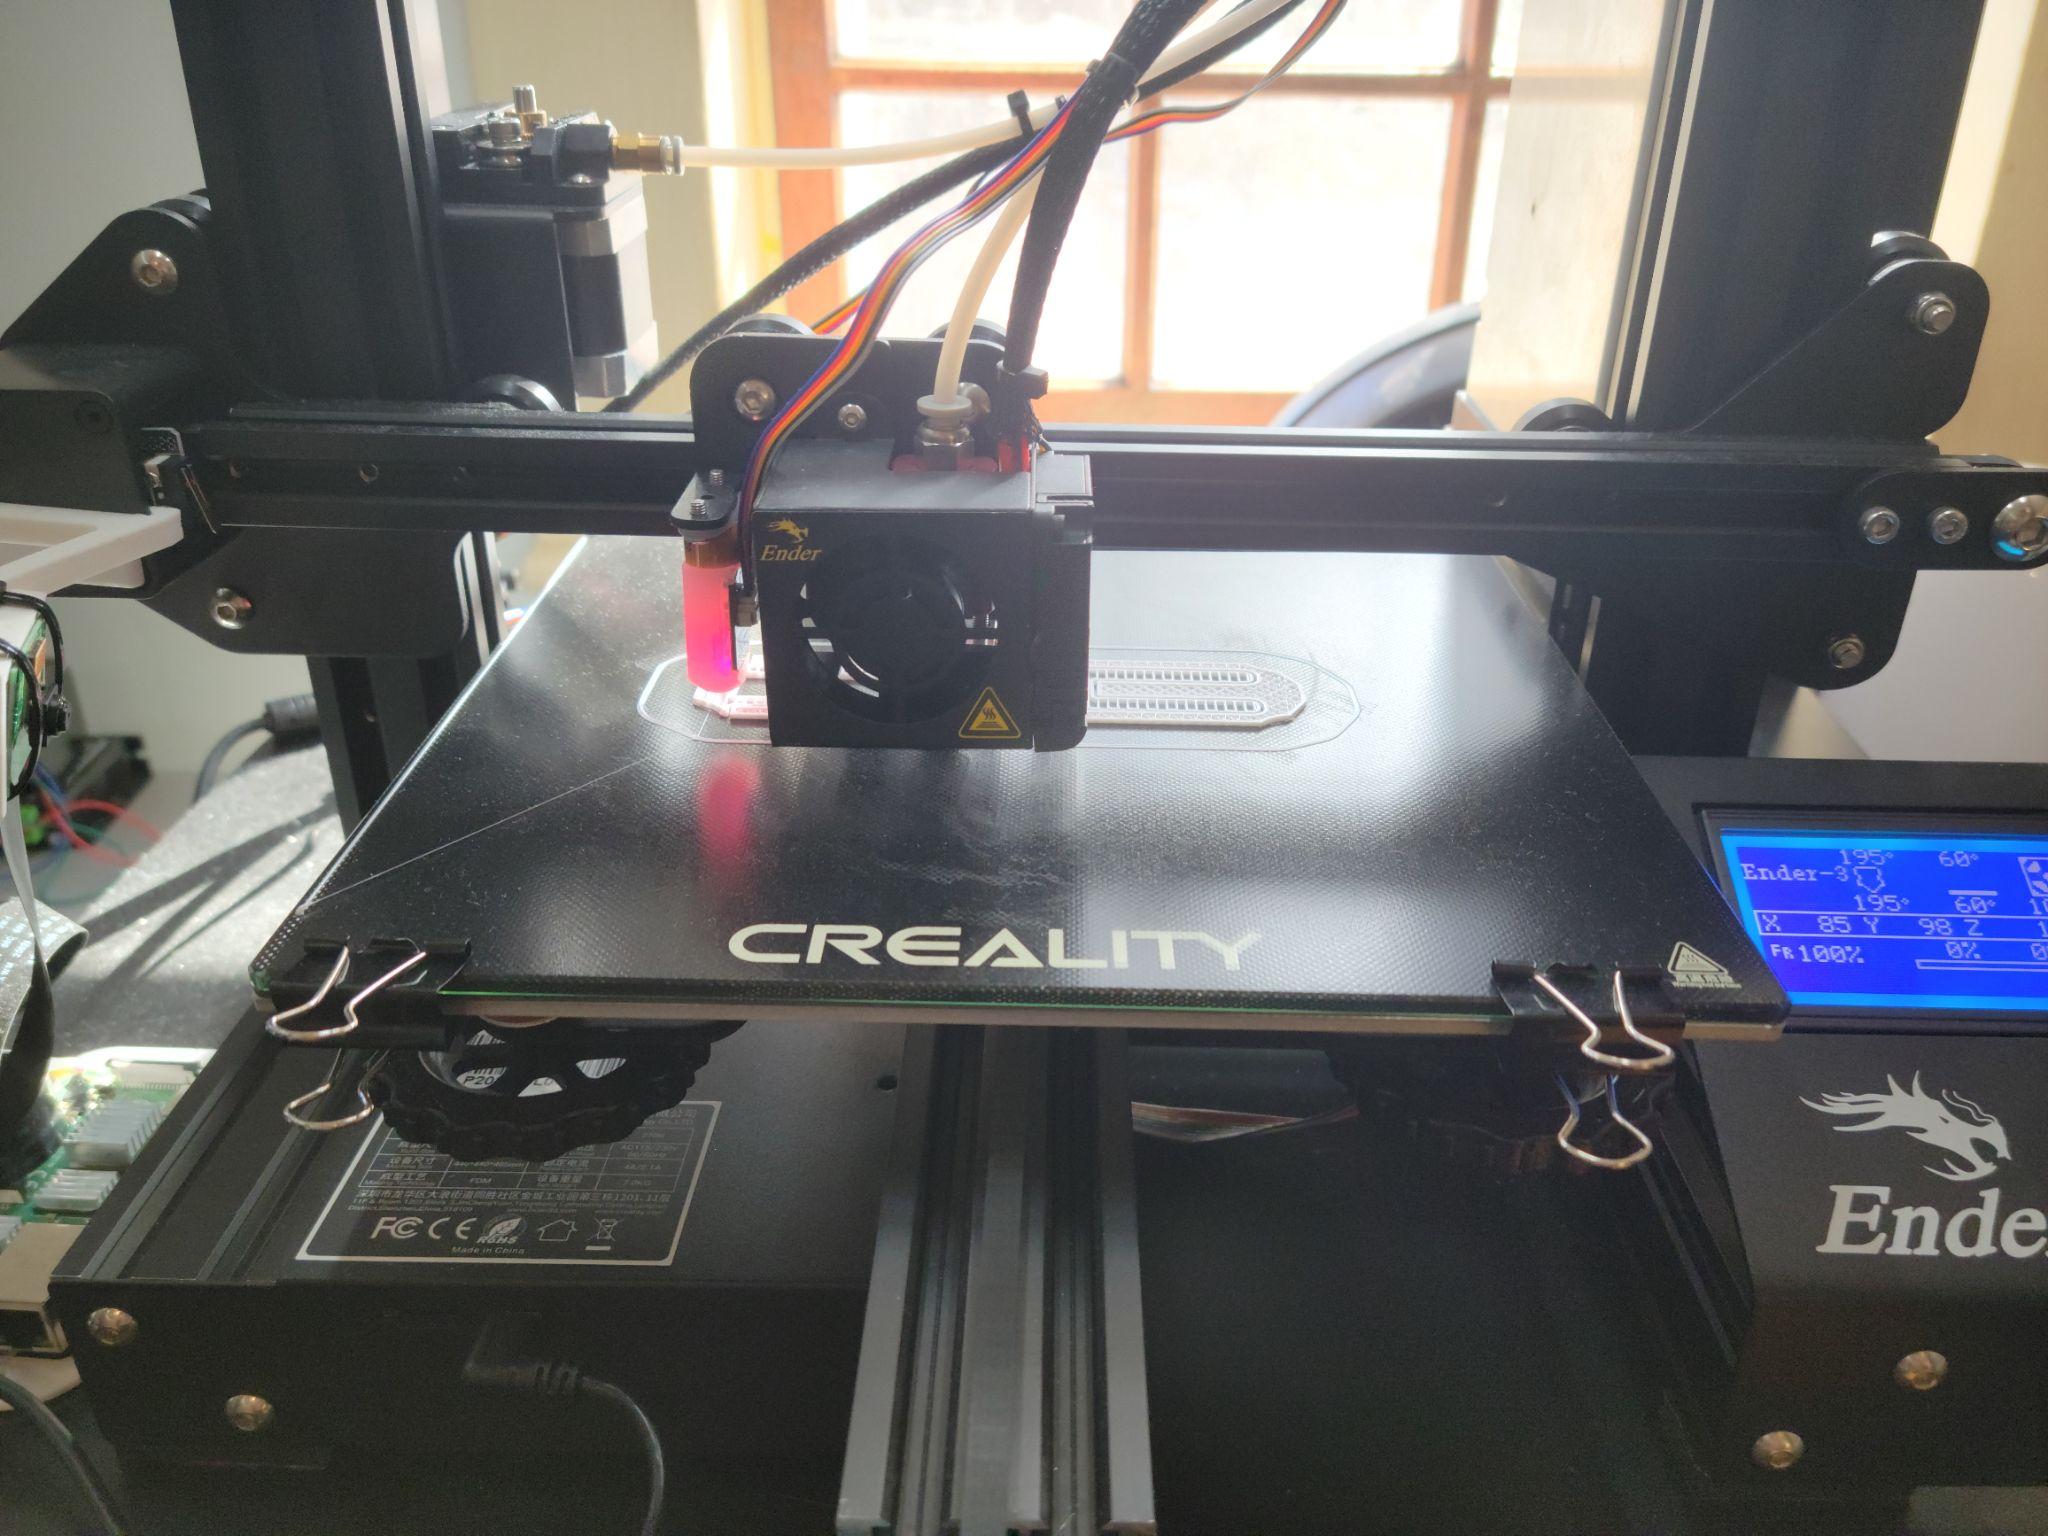
The Creality Ender 3 — the budget FDM workhorse used throughout much of this research
Budget printers like the Ender 3 are fully capable of good prints. They just require more tuning, calibration, and patience — and when they fail, diagnosing the cause takes experience. Higher-end machines come pre-tuned and include features like auto bed leveling and dual extrusion that genuinely reduce babysitting. Whether that’s worth the price difference depends entirely on how the printer will be used.
Comparing mid-range and high-end FDM printer form factors
For resin printing, the Anycubic Photon Mono X was the machine used throughout this research. The SLA process is fundamentally different from FDM — instead of extruding plastic, a UV display panel beneath a resin vat cures each layer from liquid to solid.
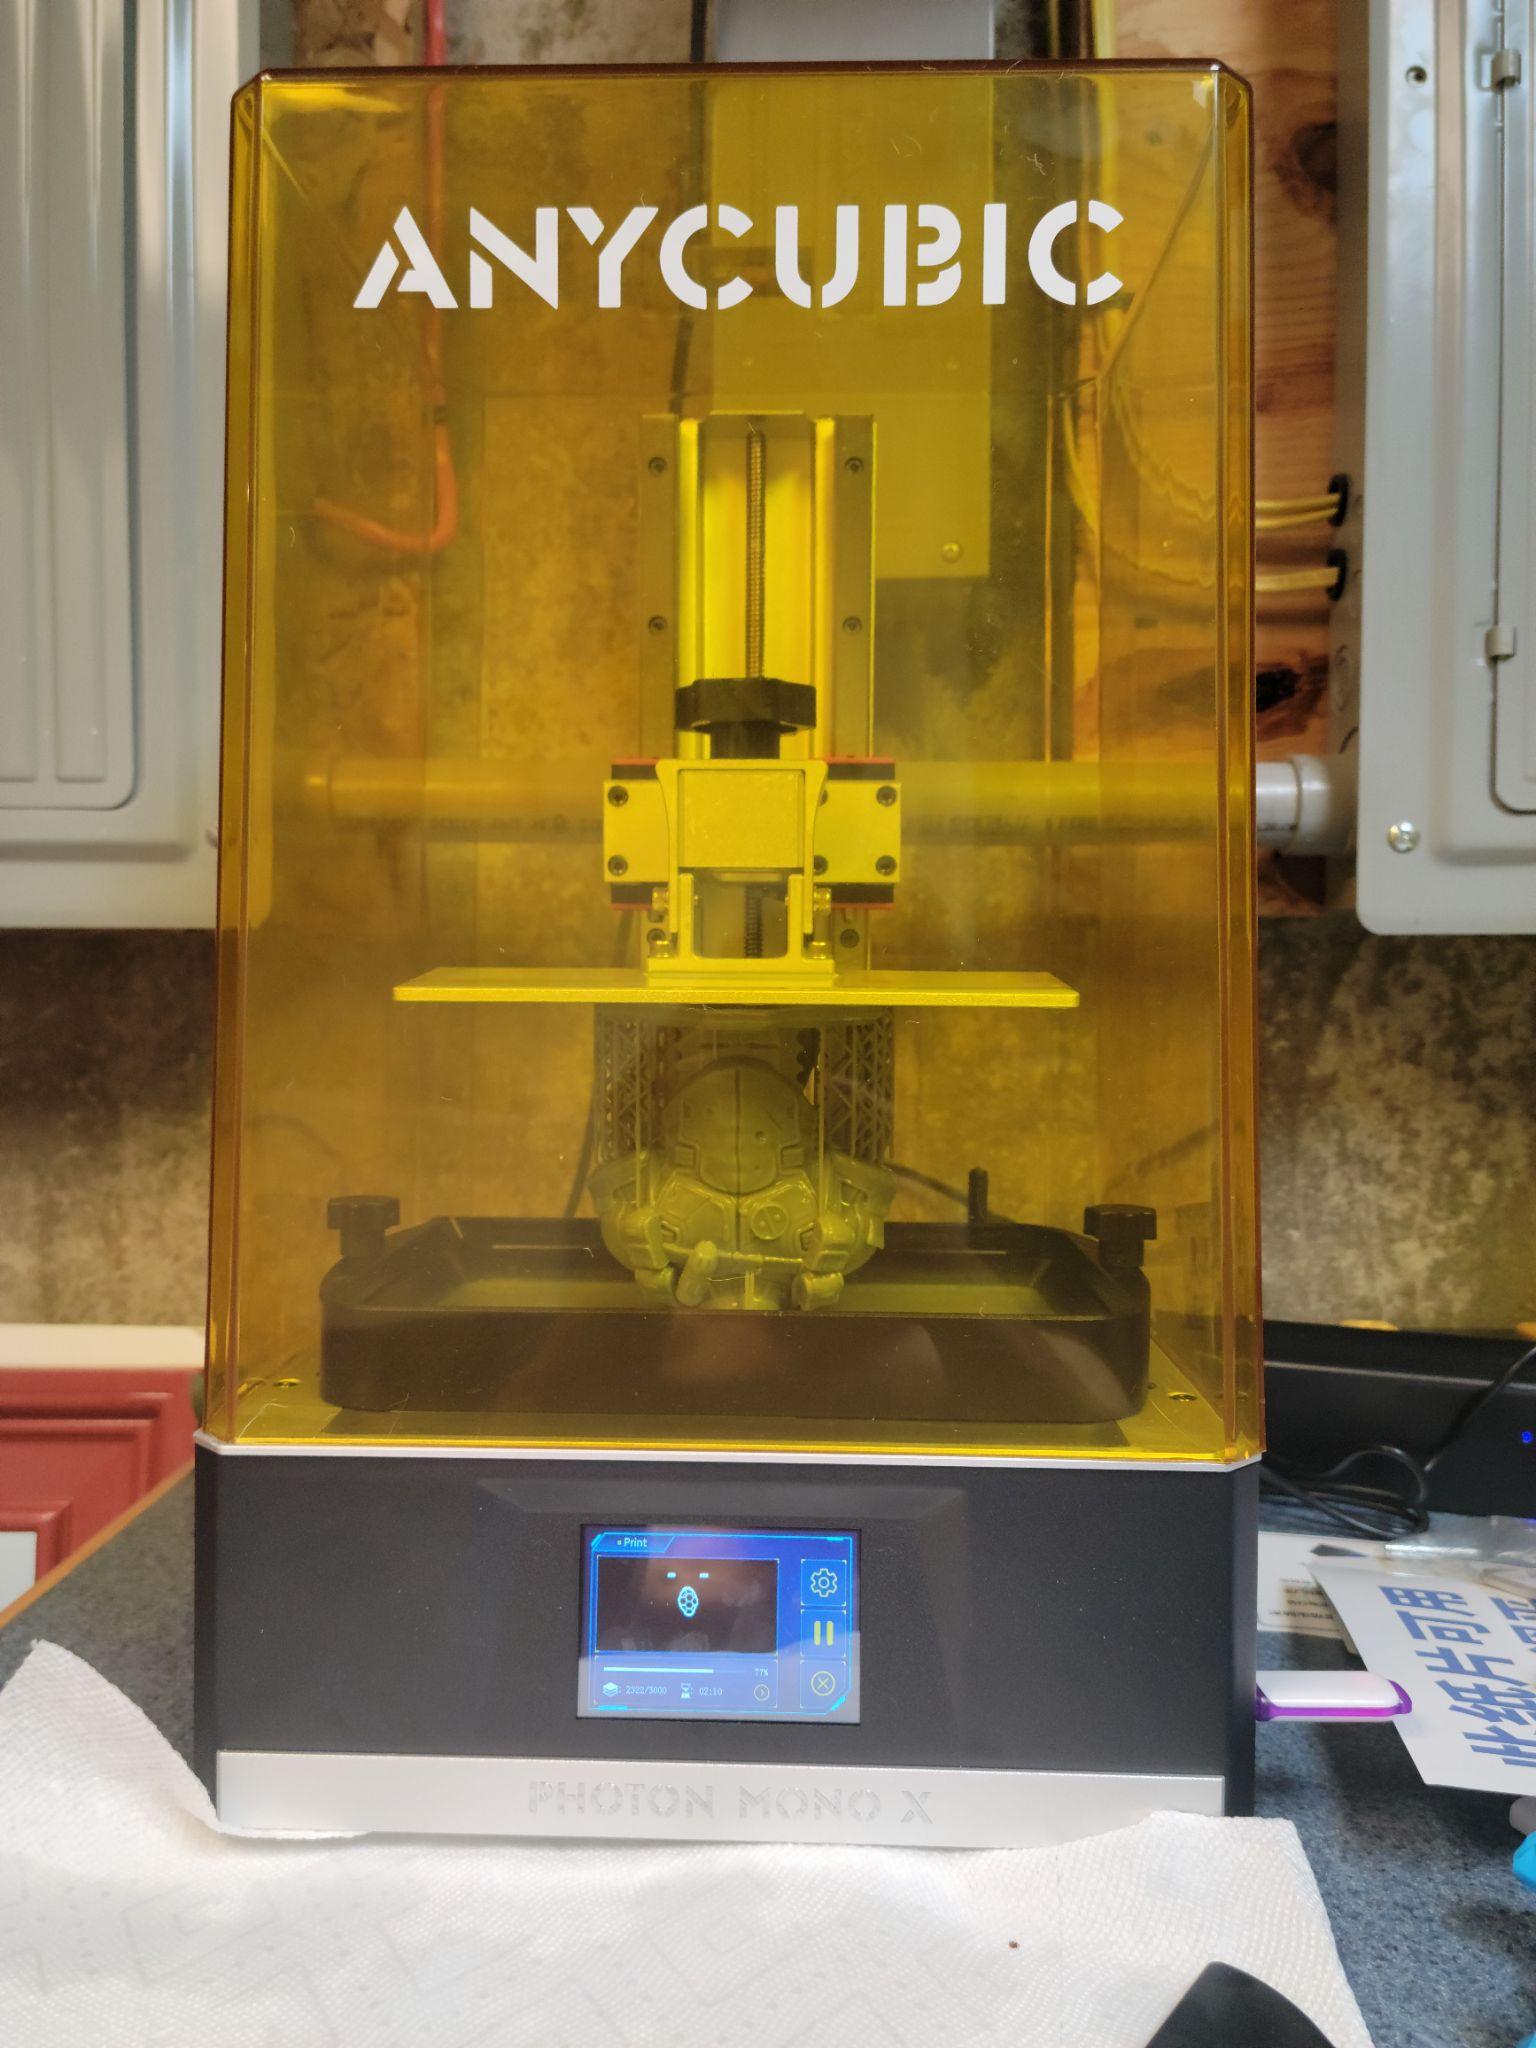
The Anycubic Photon Mono X resin printer
Software
Two categories of software are involved in every print:
CAD / Modeling — software to create or modify the digital model. Free options like Onshape (web-based, runs anywhere) cover most theatrical use cases. Paid options like Solidworks add material simulation and engineering-grade precision tools that are rarely needed for props work.
Slicers — software that converts a 3D model into printer instructions (G-code). Cura, made by Ultimaker, is free, open-source, and works with nearly every FDM printer. The slicer is where you set layer height, temperature, supports, and infill — settings that have an enormous impact on print quality and success rate, especially on budget hardware.
Interview: Chad Sweet, Reno Little Theatre
To get a real-world perspective I reached out to Chad Sweet, Technical Director at Reno Little Theatre, who had been running two printers in production: a Qidi Tech X-Max ($1,300) and a Creality CR-10 ($300).
His framing stuck with me: he thought of the 3D printer as hiring a props artisan who would make exactly what the director wanted. They used it for set-piece detail work, props, and costume pieces including plague masks.
His experience mirrored what the numbers suggest: the CR-10 produced good prints but demanded far more time and intervention than the Qidi did. He said that if he were buying again he’d get another Qidi over a cheaper machine — the time cost of babysitting the budget printer was counterproductive to the whole reason he bought one. That doesn’t mean budget printers have no place in theatre, but the reliability tradeoff has to be weighed against how often and how urgently the printer needs to produce.
Uses in Theatre
3D printing has already found its way into professional theatre and entertainment in a number of areas — set models, props, and costume pieces among them.
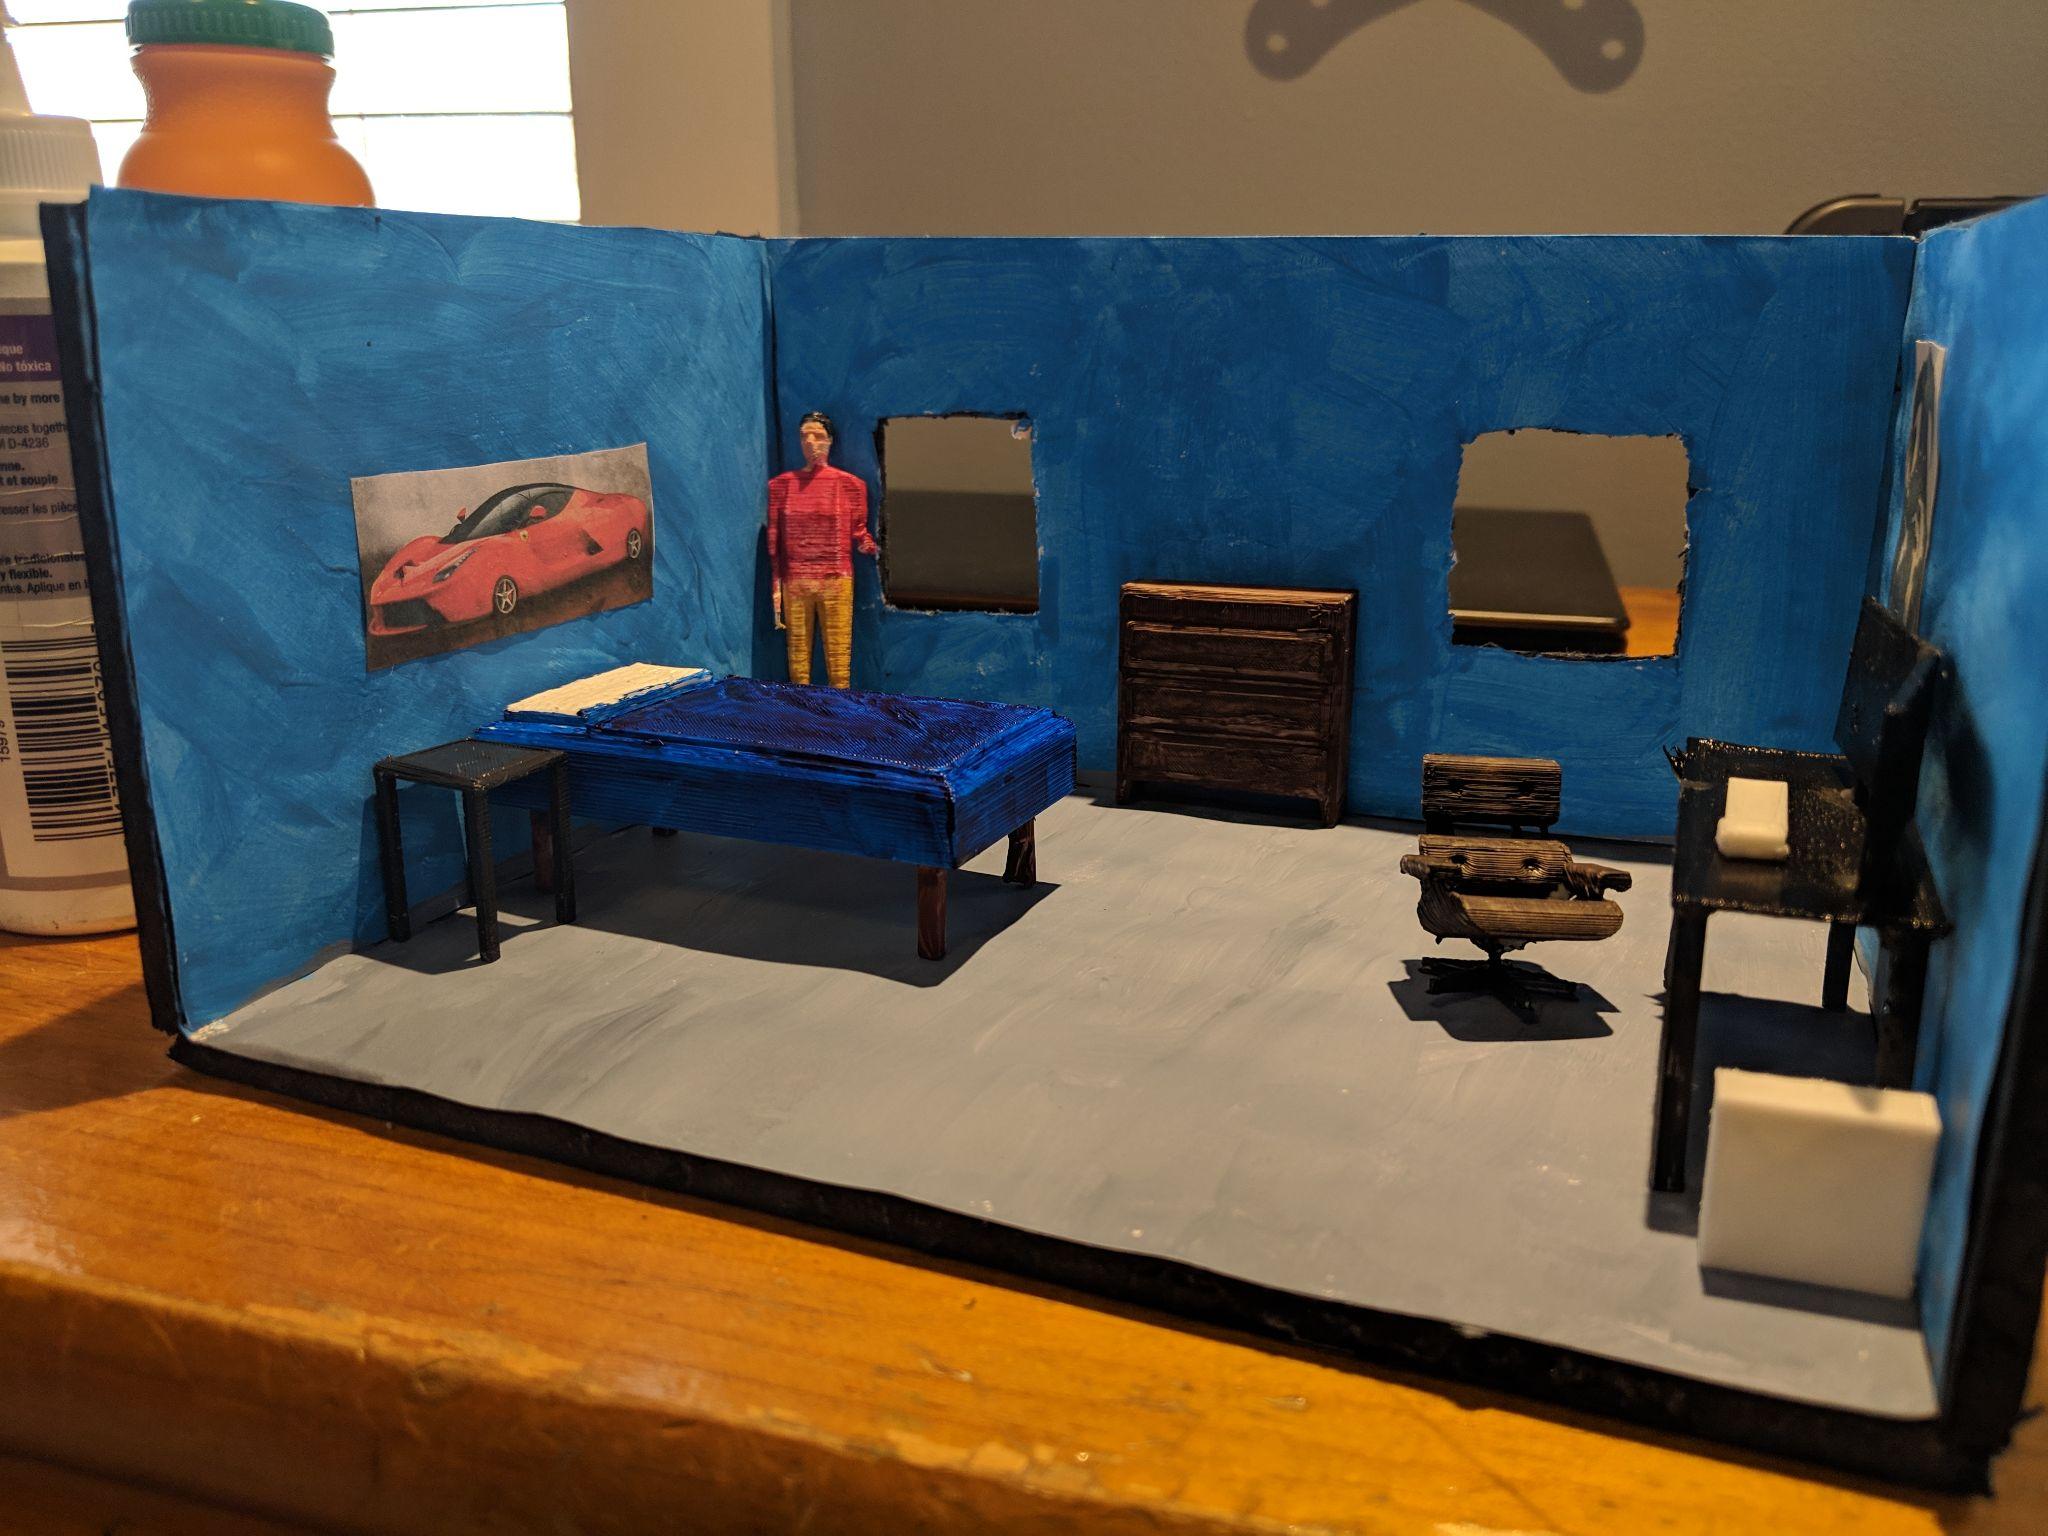
3D printed scale set models, one of the most common current applications in professional theatre
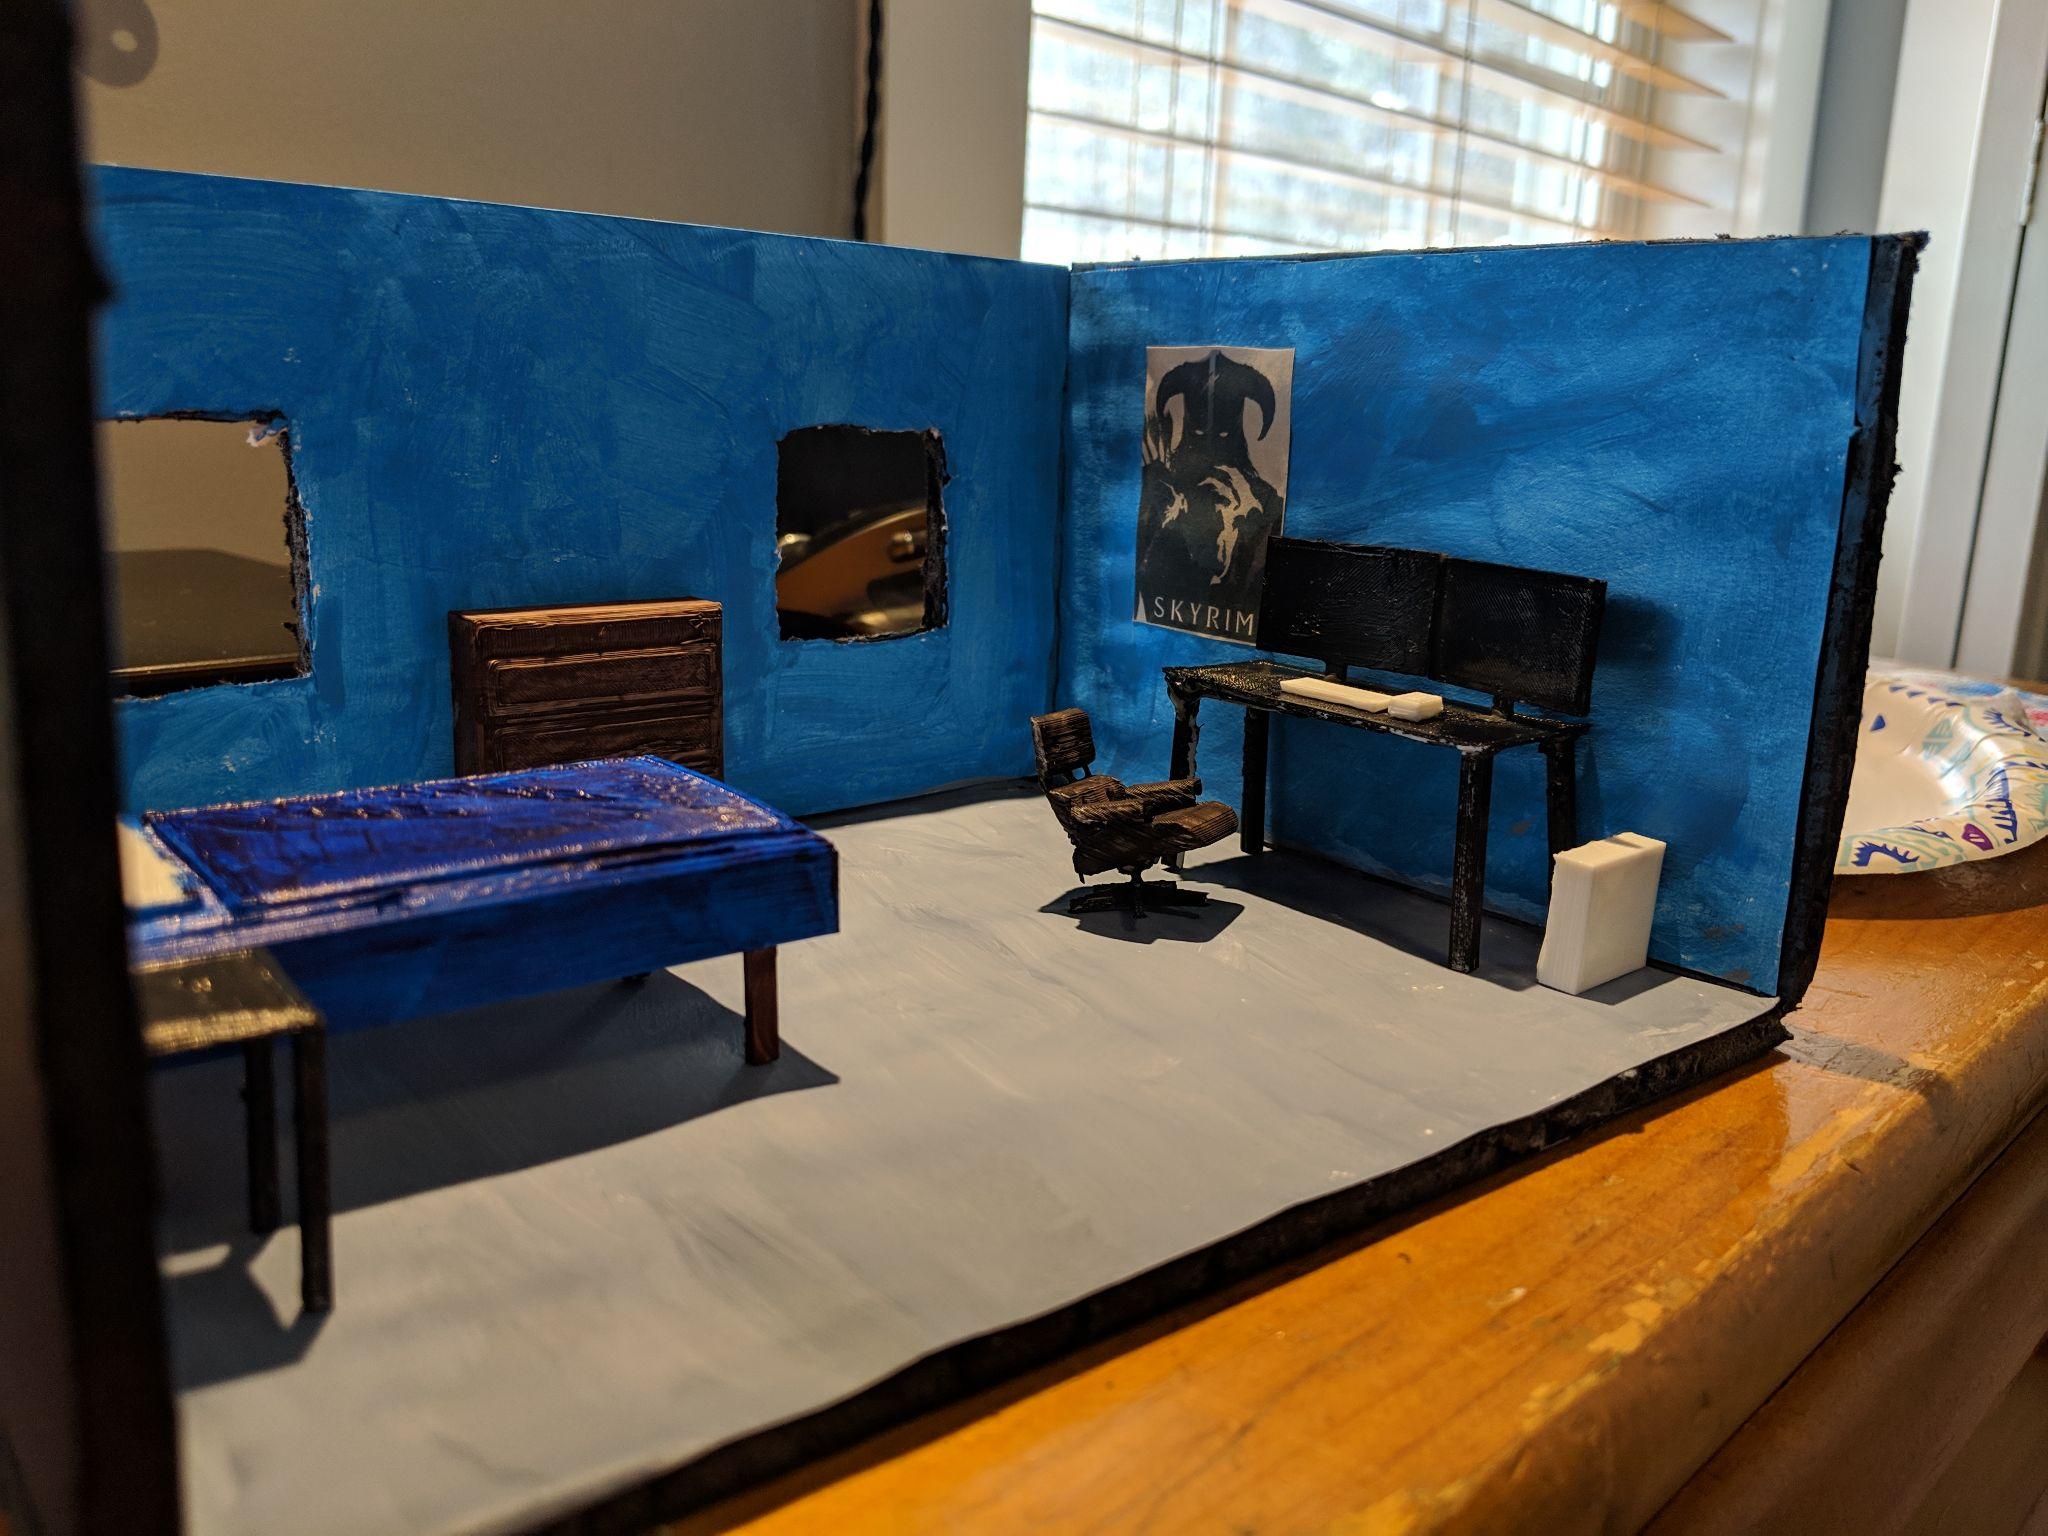
A detailed 3D printed set model
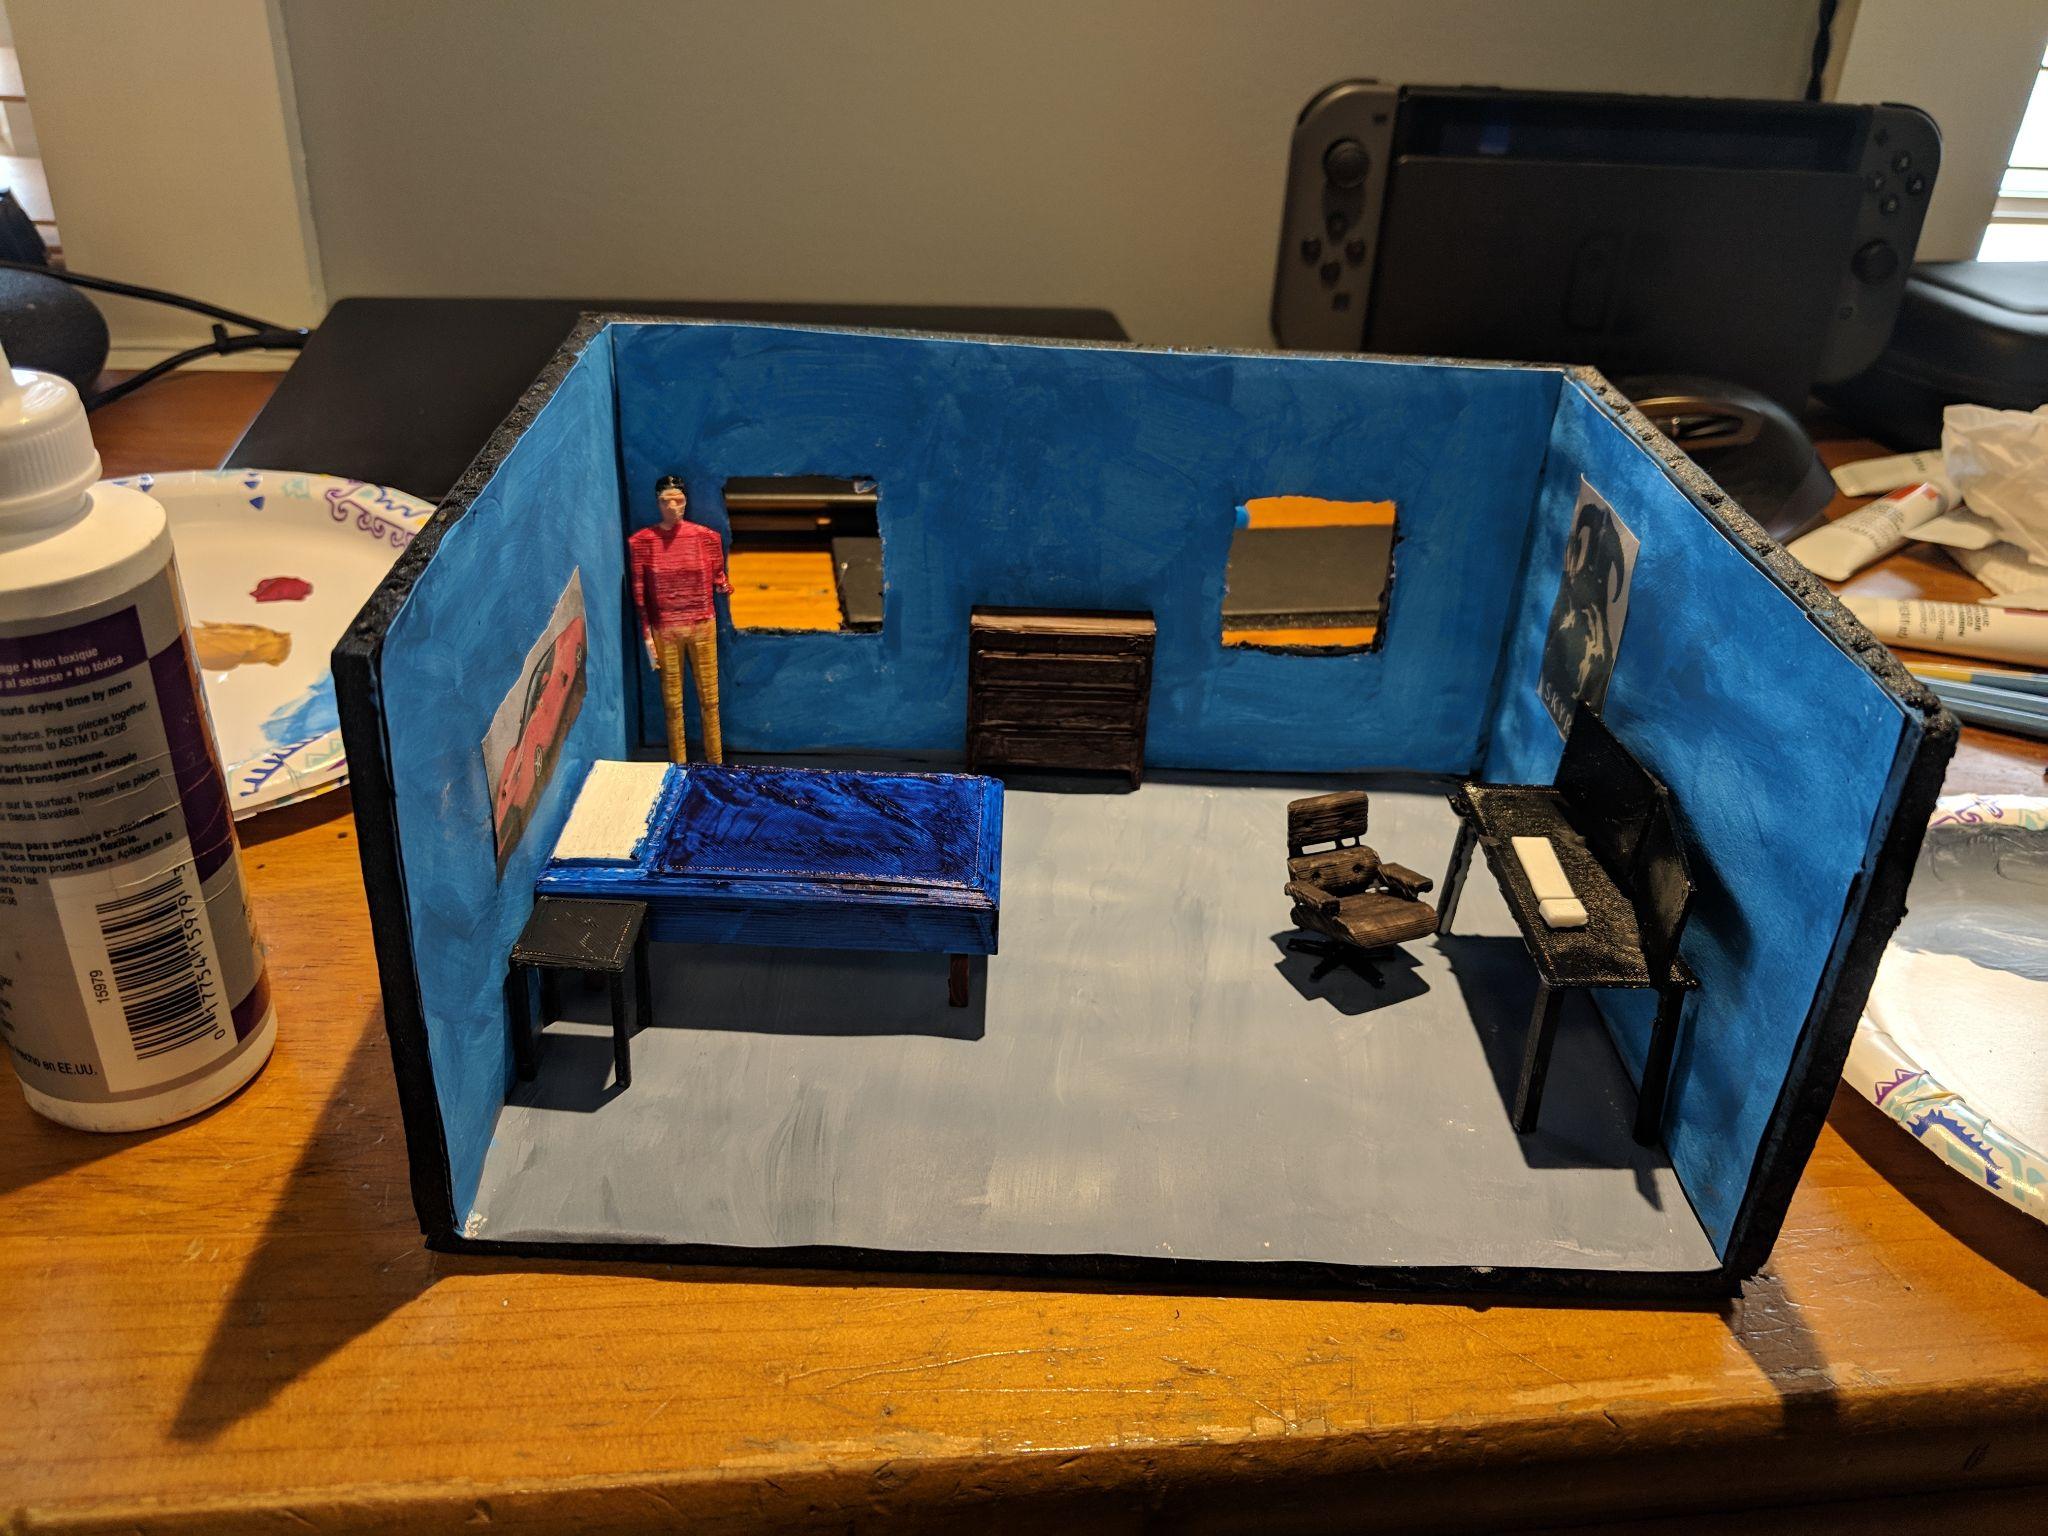
Another example of 3D printed scenic design work
One real-world example I encountered during research: Dancing at Lughnasa at a professional theatre, where 3D printing was used to produce a period-accurate radio prop.
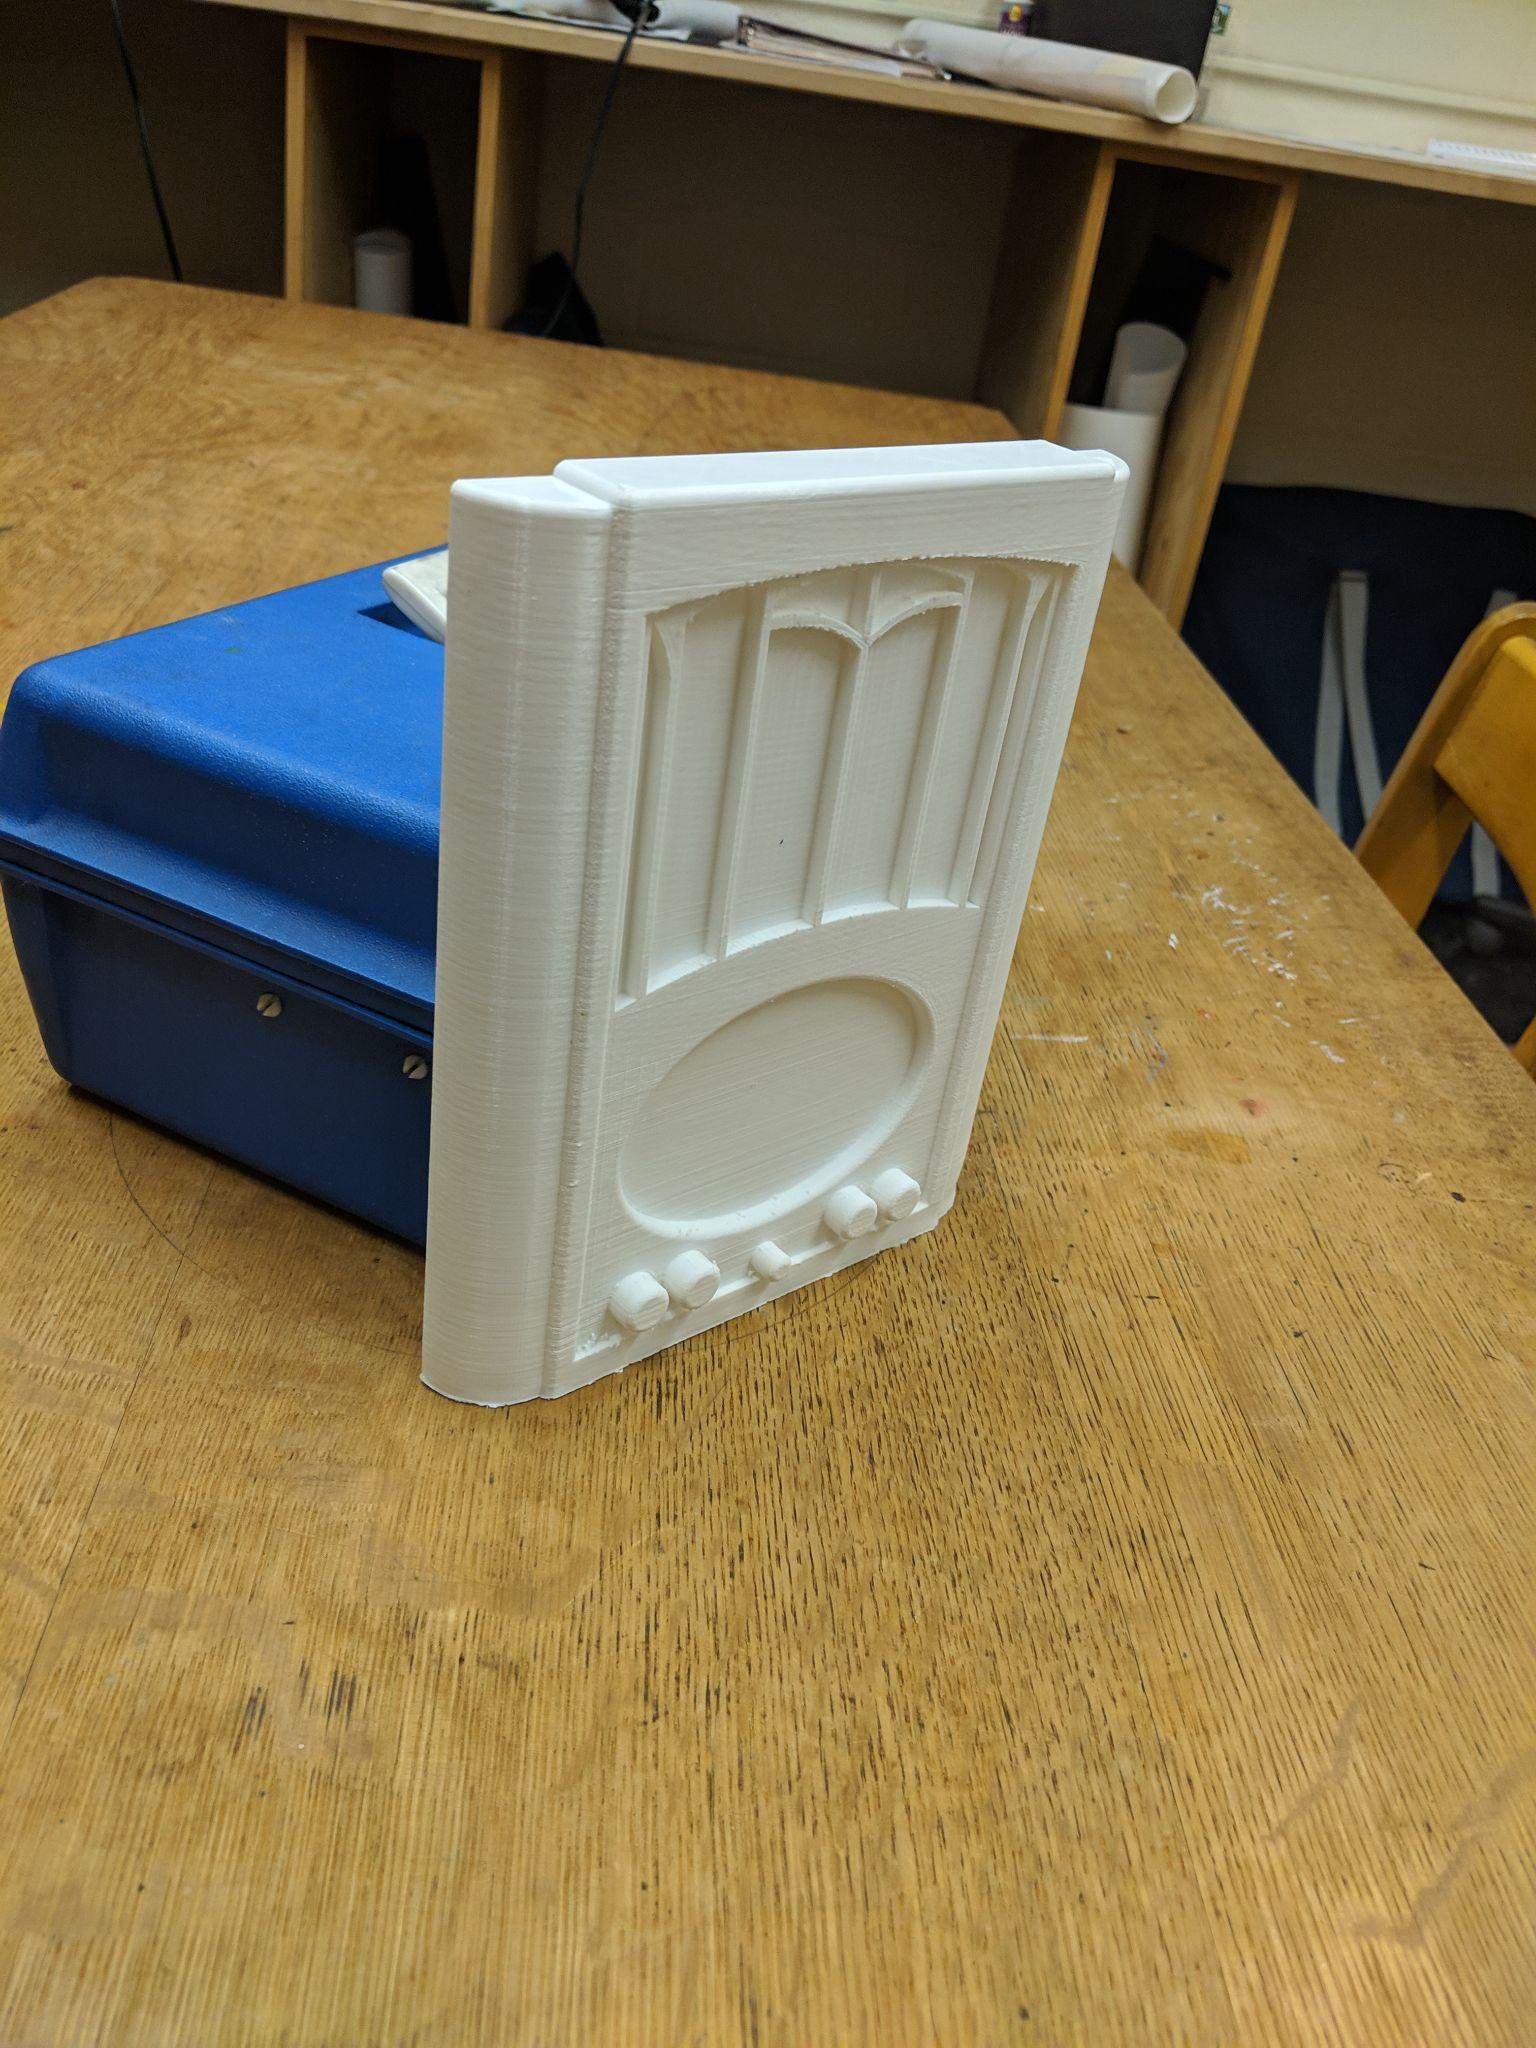
3D printed radio prop for a production of Dancing at Lughnasa
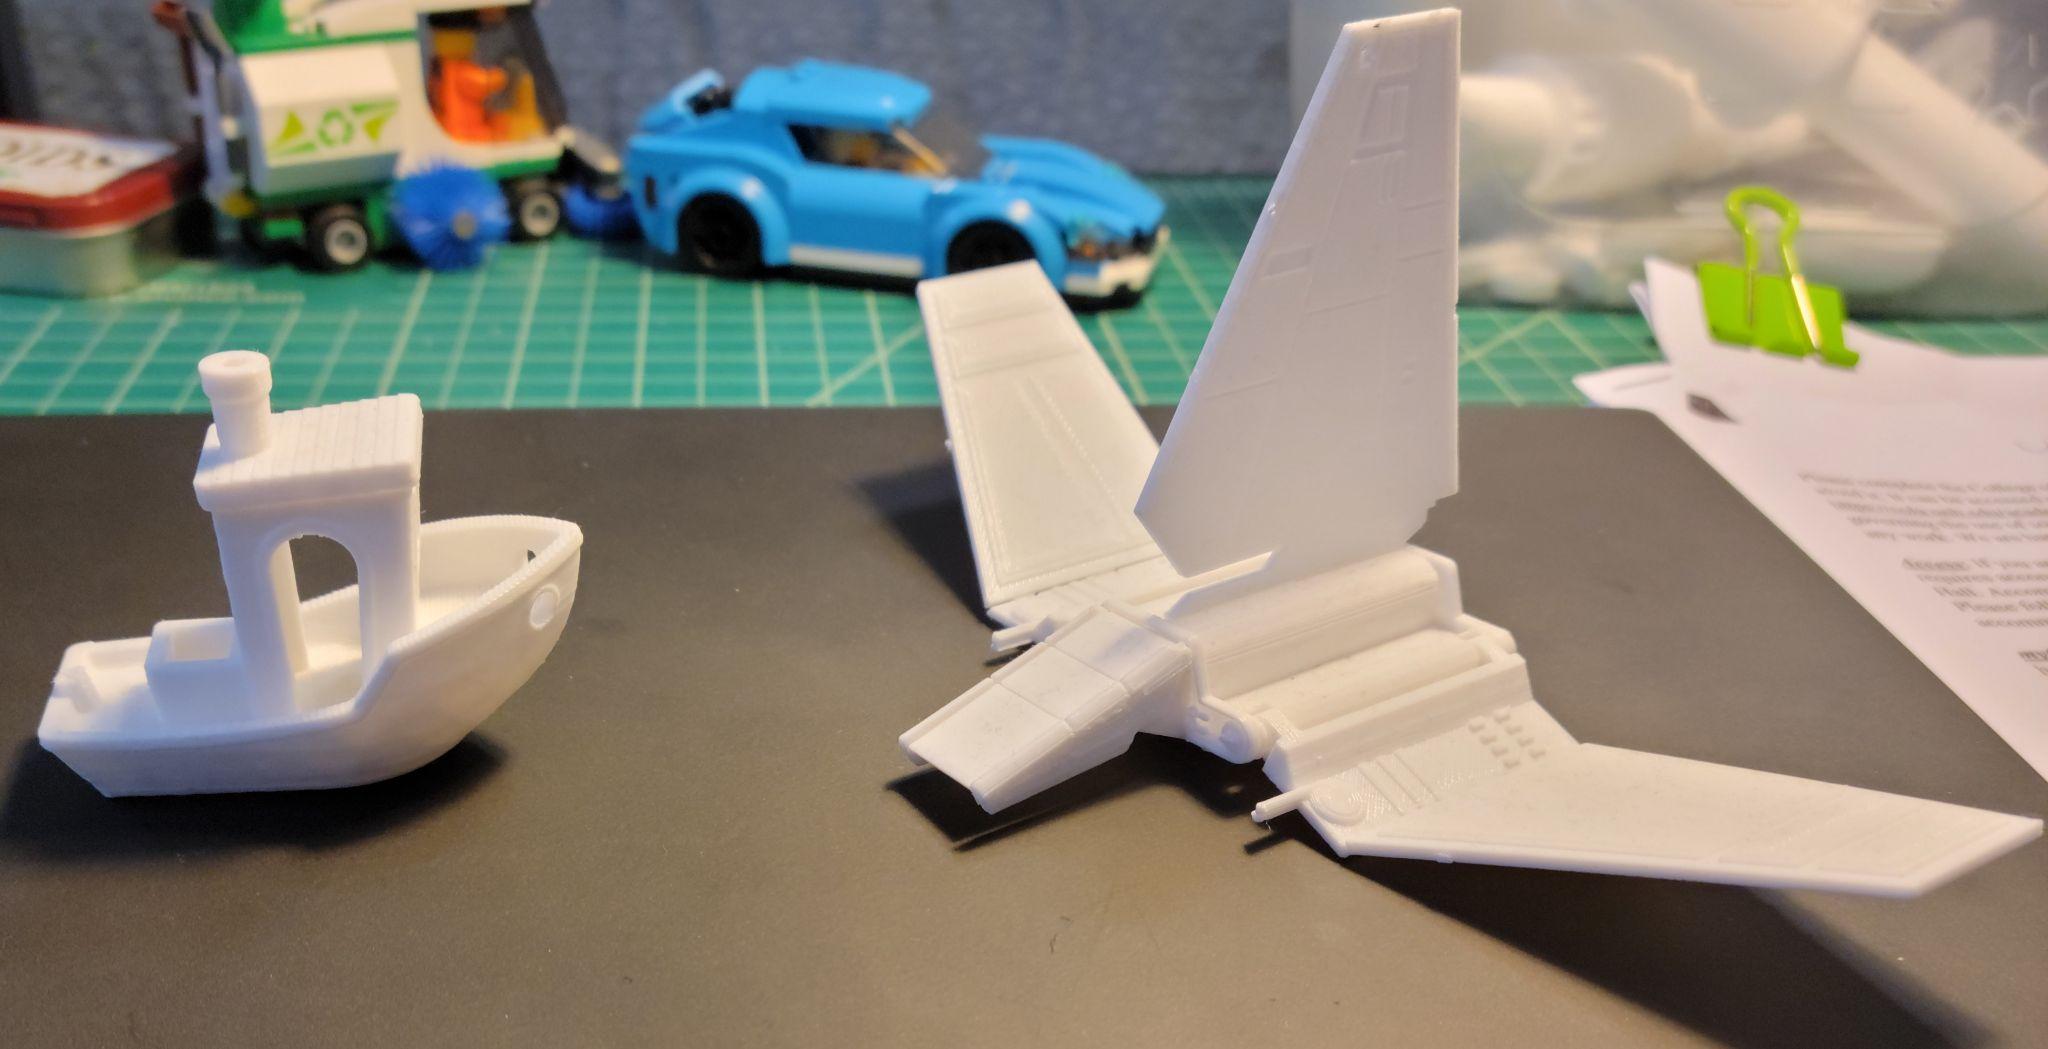
Han Solo Blaster — FDM Prop Build
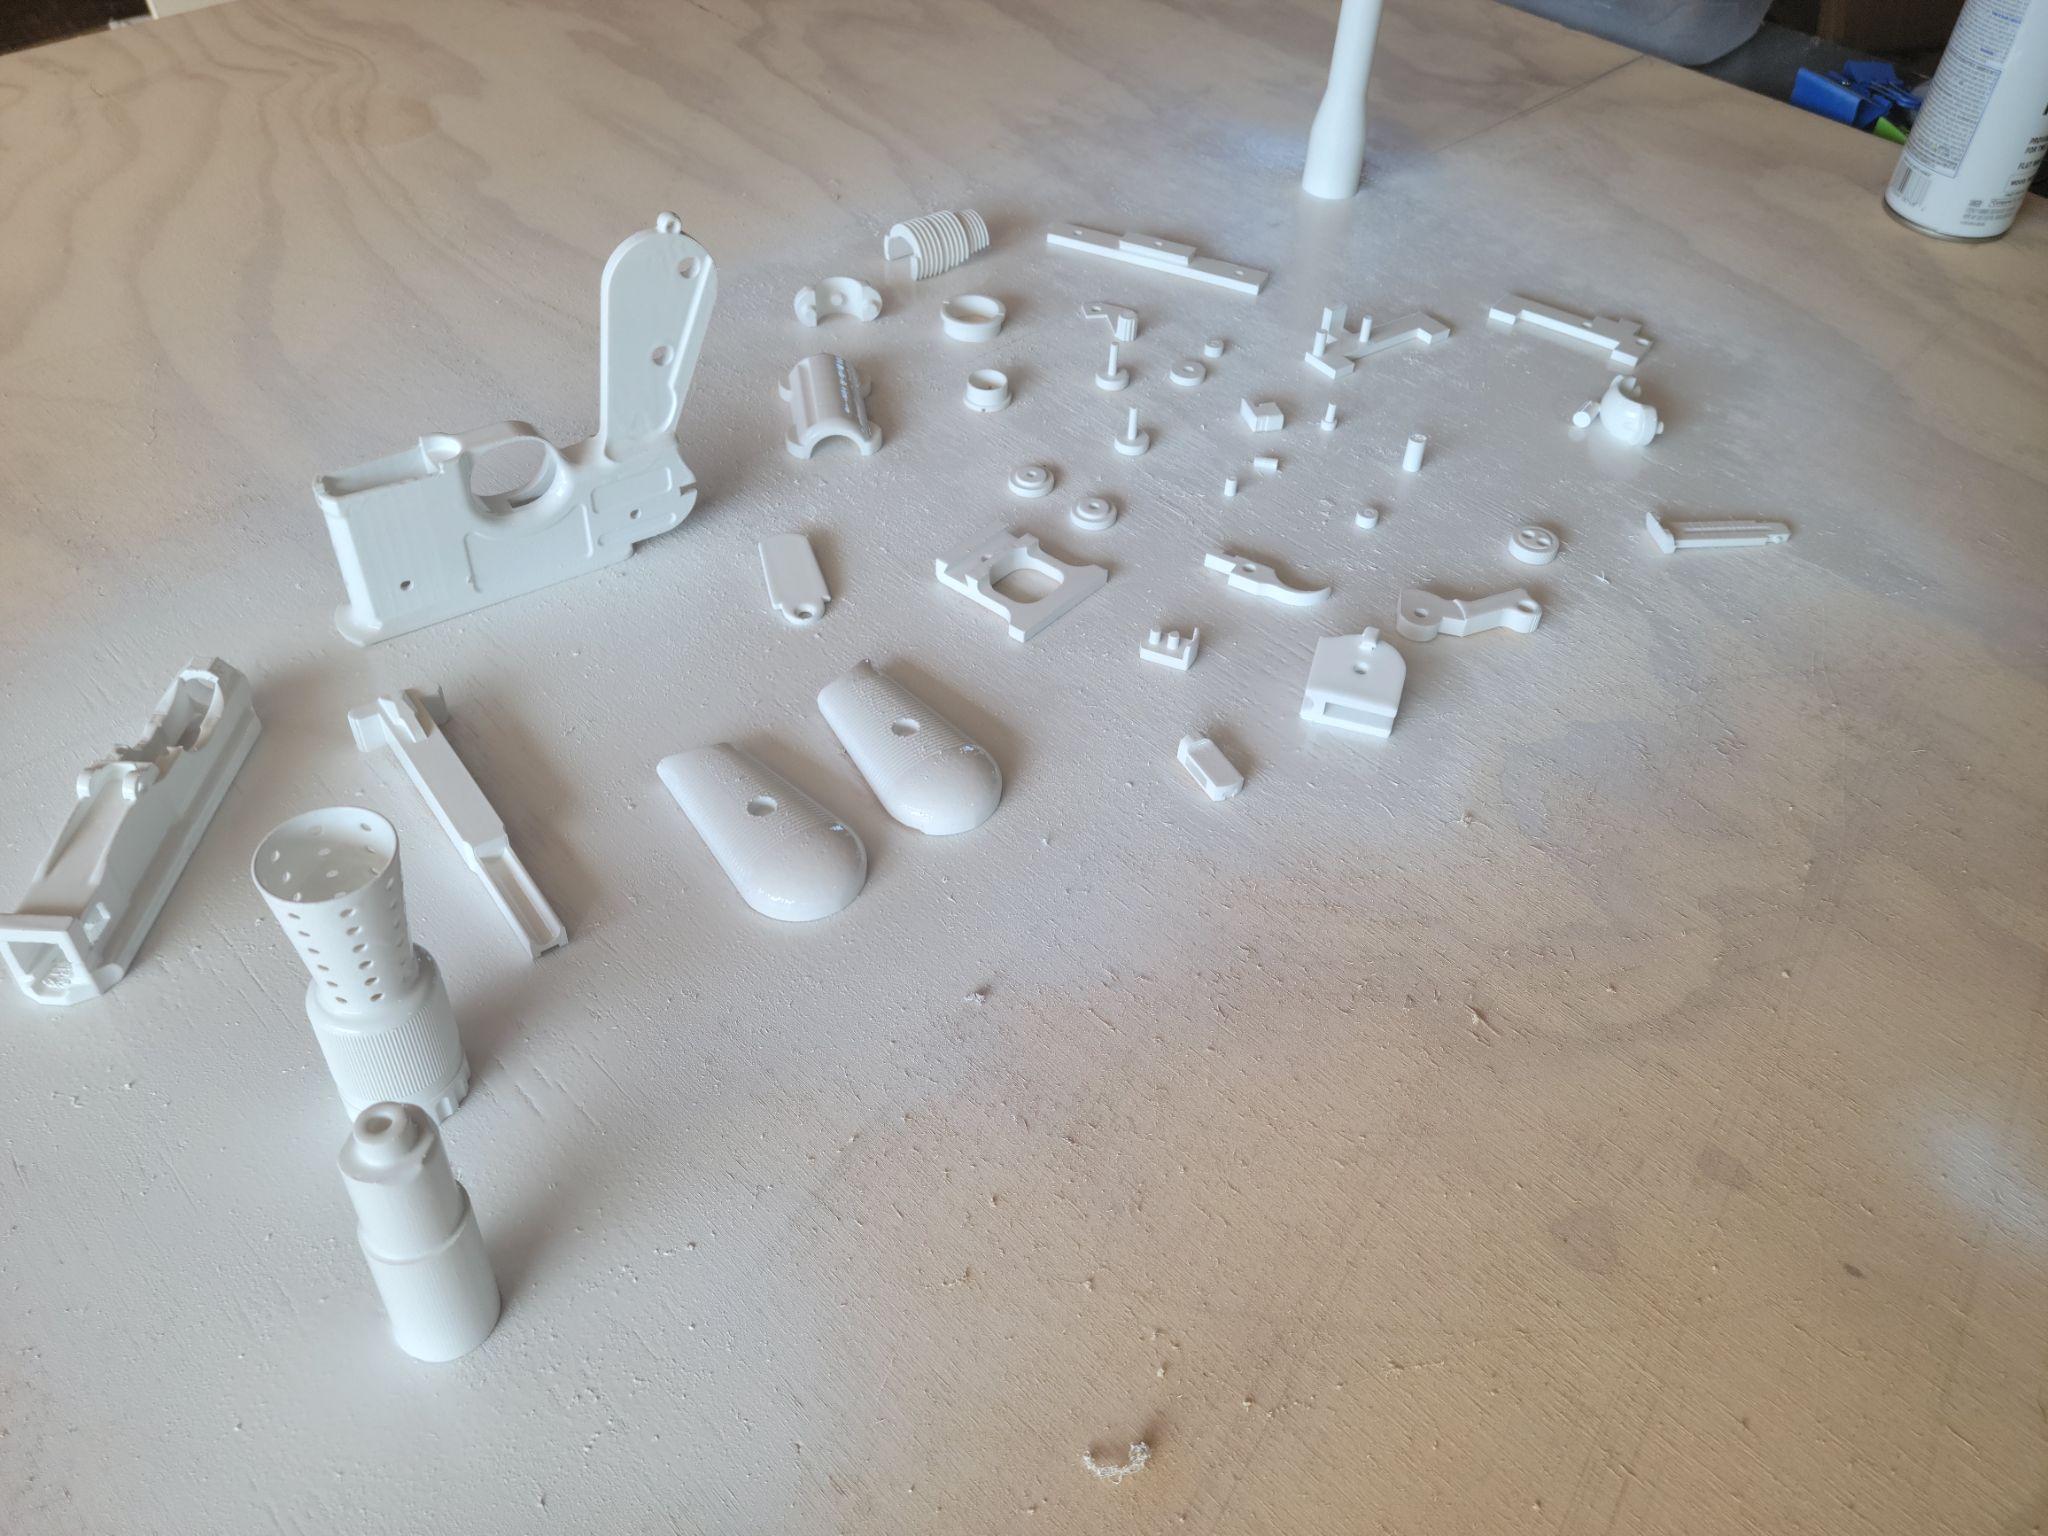
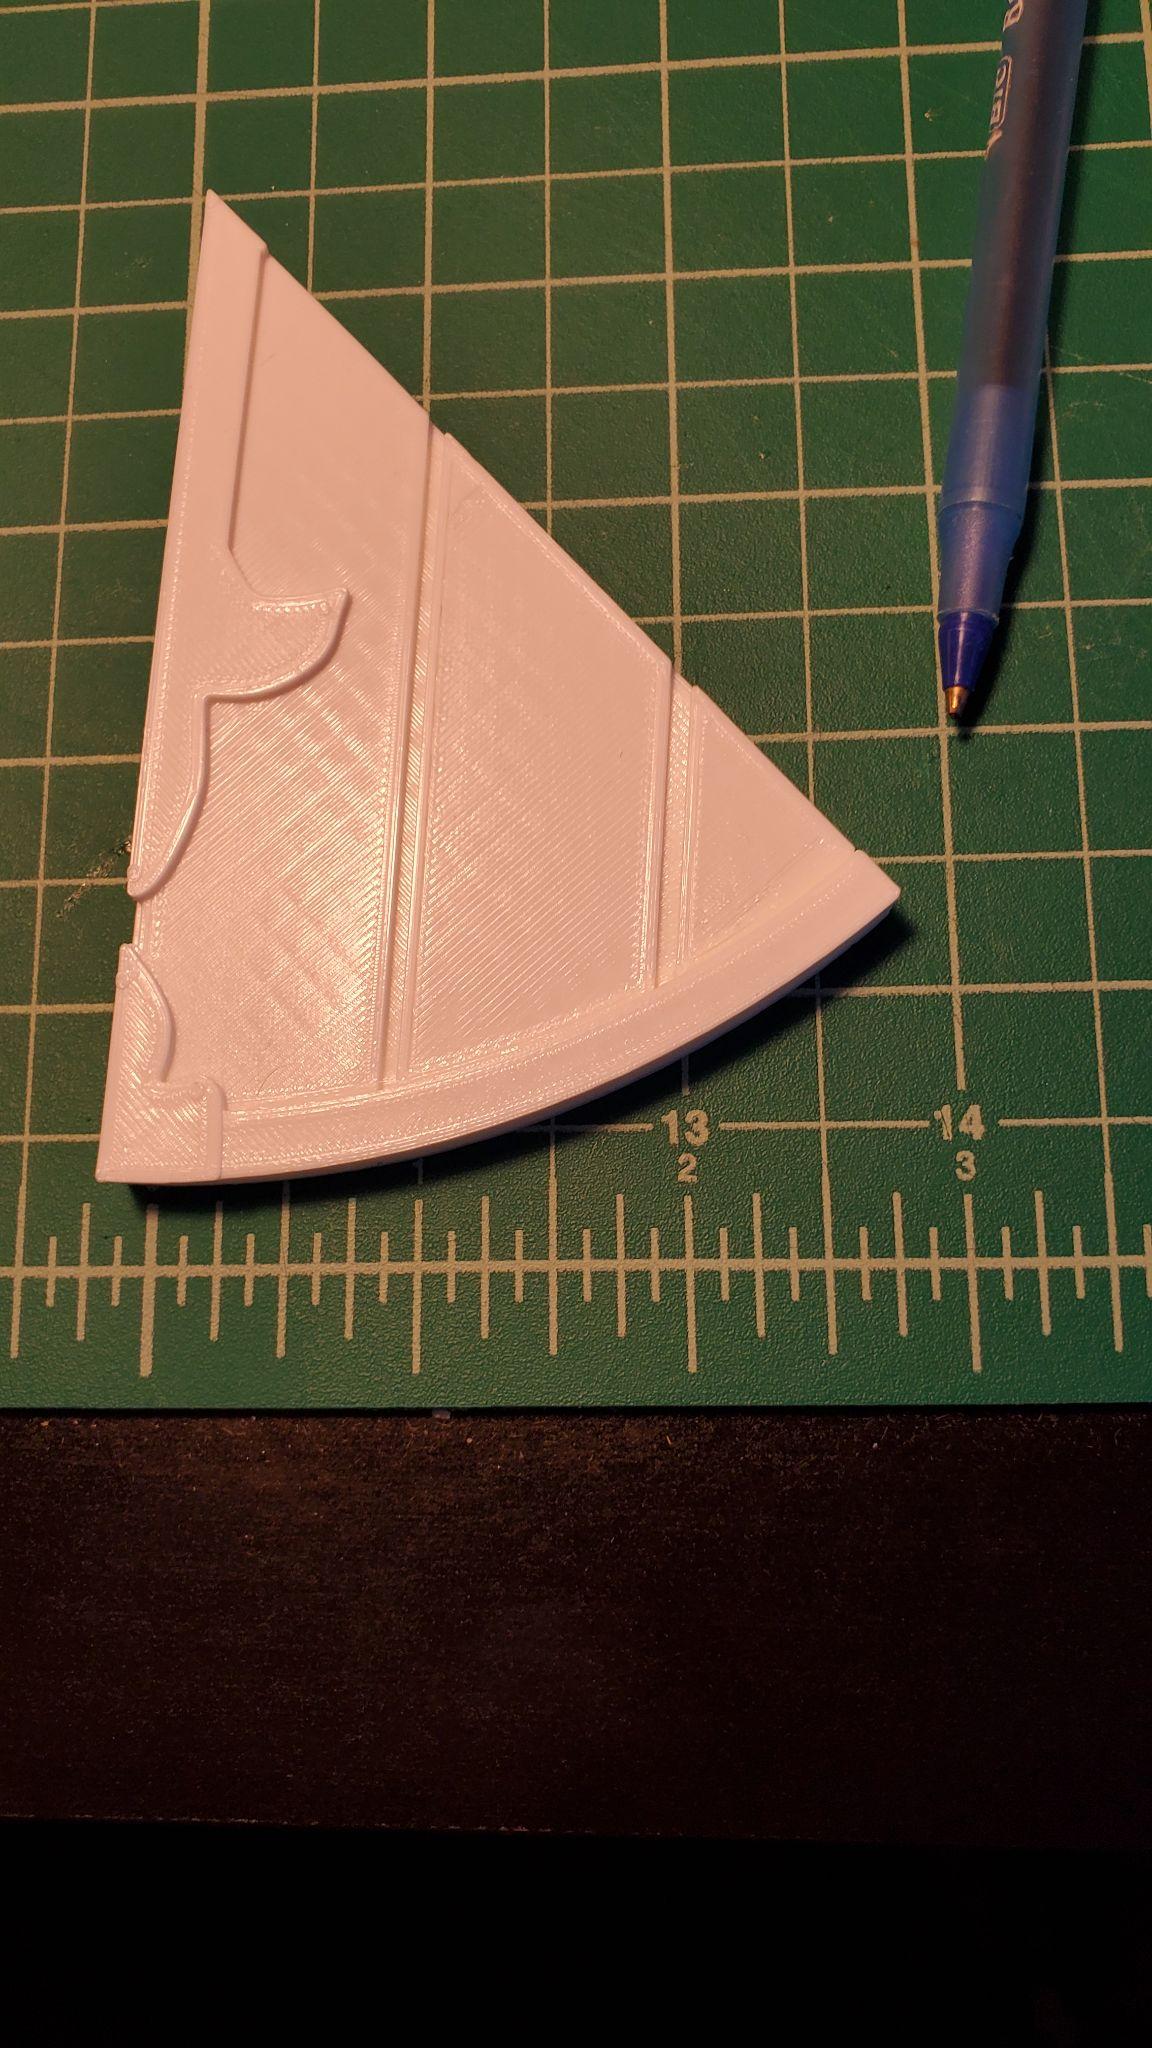
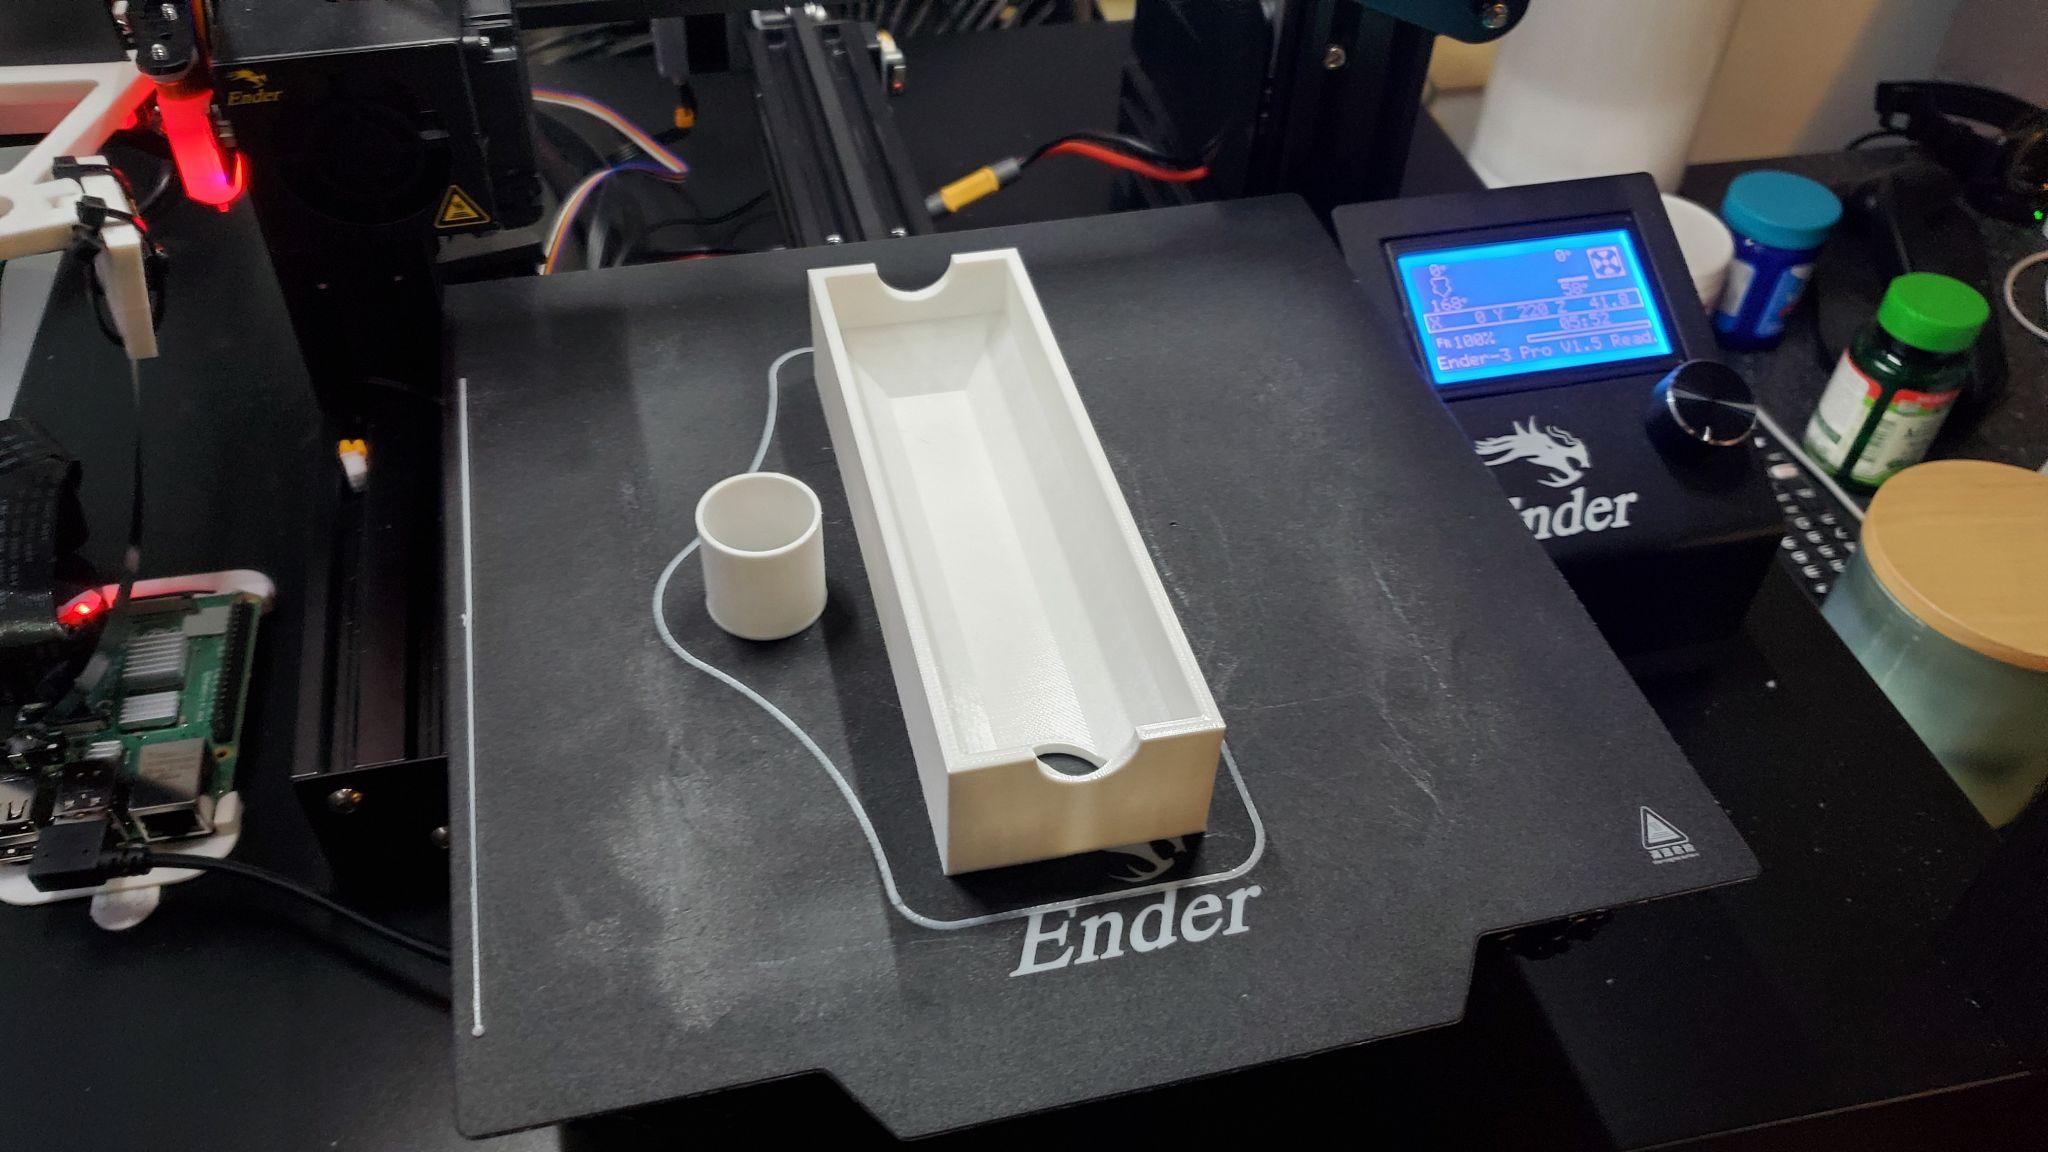
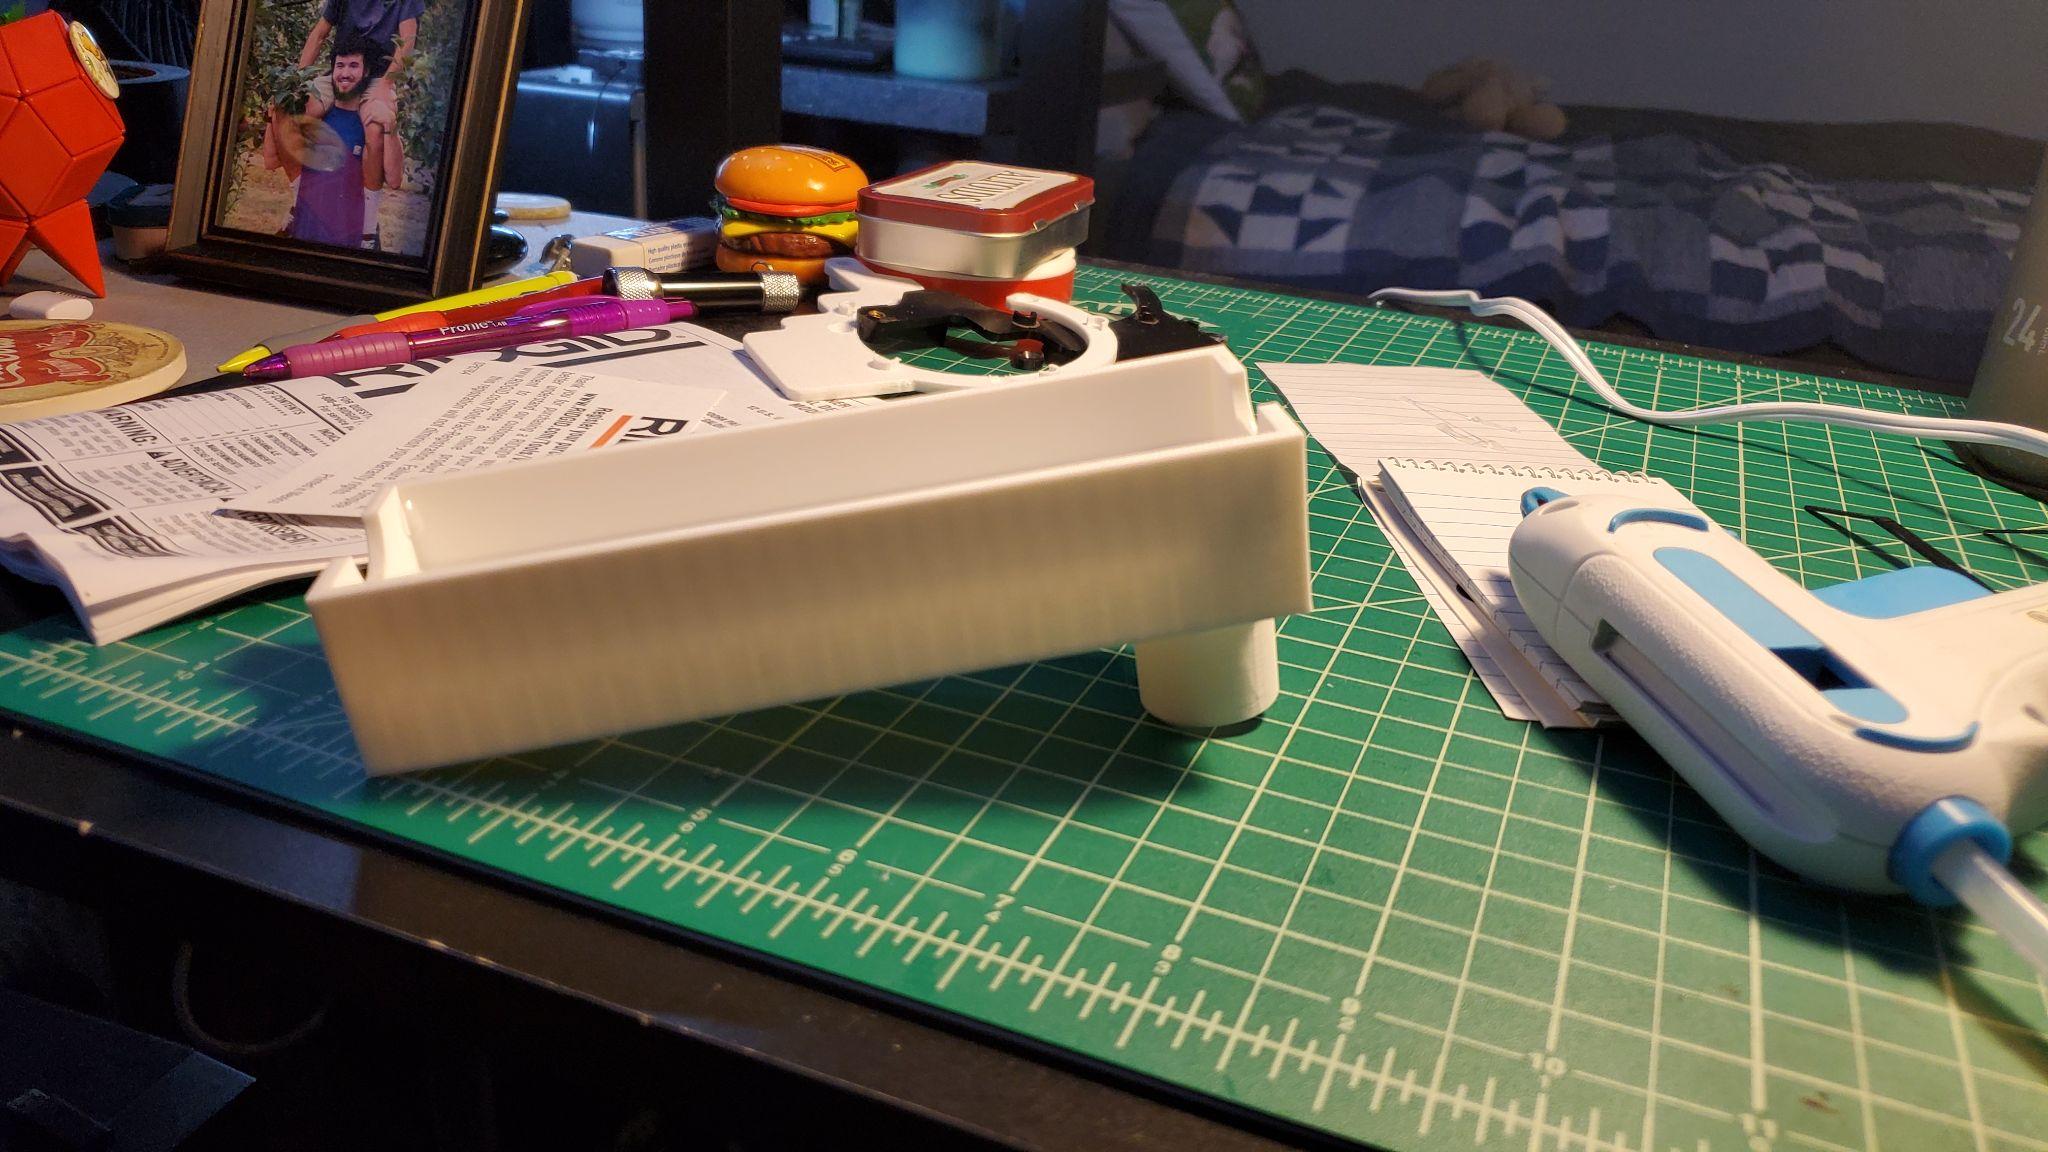
For a practical FDM case study I printed Han Solo’s DL-44 blaster from Star Wars — chosen because it has a large number of parts, varied geometry, multiple surface textures, and is a well-known prop with a clear reference. The model was free, broken into sections, and printed entirely on my Ender 3 Pro in white PLA.
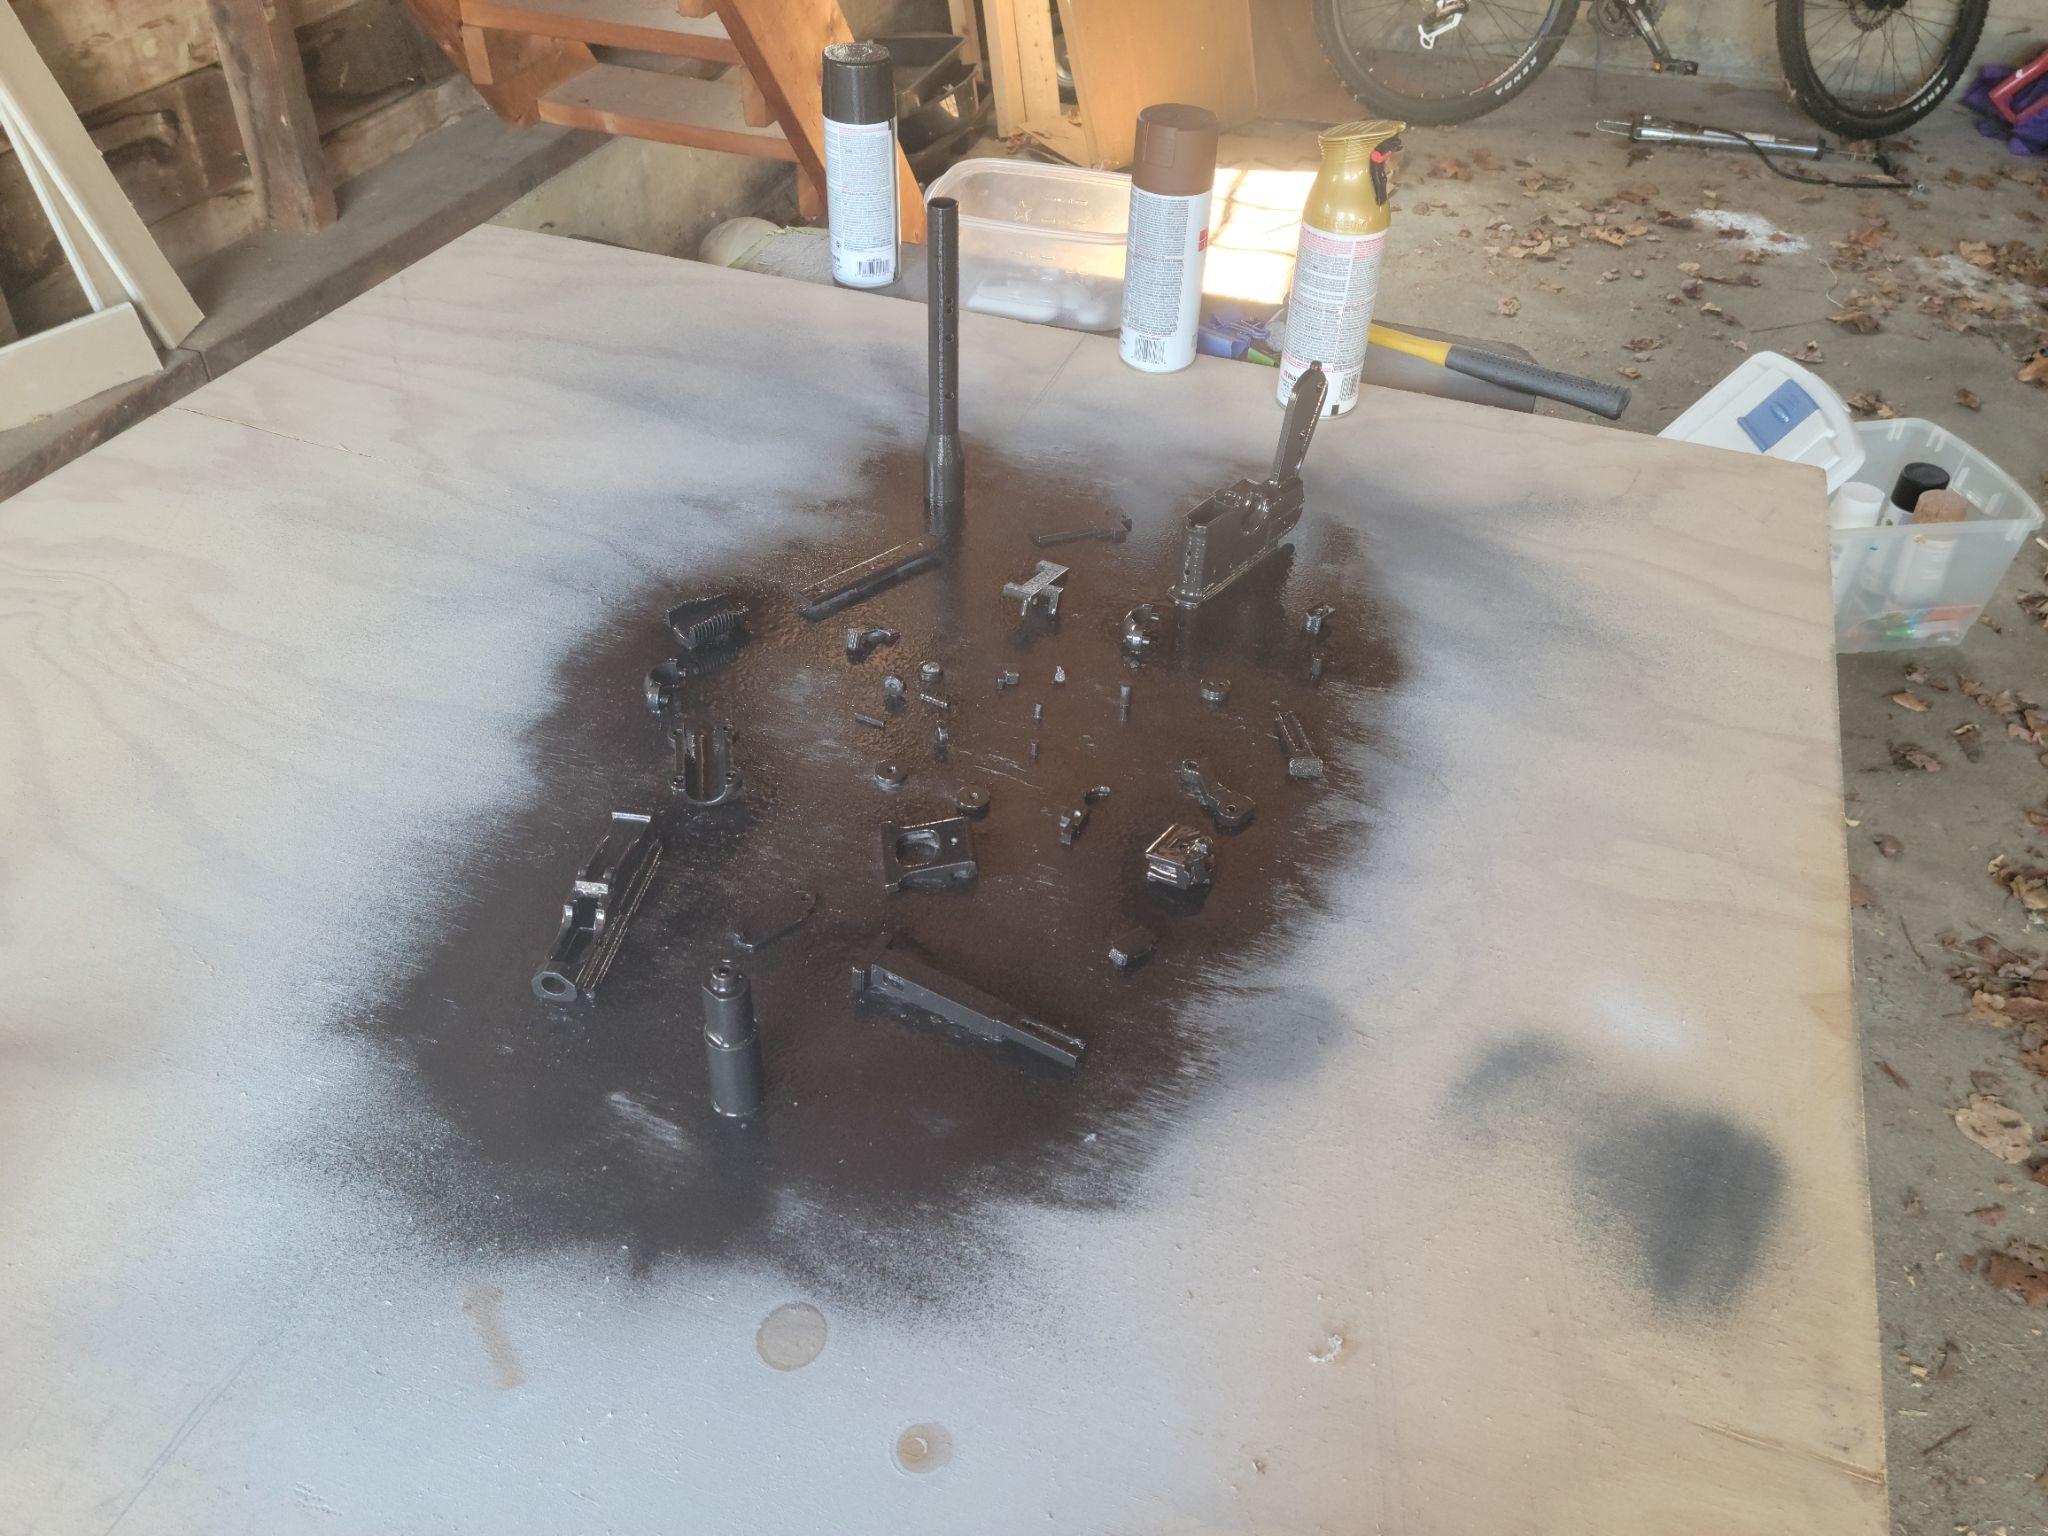
Total print time was over 45 hours across multiple runs, many of them overnight. After printing, parts were sanded with progressively higher grits, primed, and painted with metallic spray paints to achieve the final finish.
Small test models used to calibrate the printer before starting the blaster
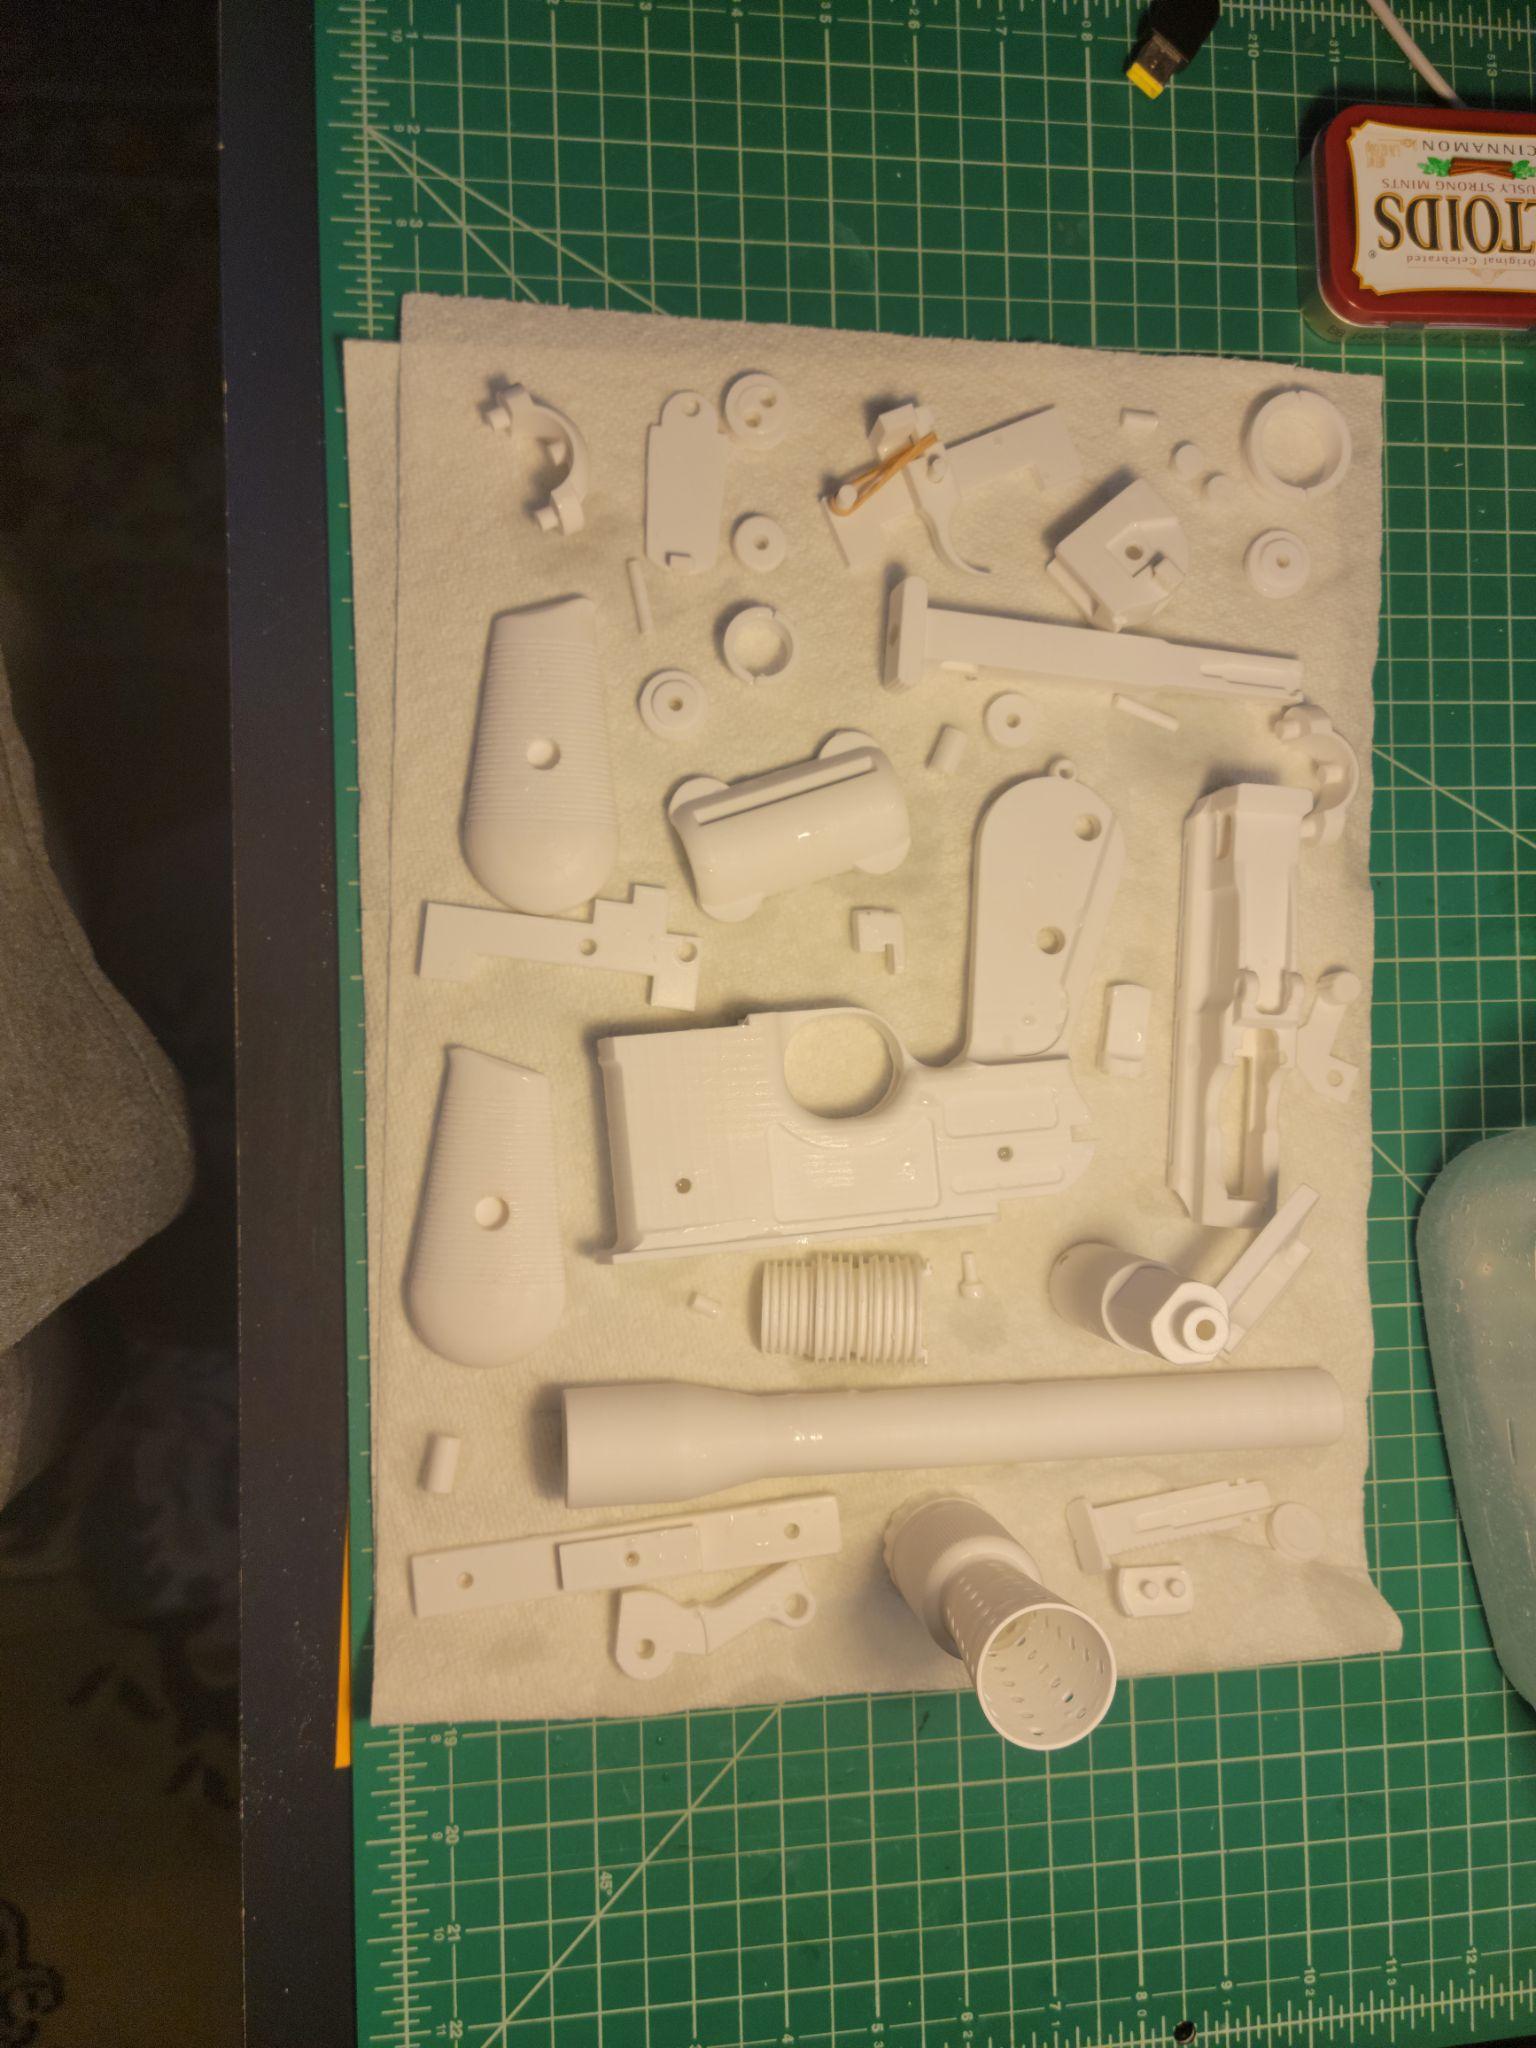
All blaster parts printed and prepped before assembly
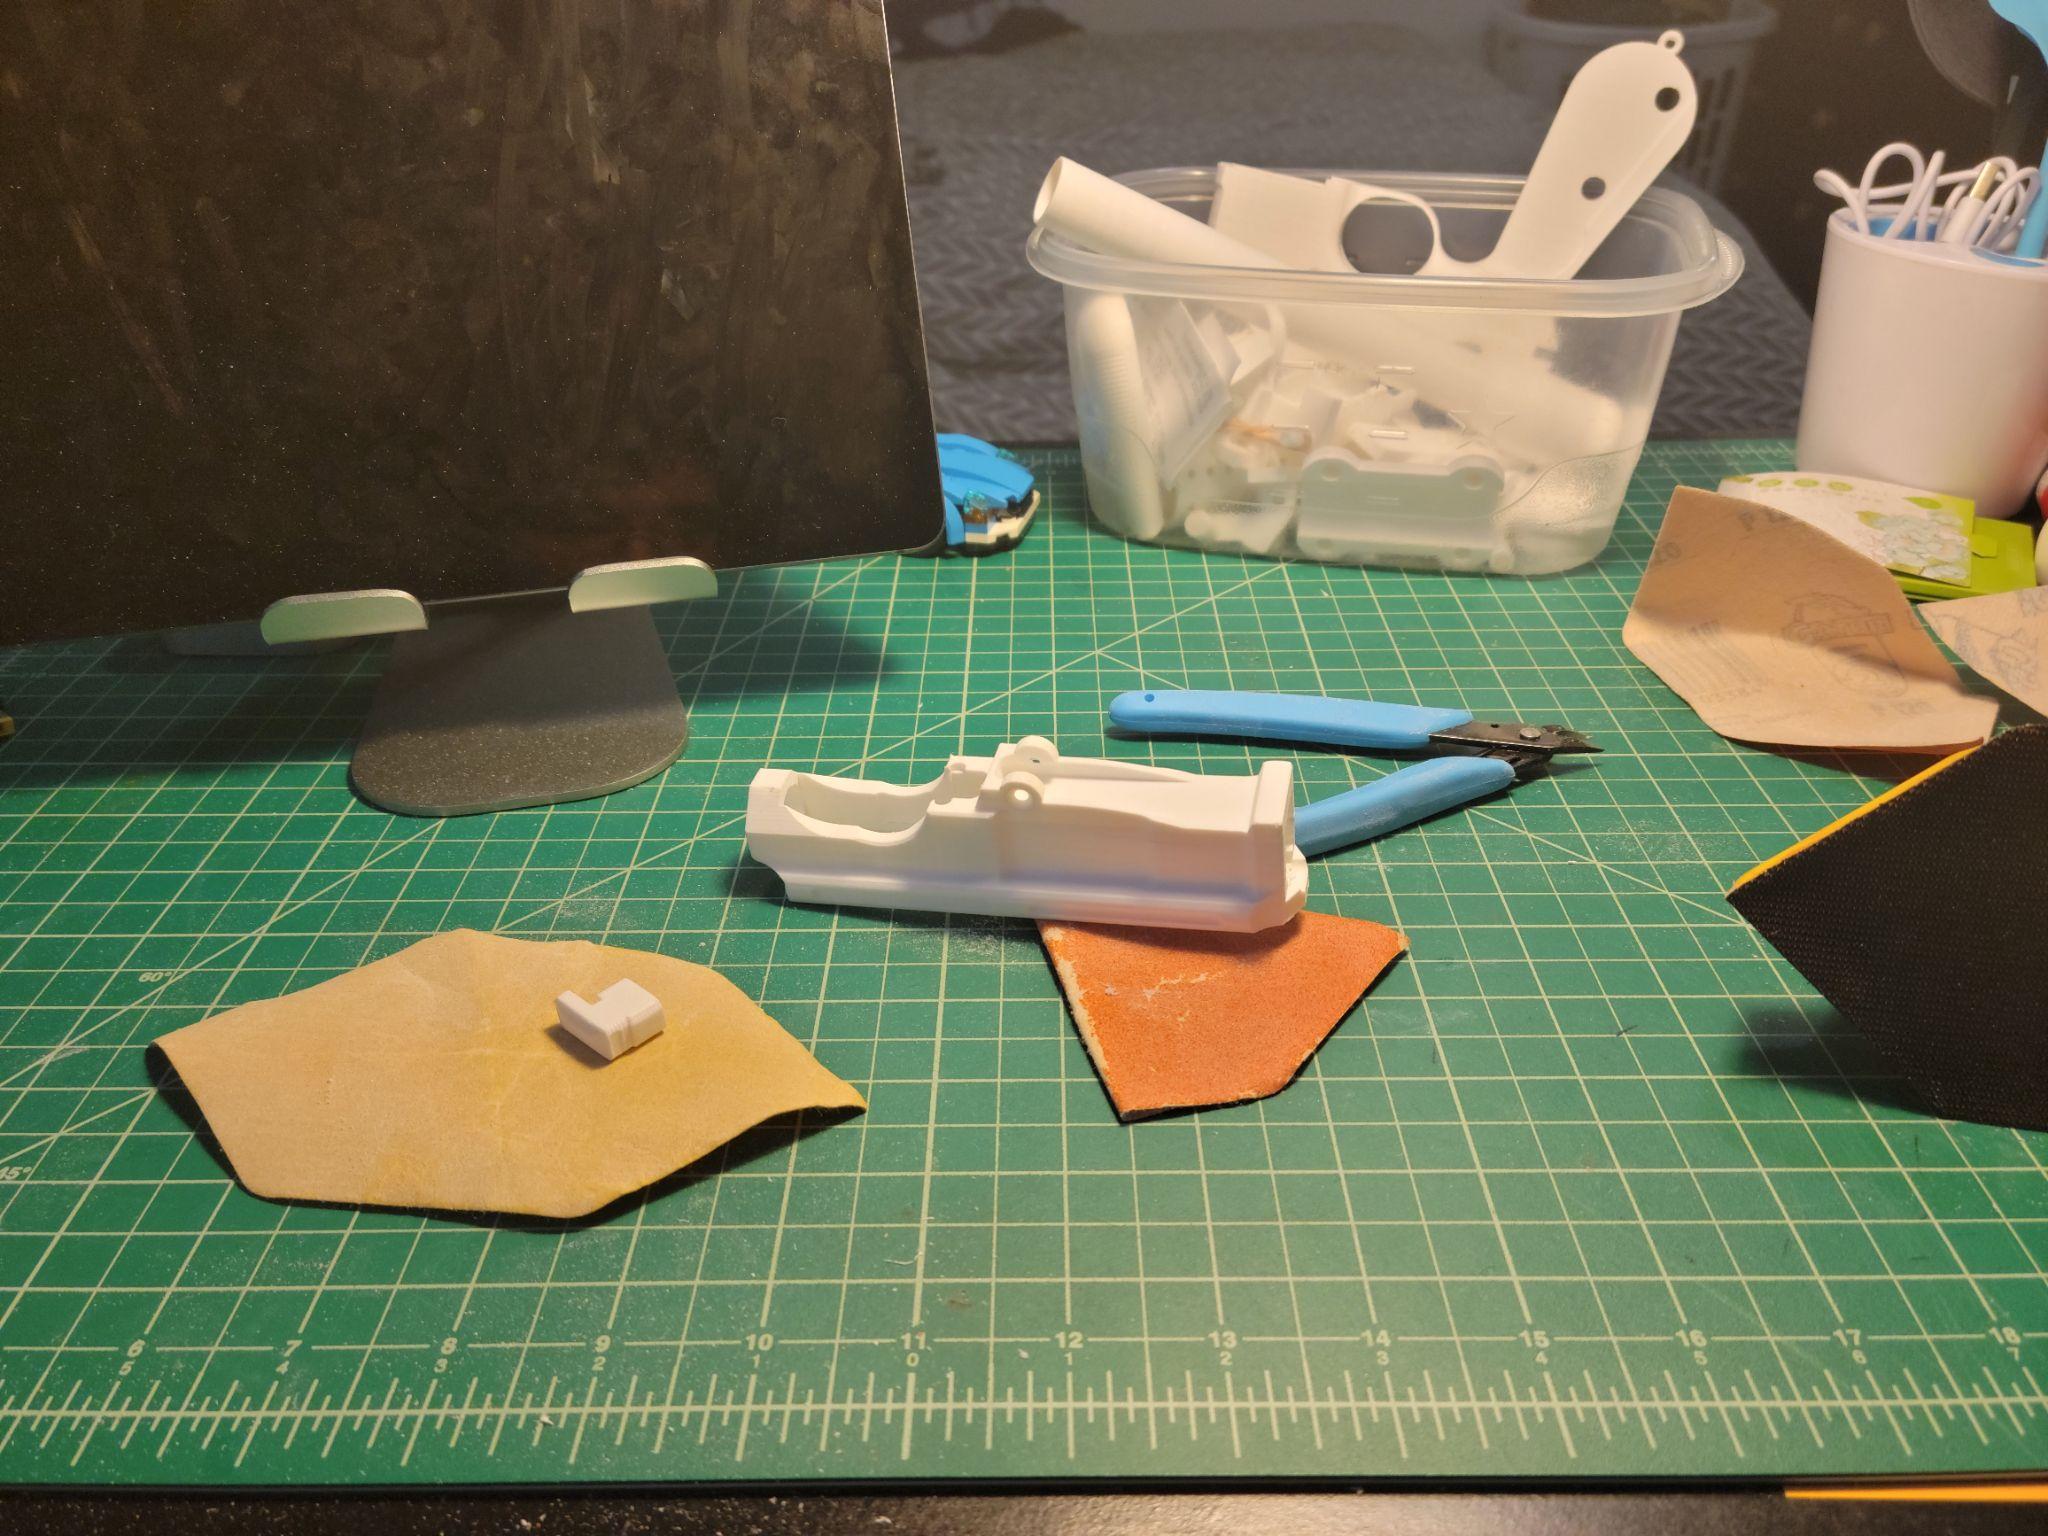
Sanding the printed parts — working through progressively finer grits
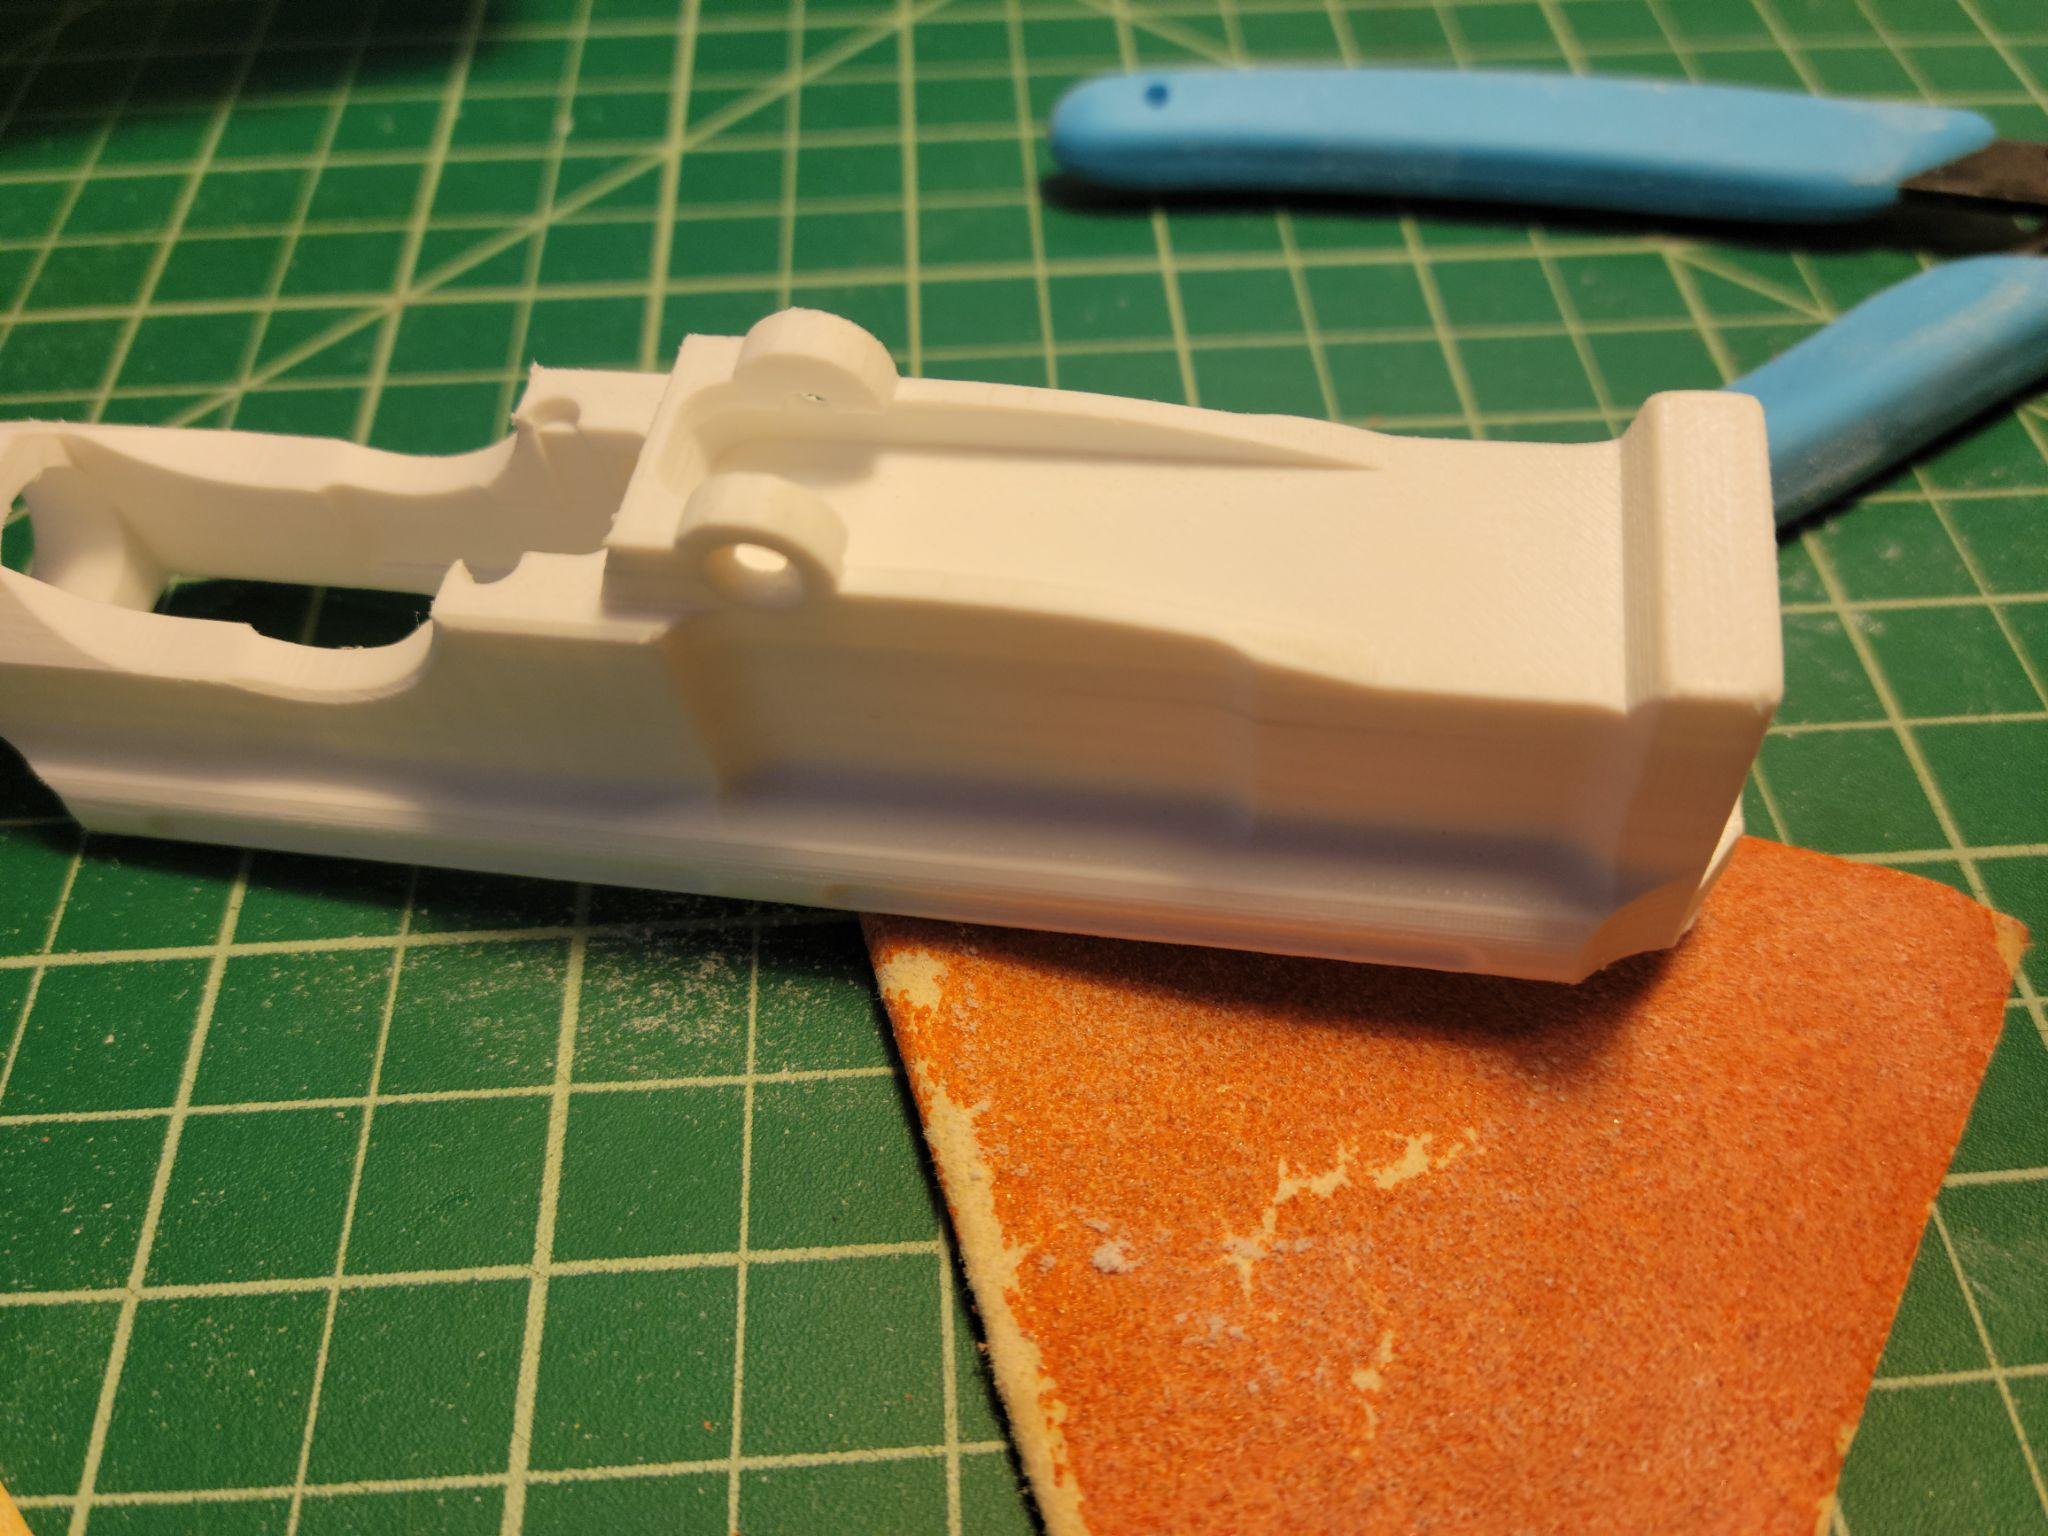
Continued sanding and surface prep
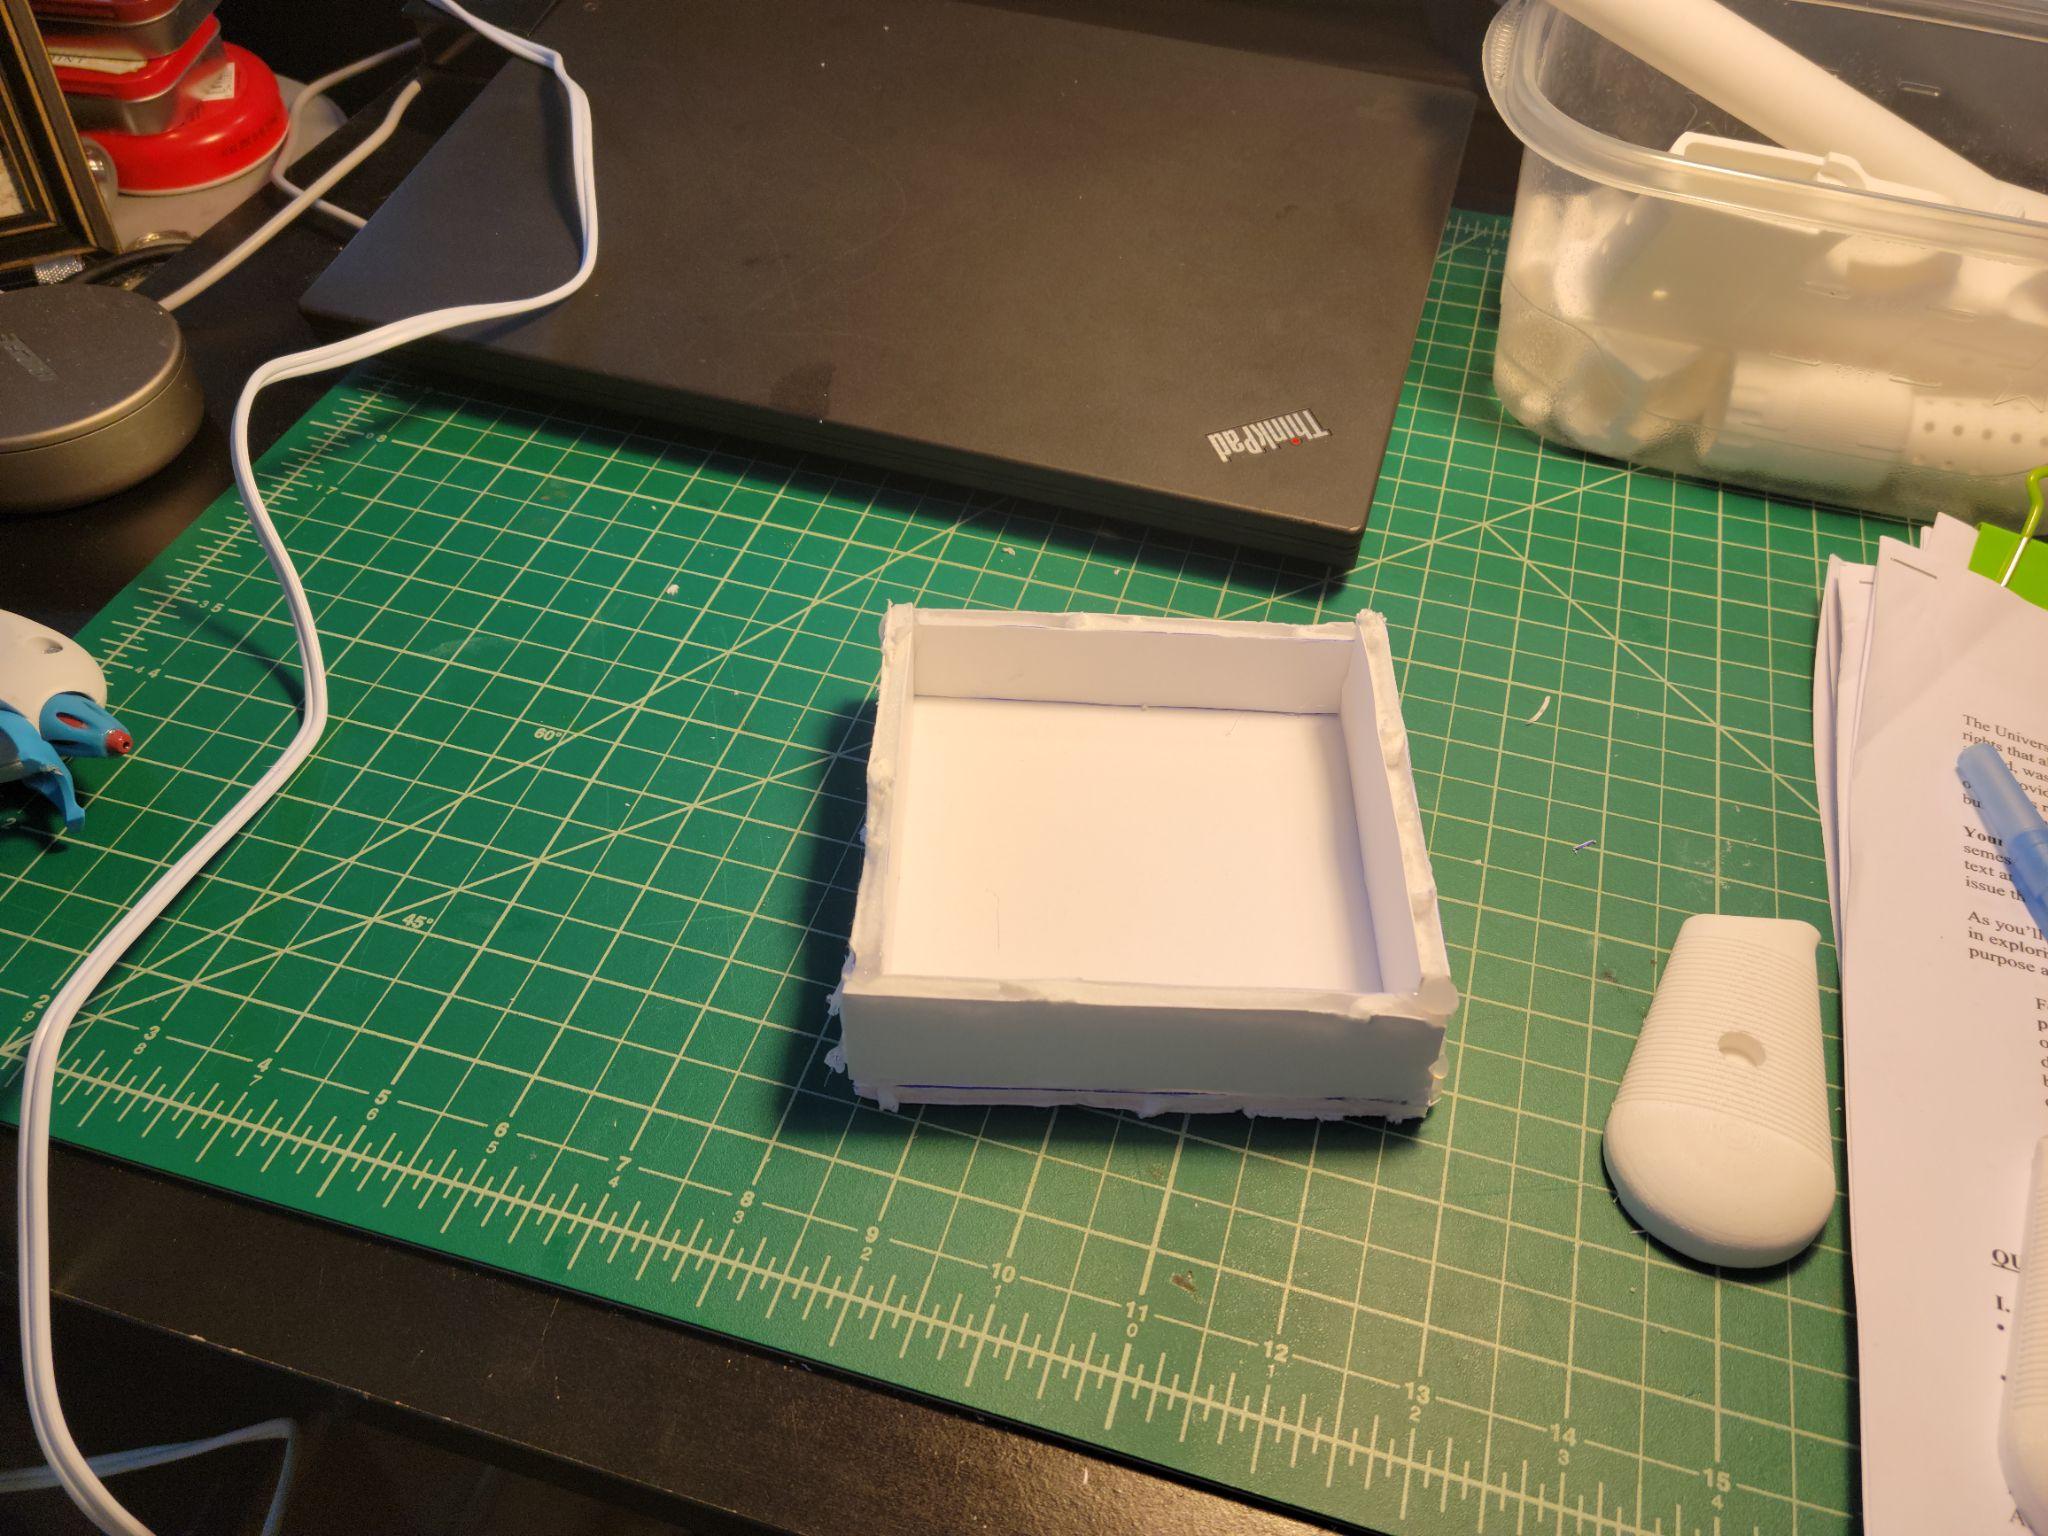
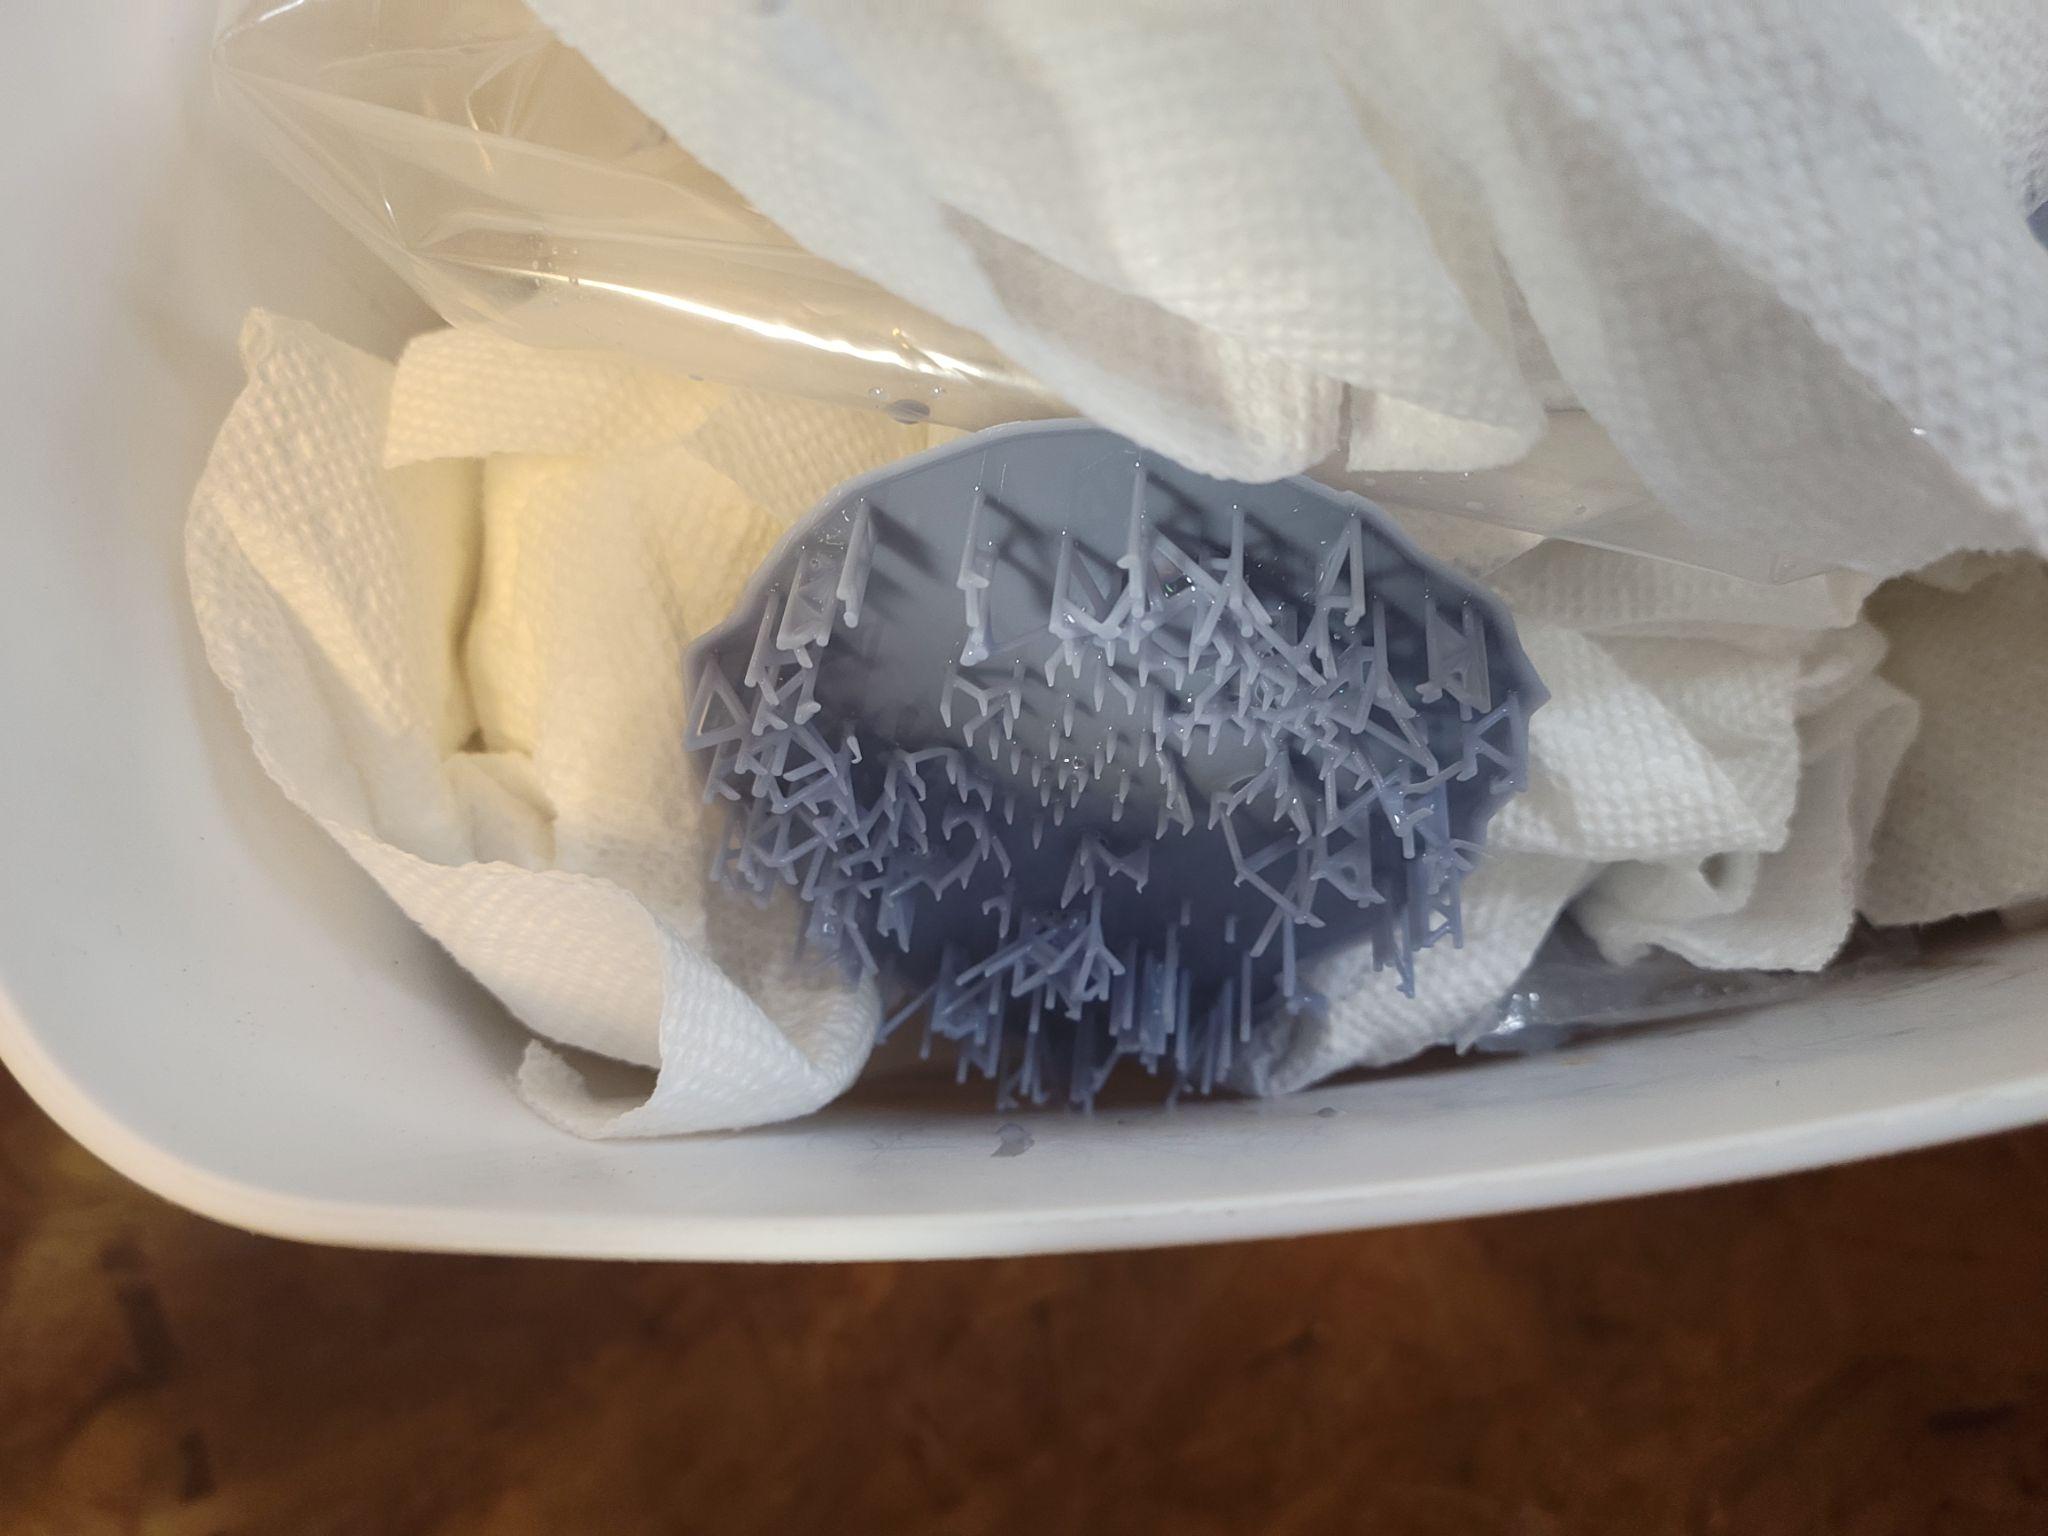
Resin casting integration. Because some grip pieces had high detail and I wanted to explore replication for breakable props, I also used the 3D printed parts as molds for resin casting — both silicone molds pulled from the printed pieces and a directly 3D printed mold.
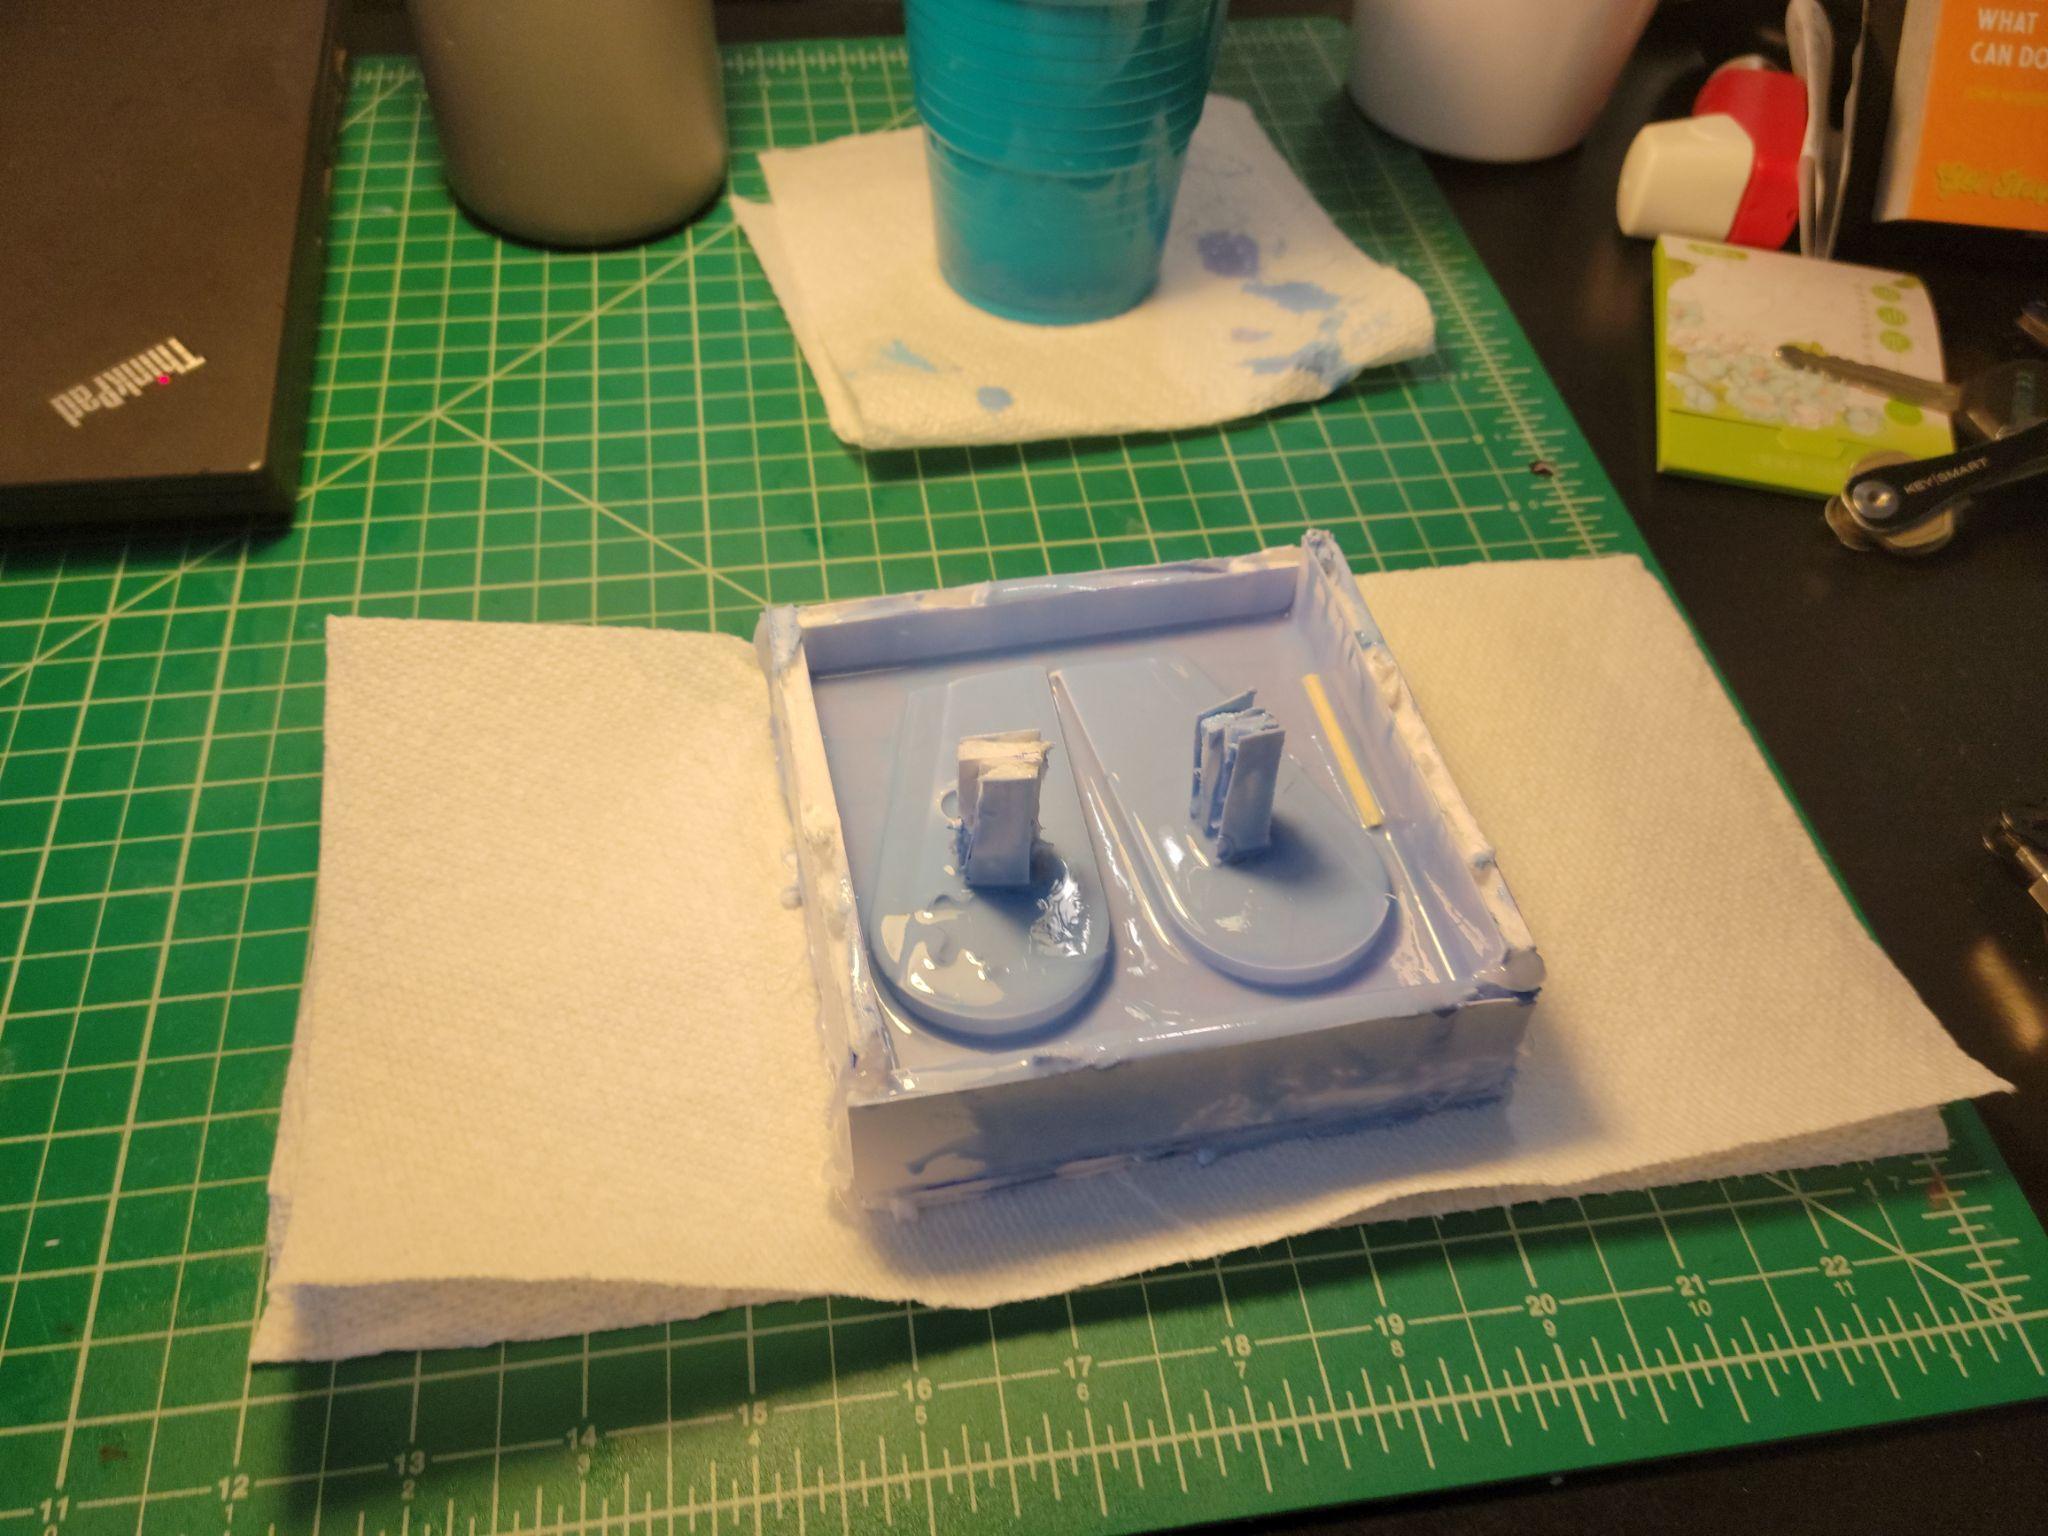
Parts cast using silicone molds pulled from the 3D printed masters

Resin being poured into molds
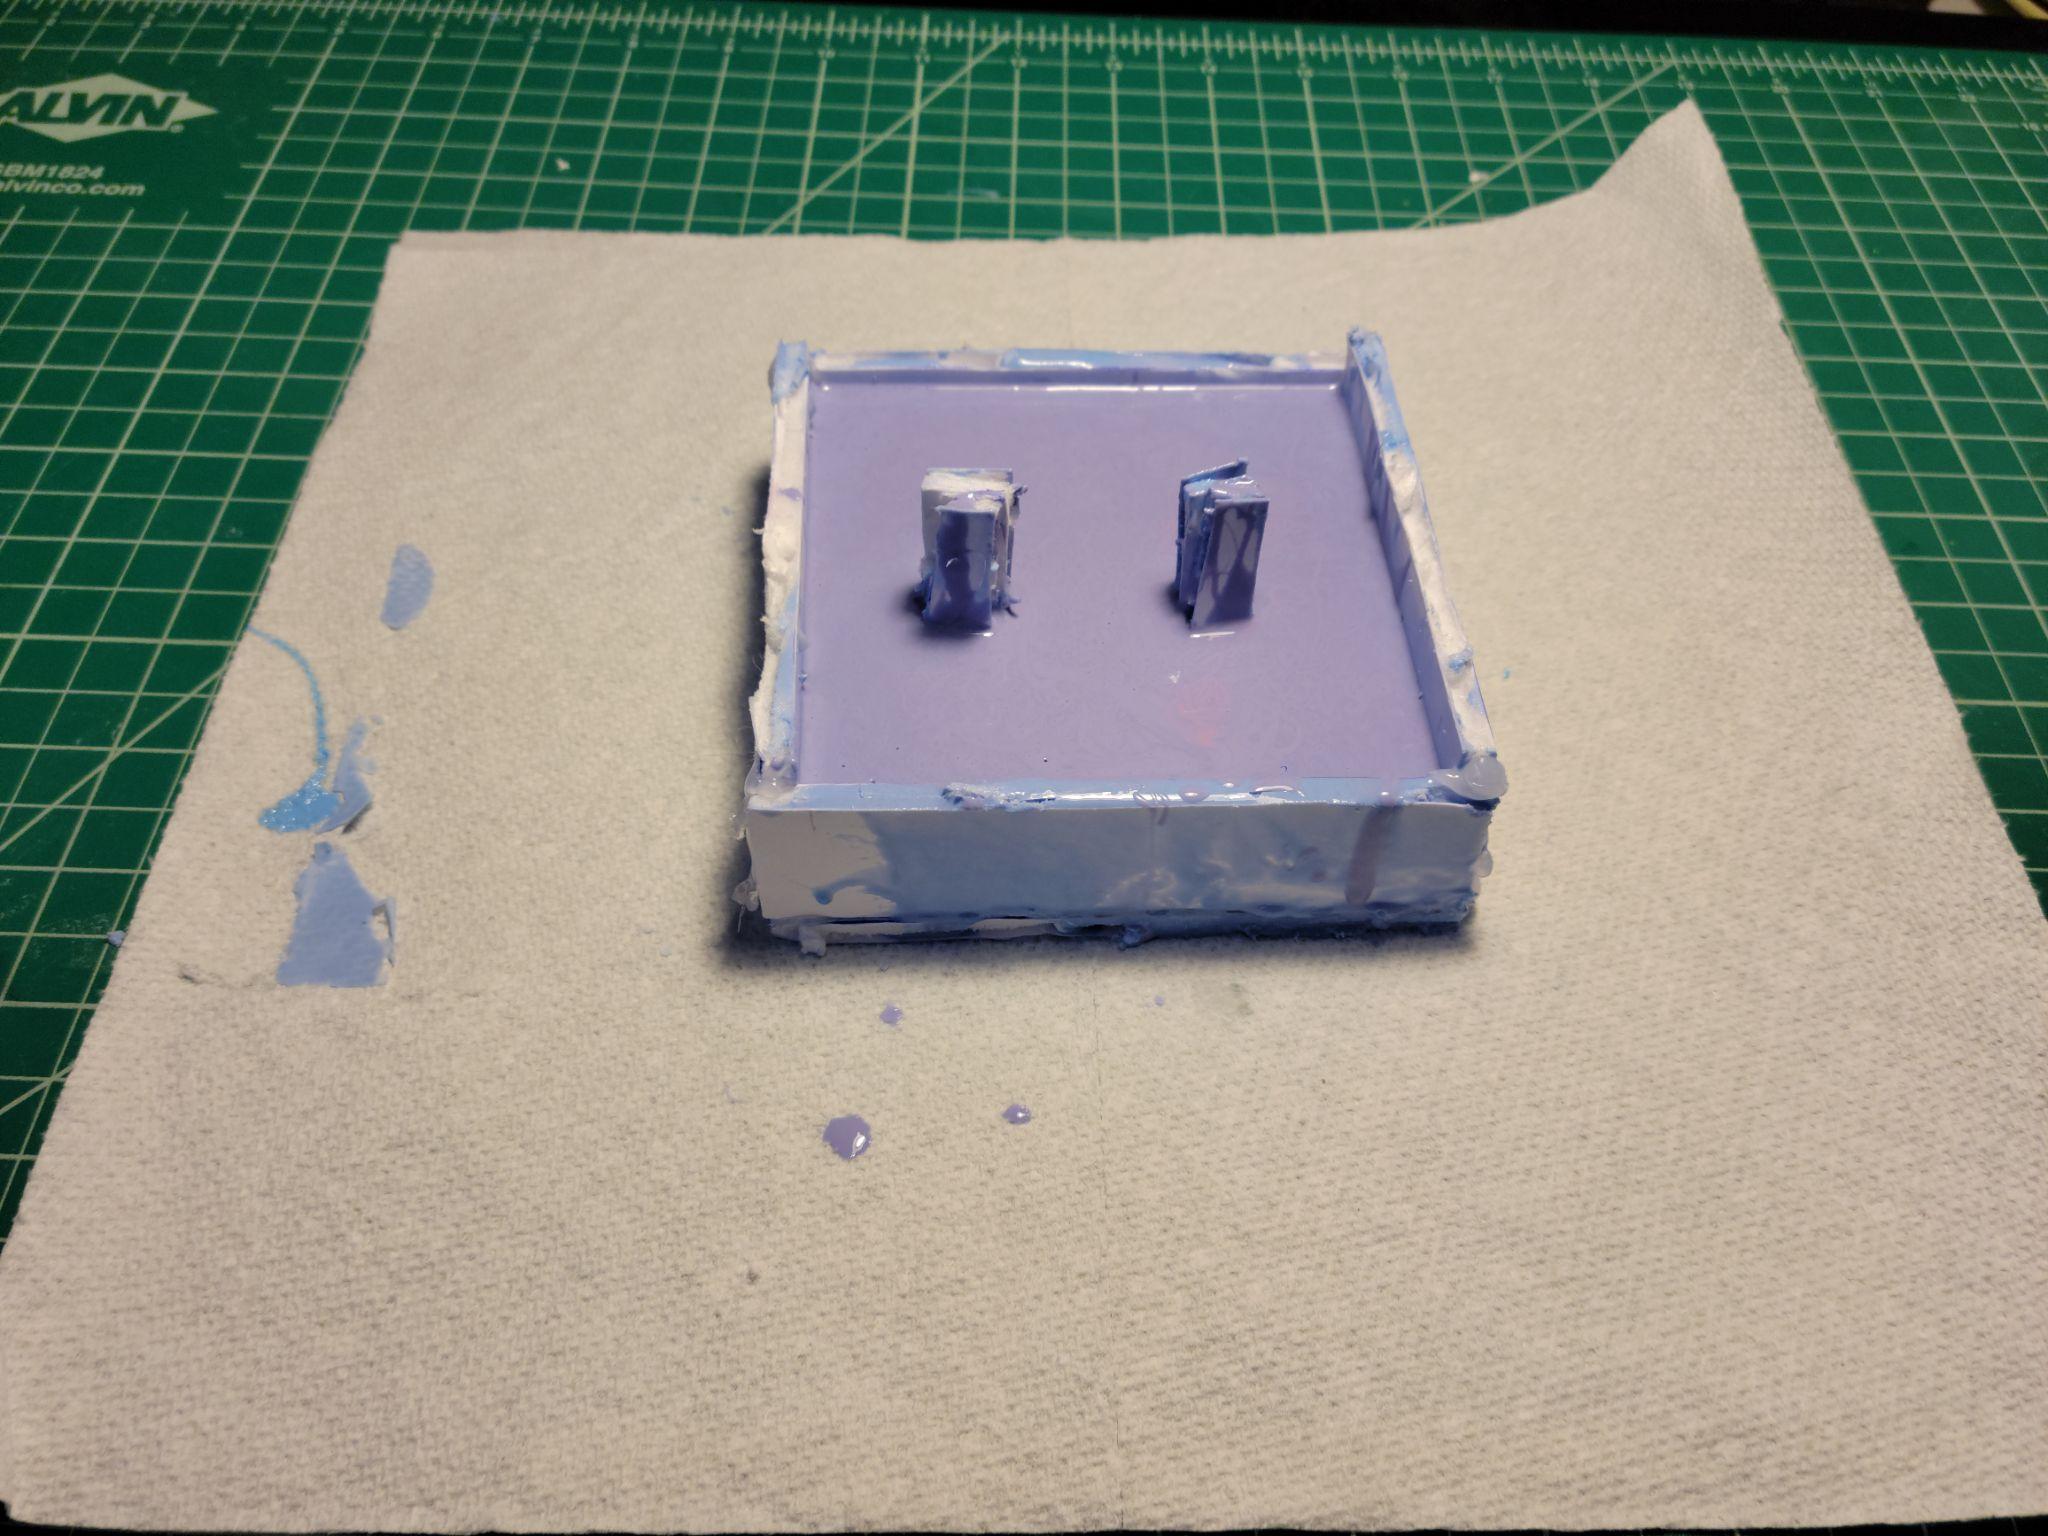
The casting process in progress
Cast parts removed from molds
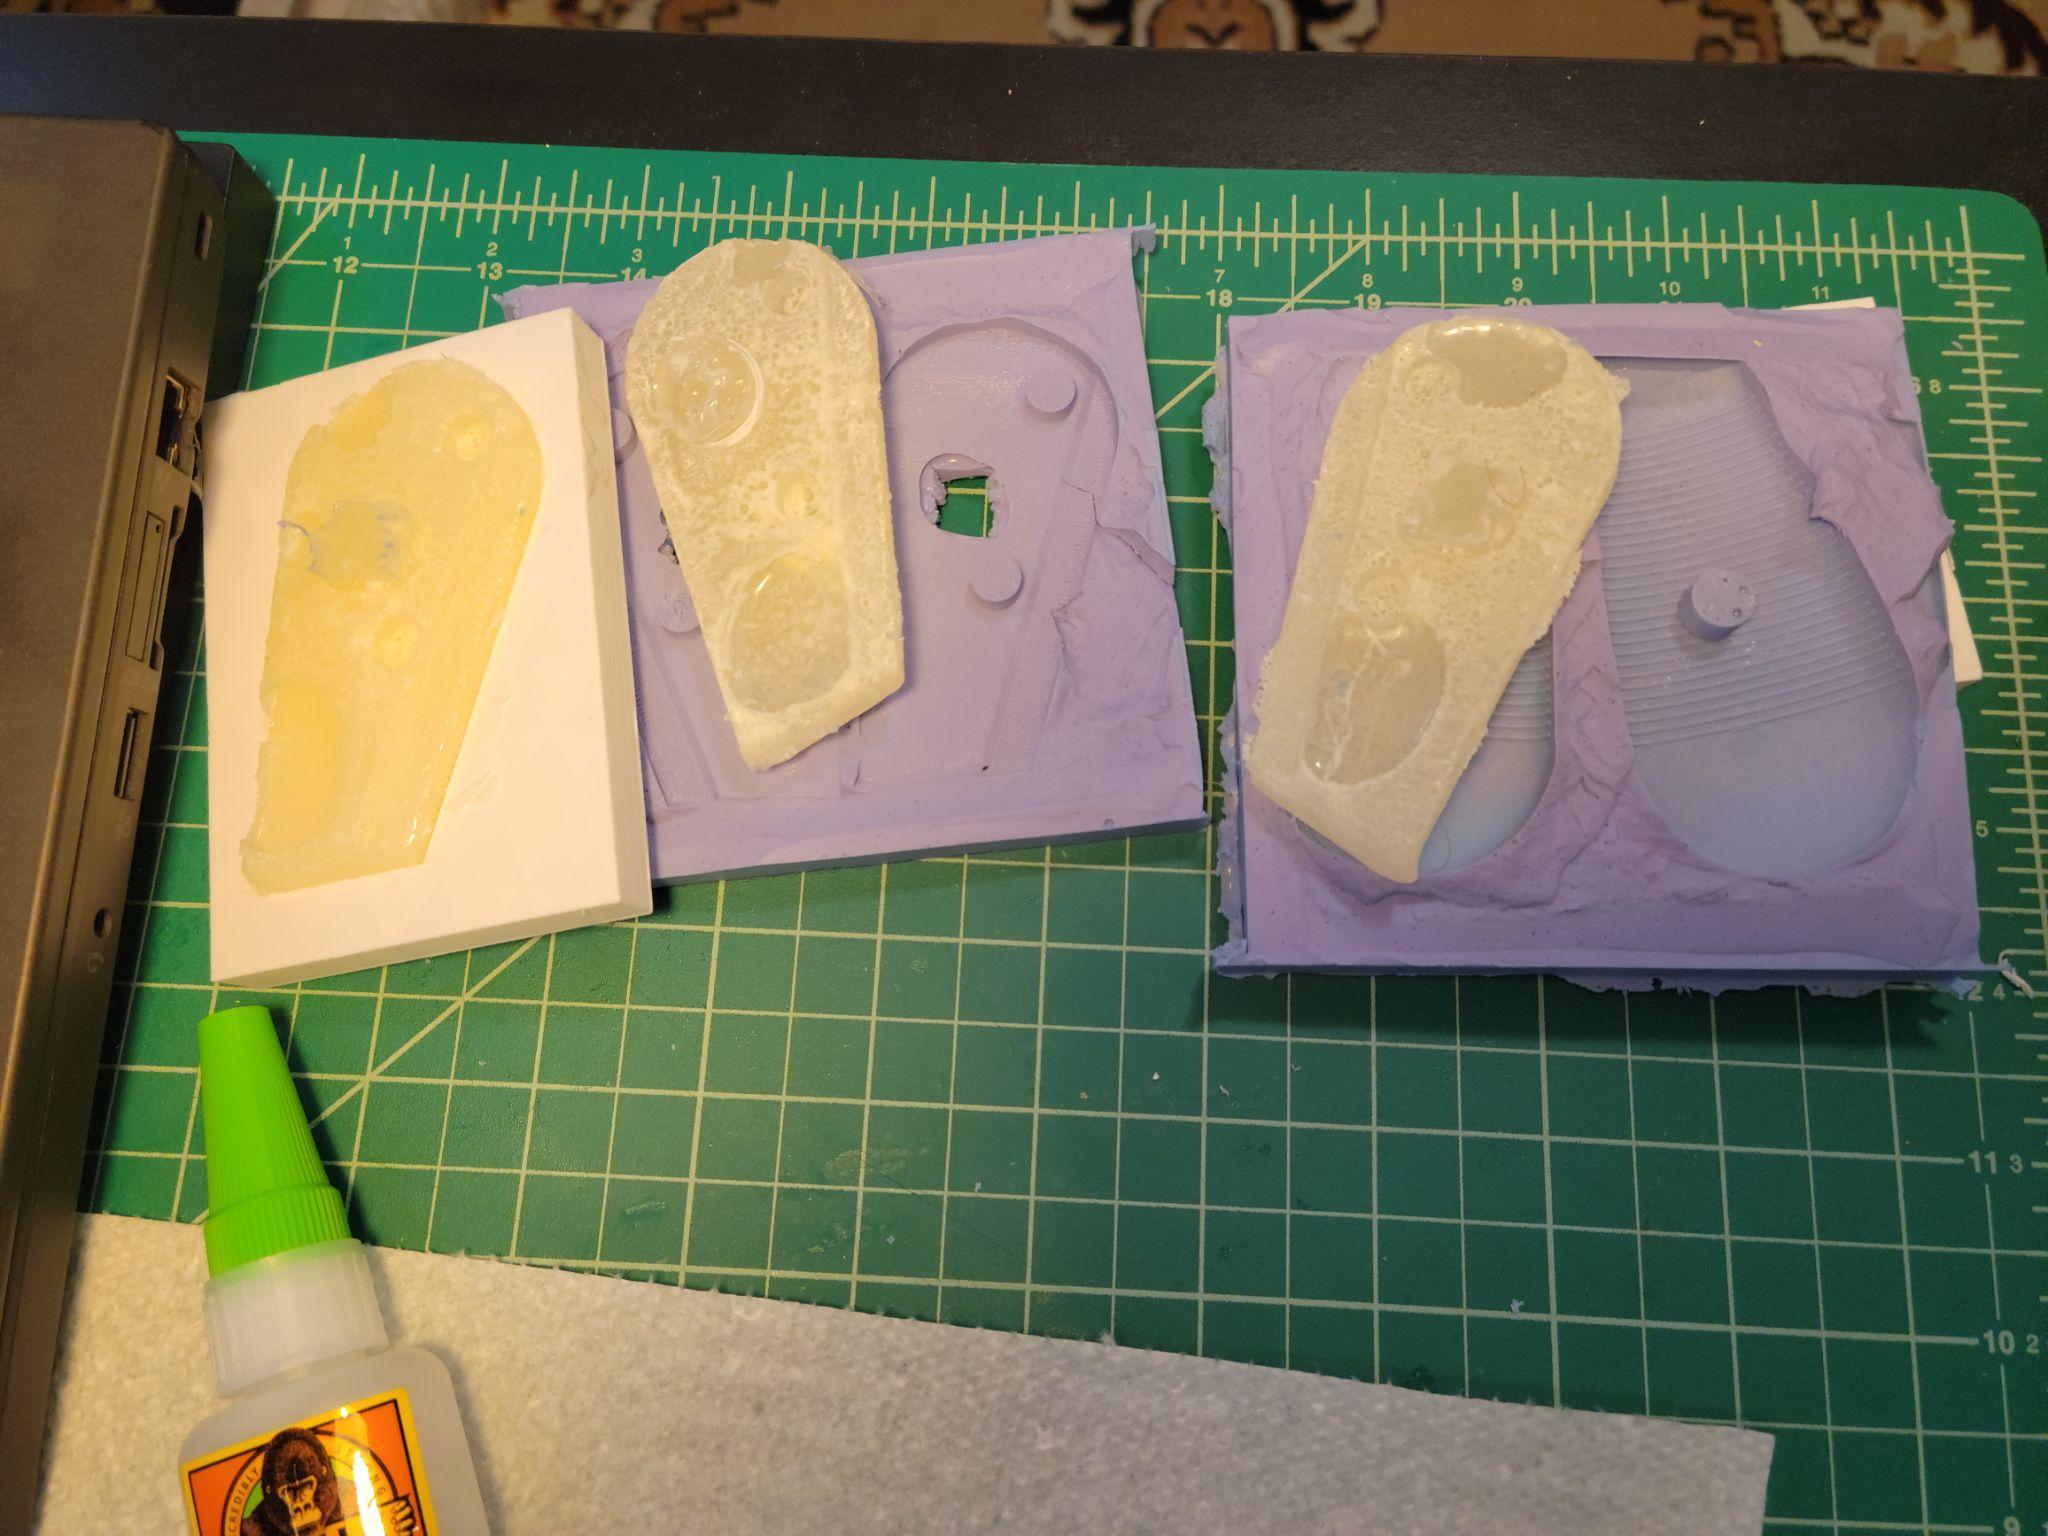
Resin poured into both silicone and 3D printed molds for the grip sections
Both methods produced good results. Resin casting is already well-established in theatrical prop-making; the combination of FDM printing for master parts and resin casting for production copies addresses the time problem cleanly — casts take minutes rather than hours.

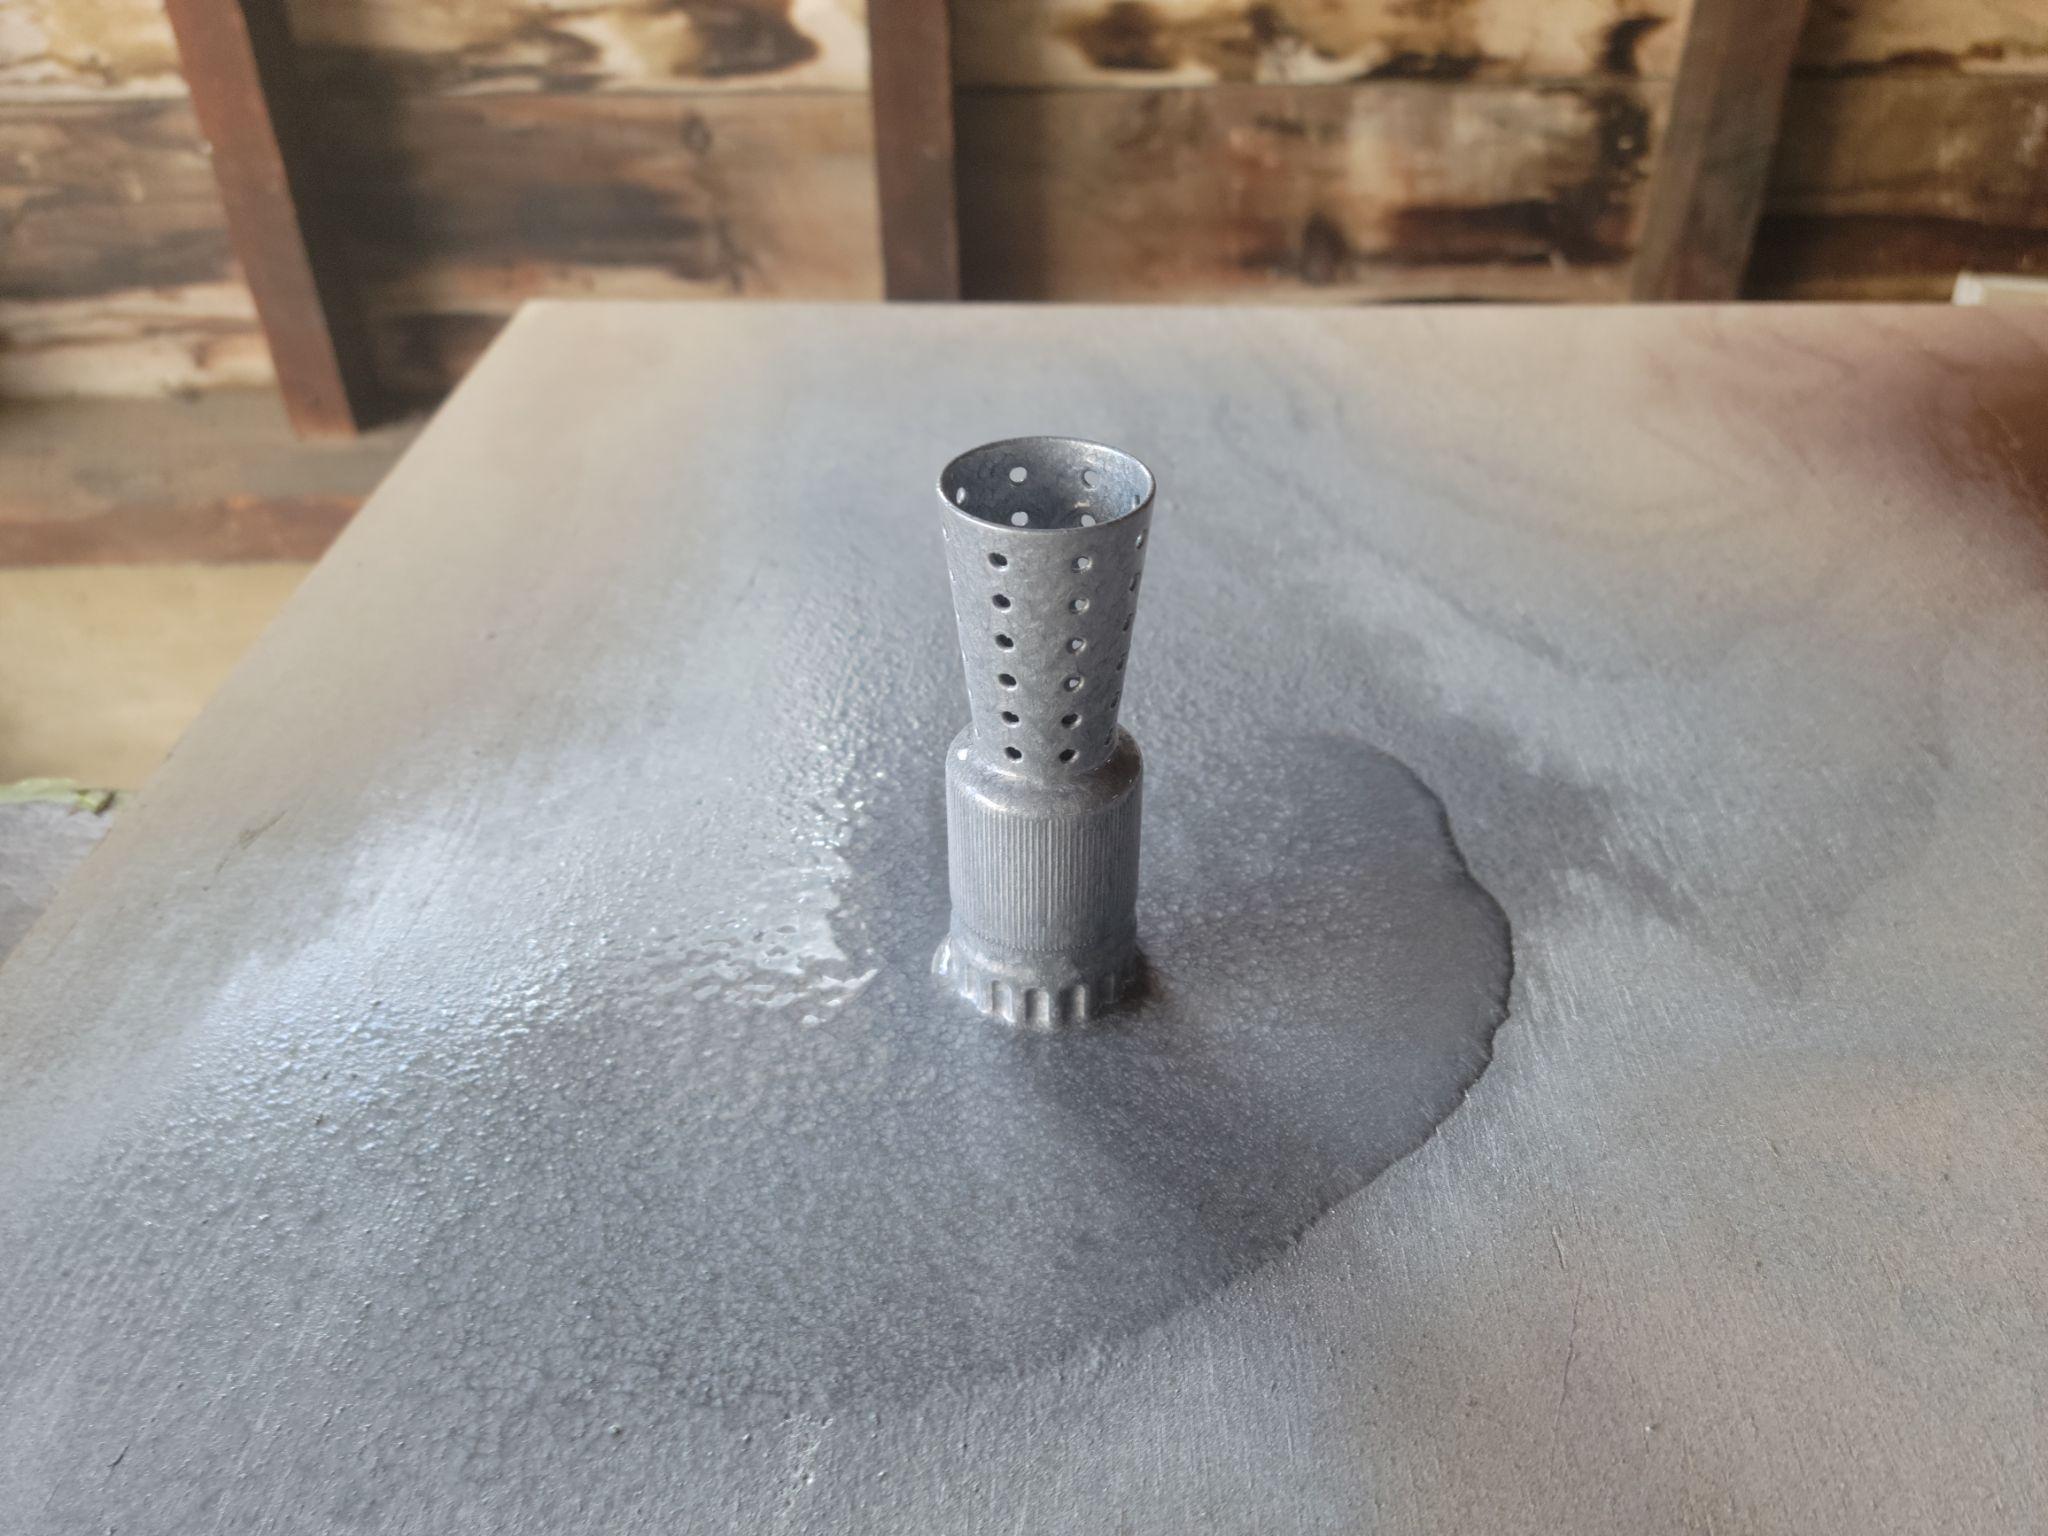
Painting the assembled blaster
Applying metallic finishes
Detail painting
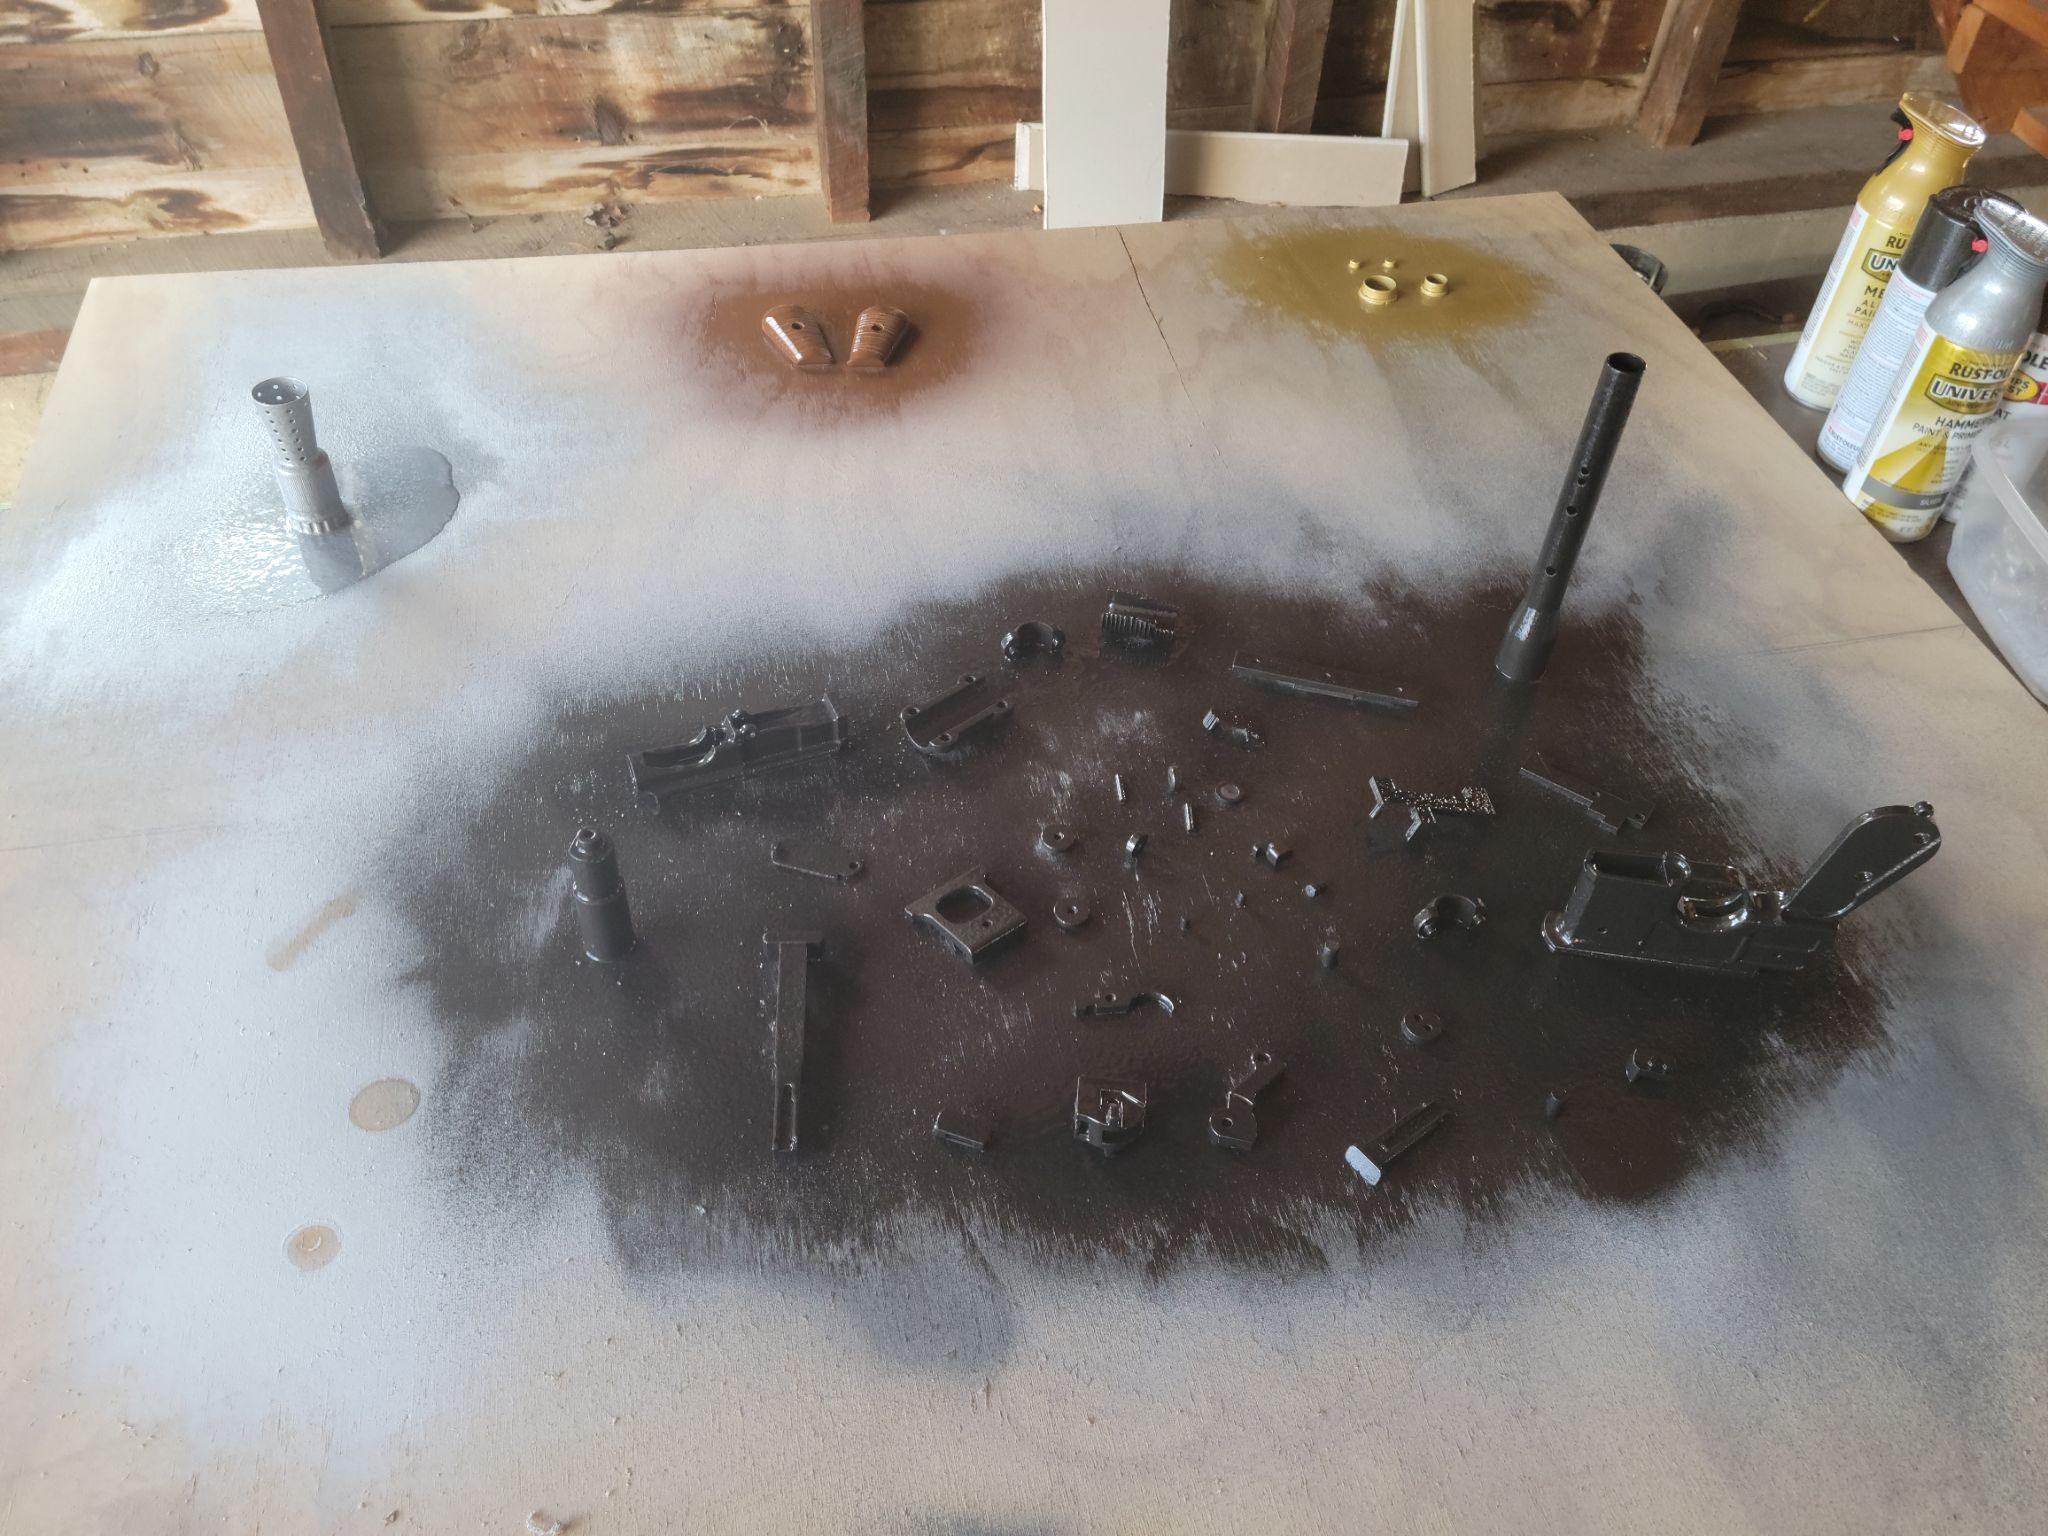
Adding weathering and depth
Progressive paint layers
Near-final paint state
Final paint and weathering passes
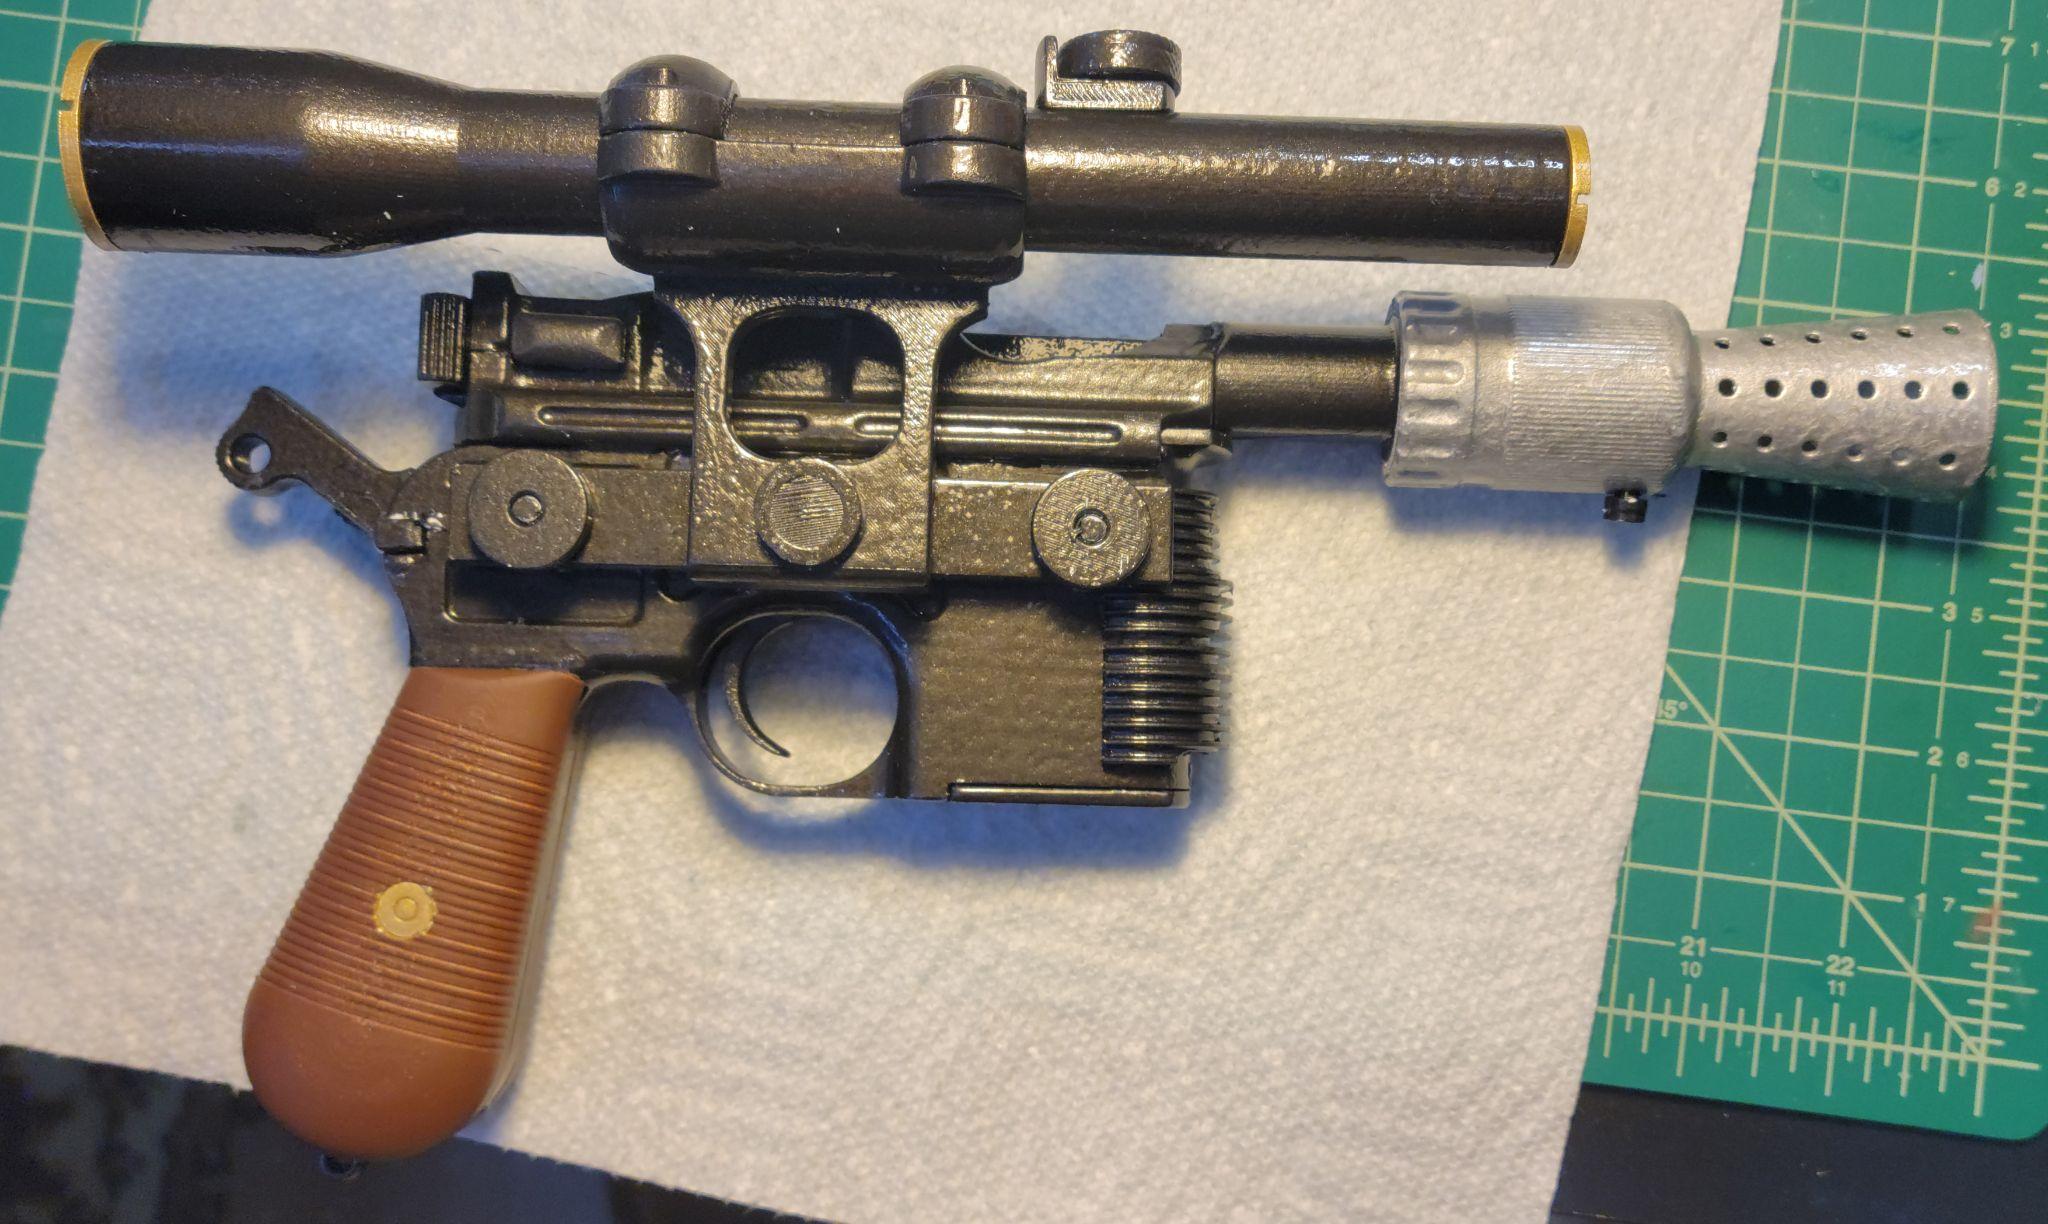
The finished DL-44 blaster after priming, painting, and final assembly
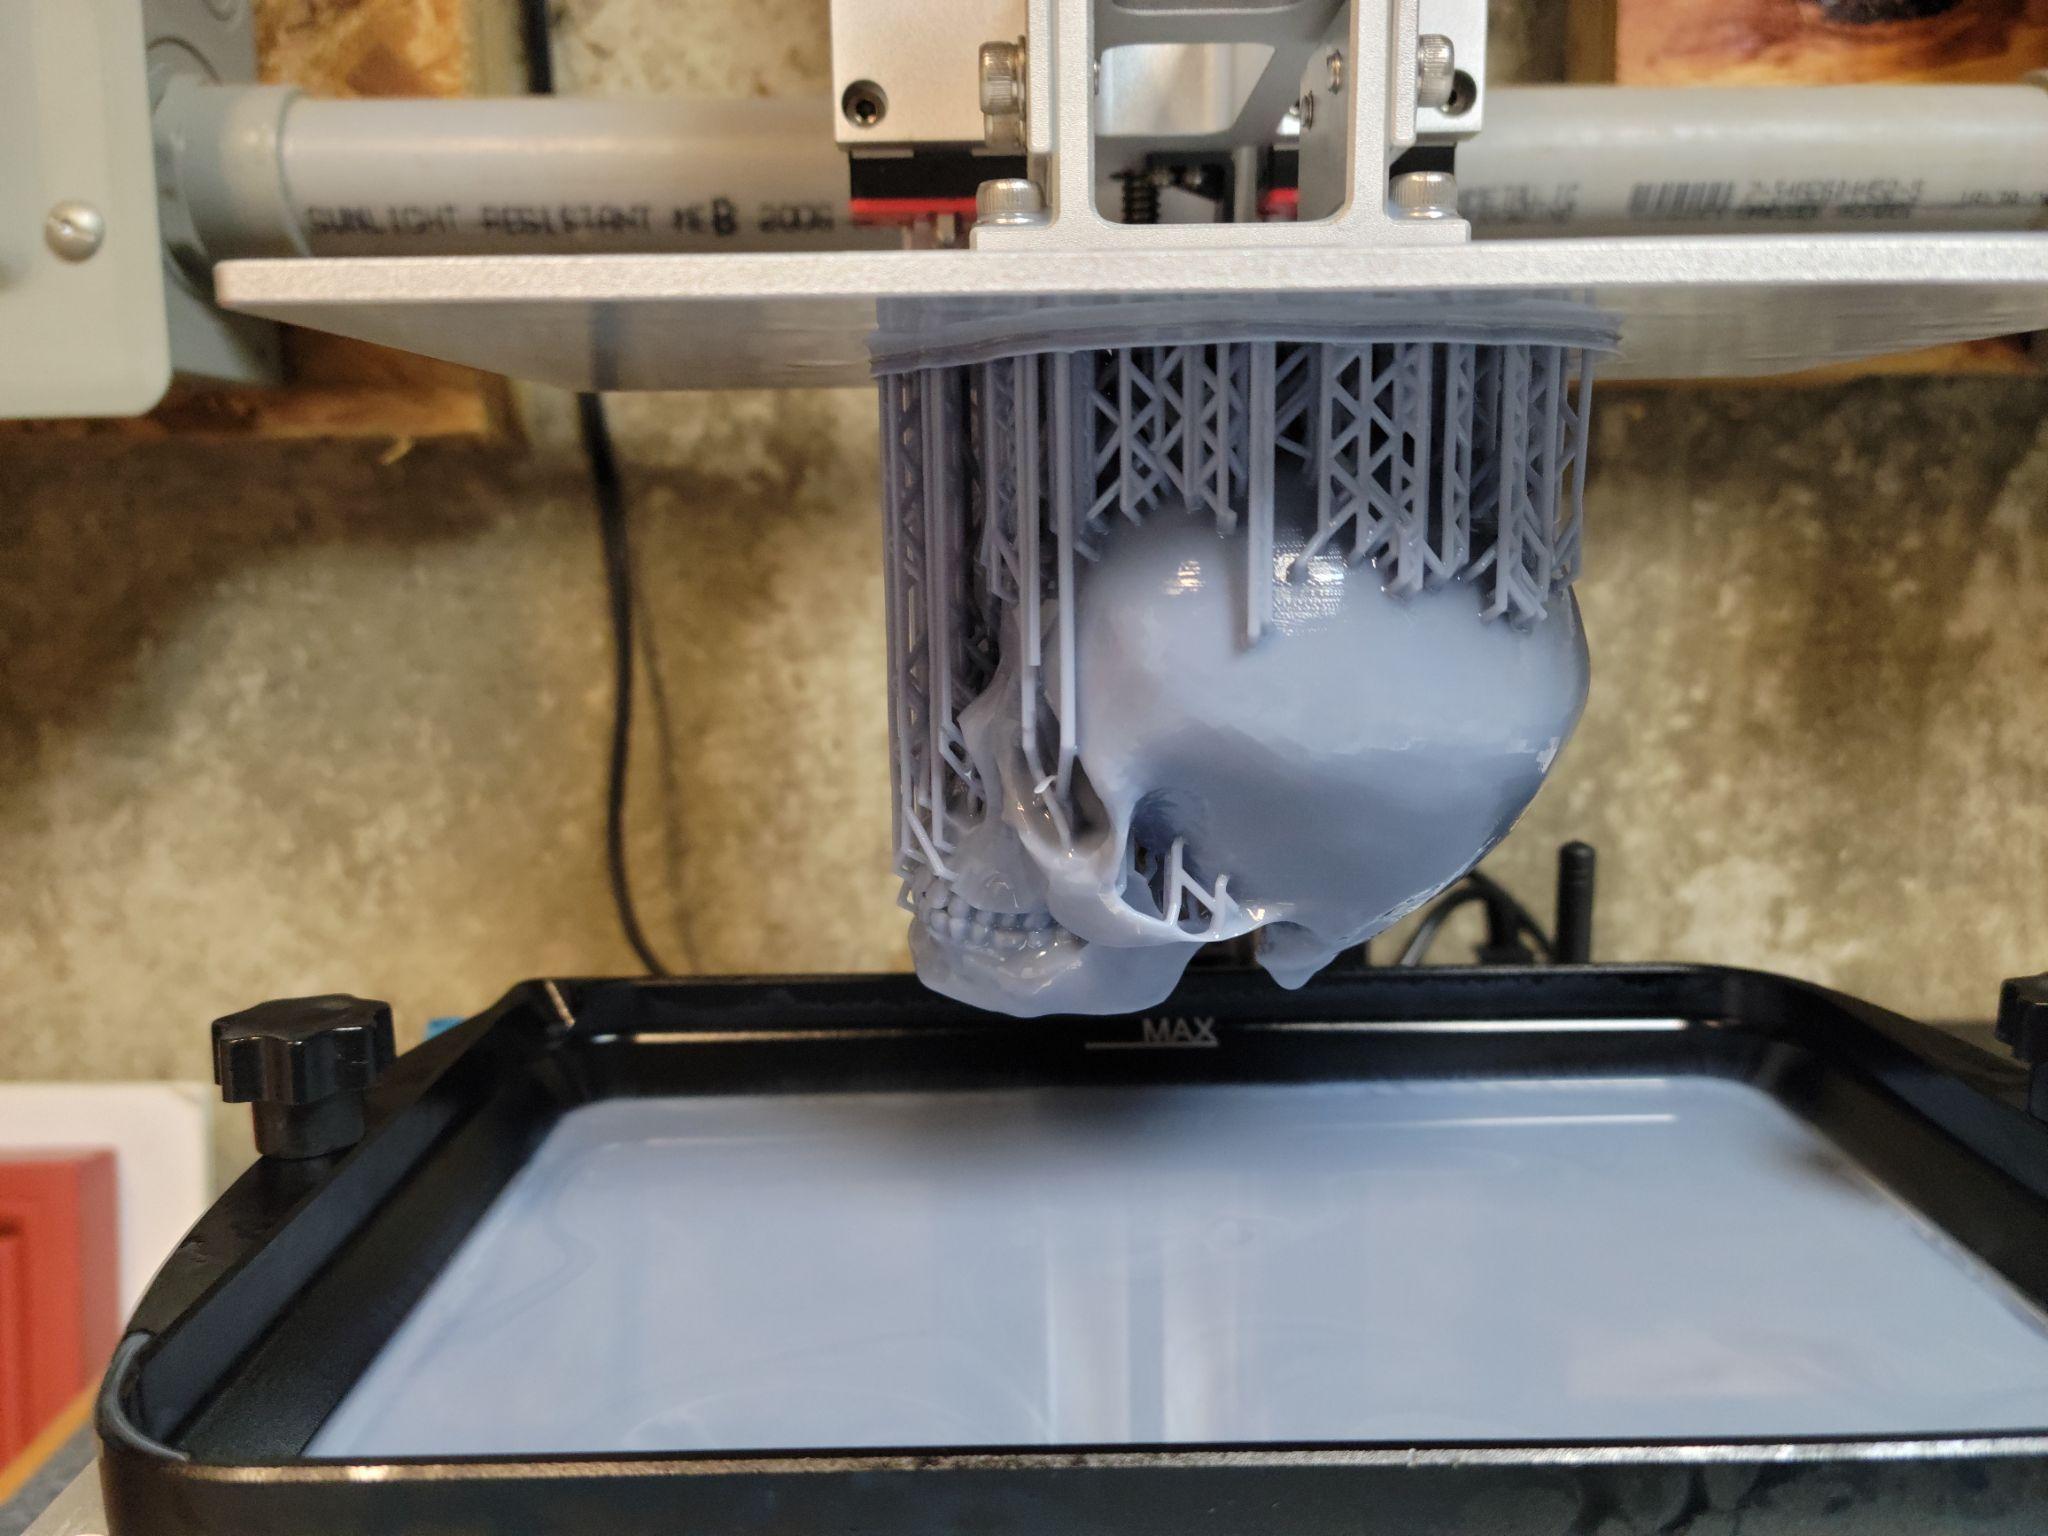
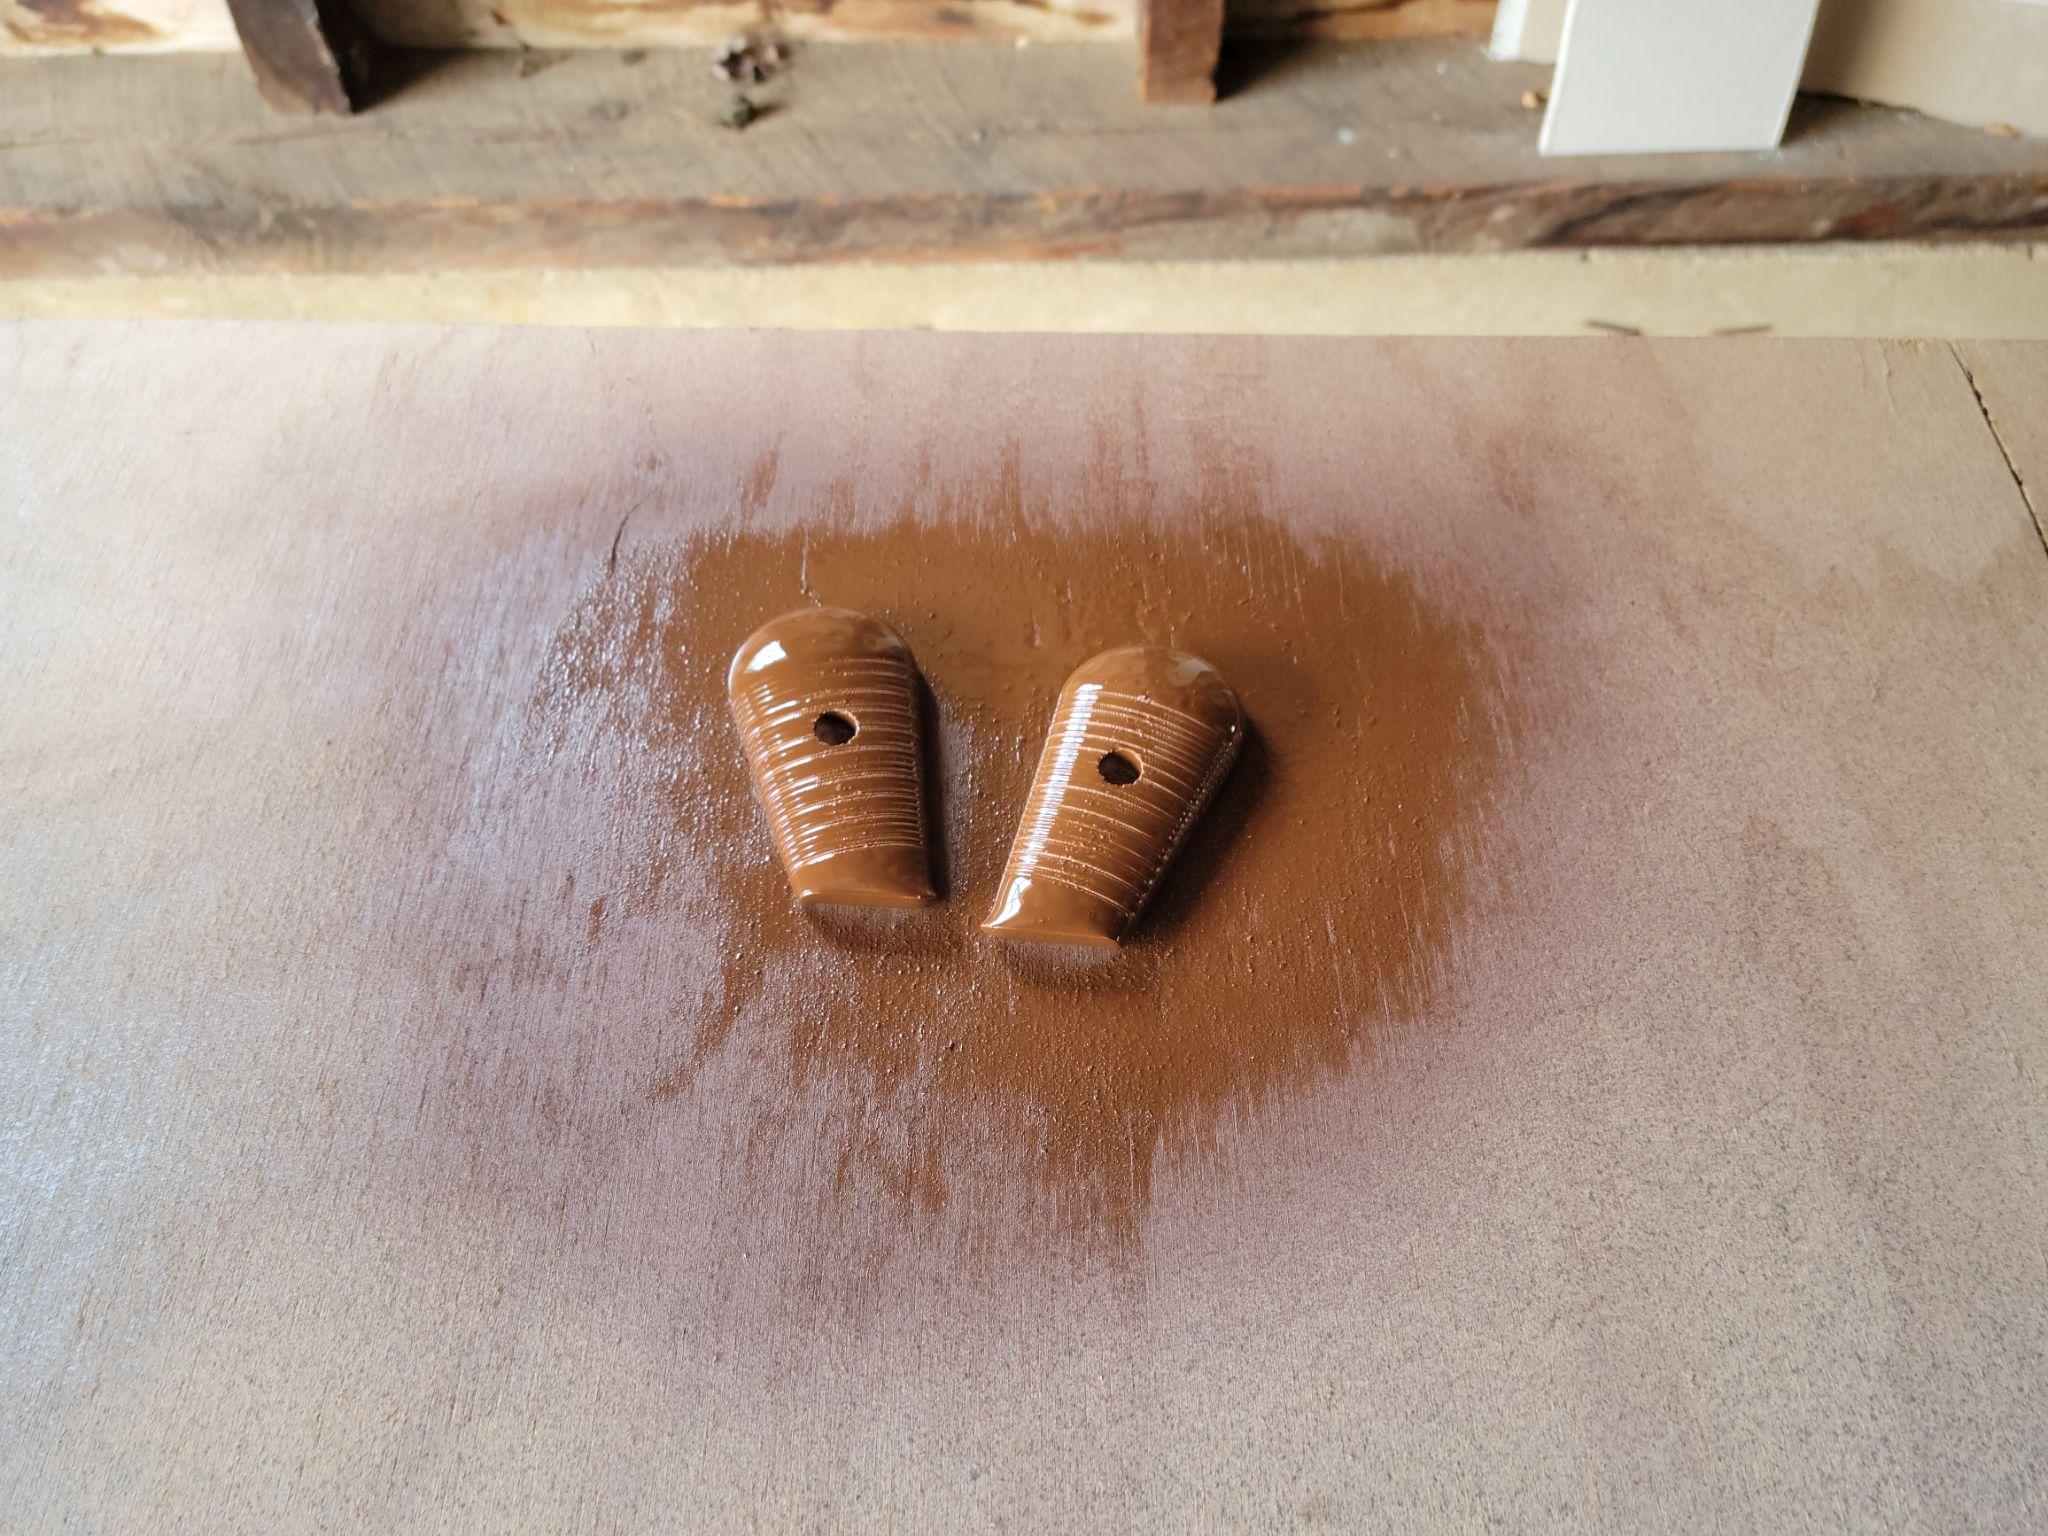
Skulls for She Kills Monsters — Multi-Process Comparison
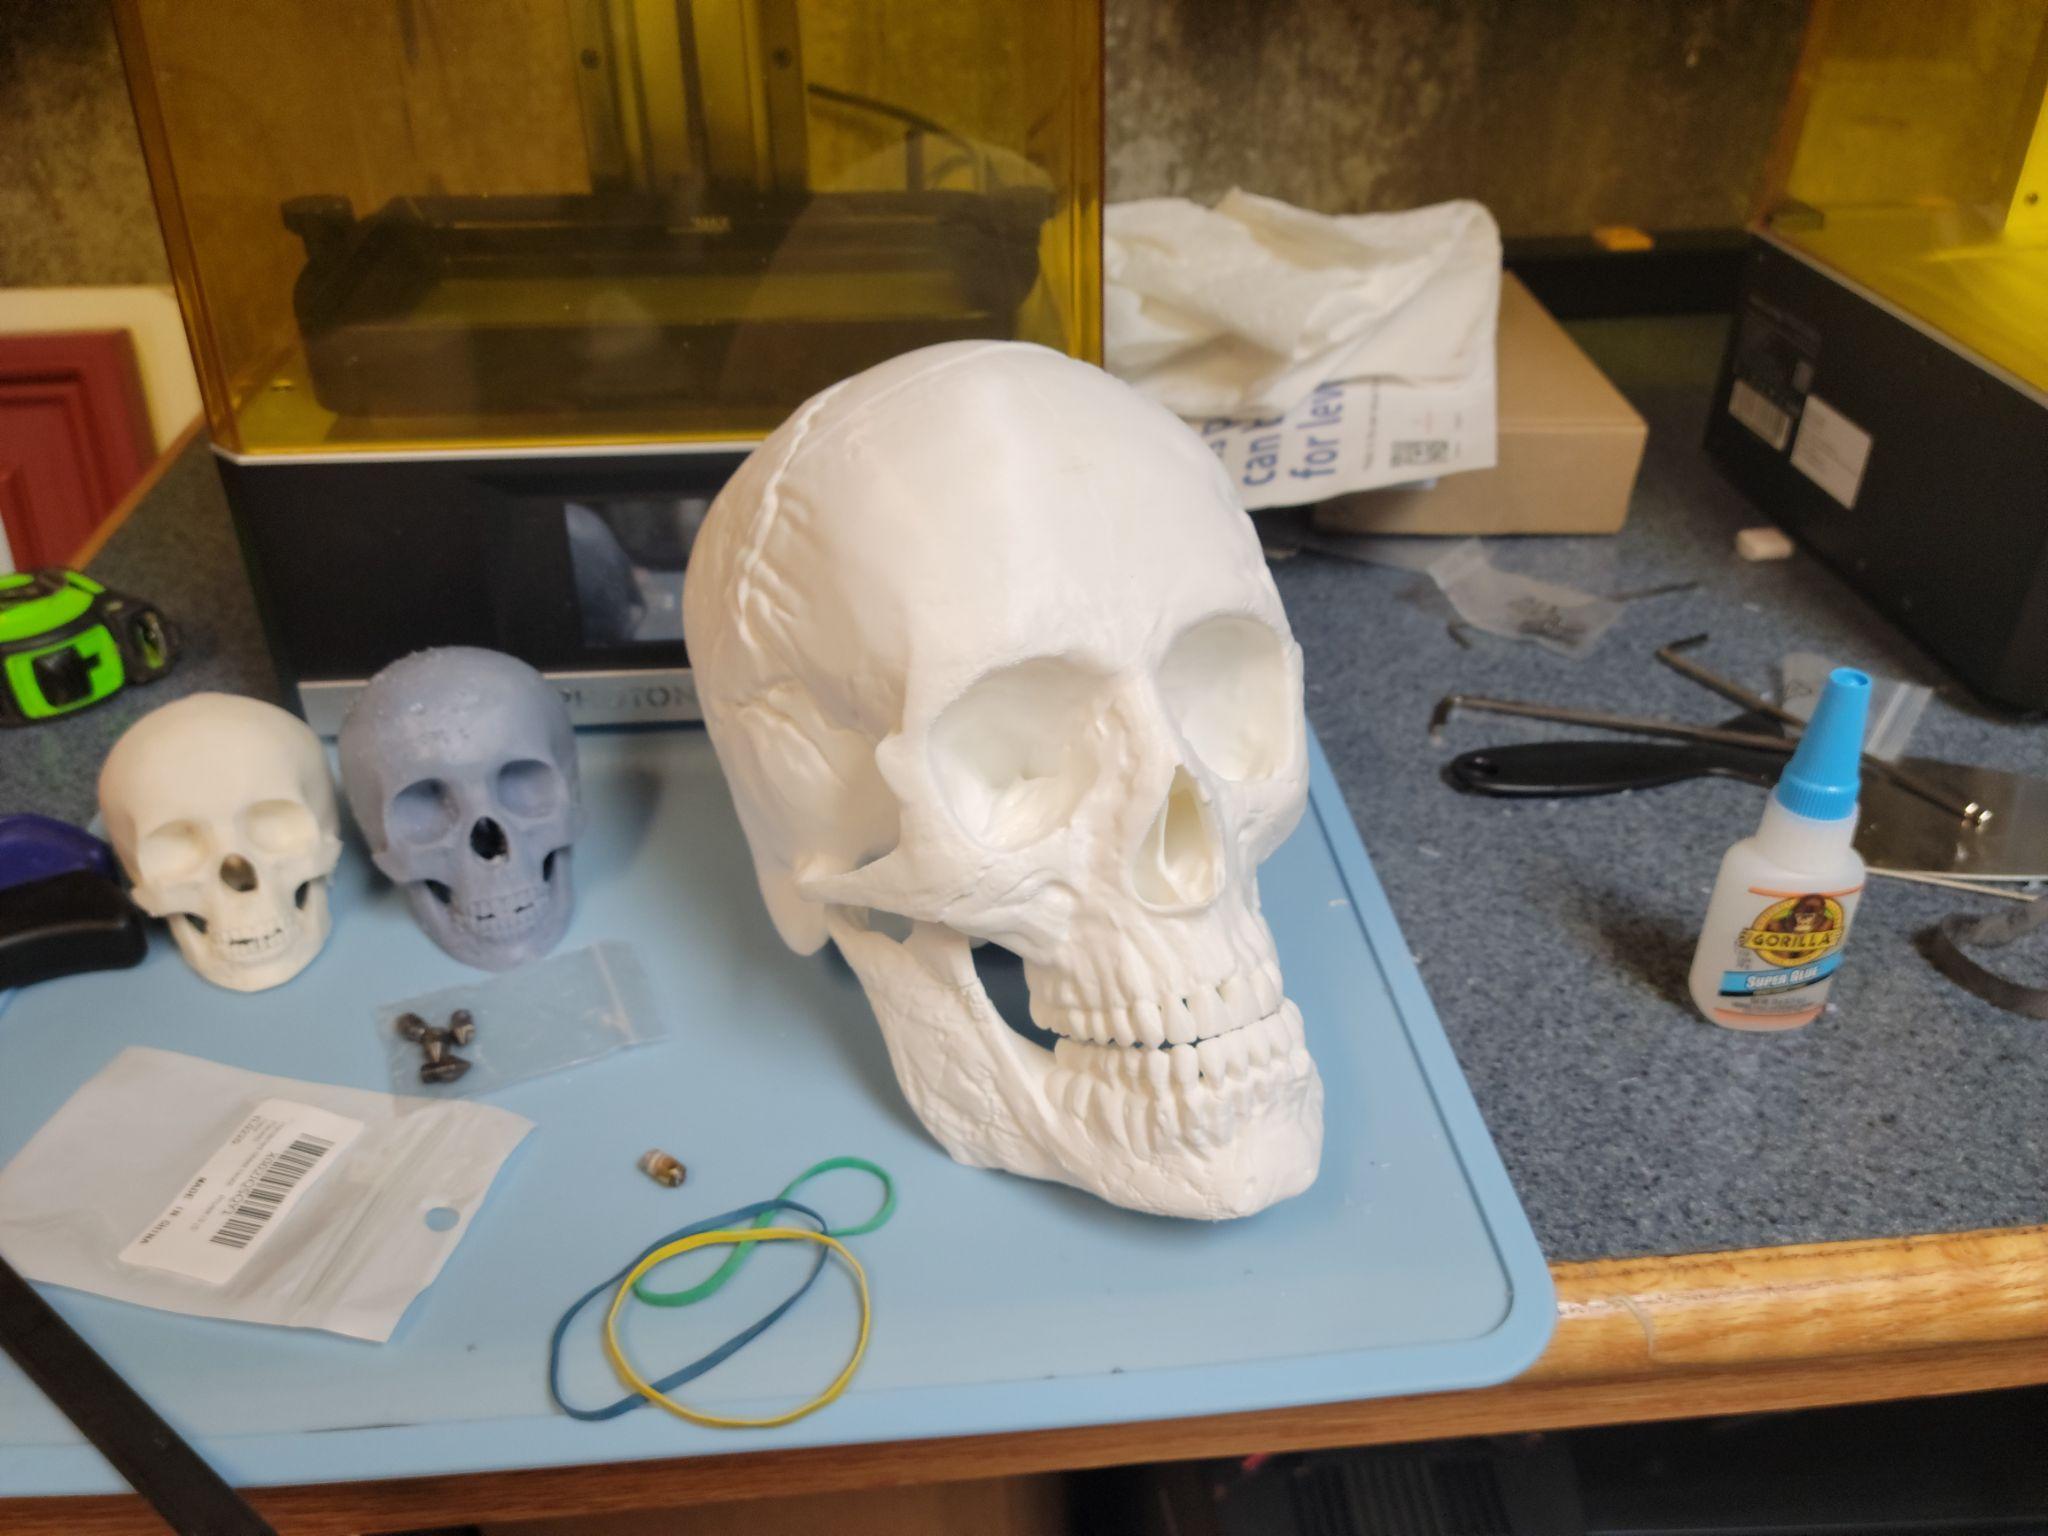
In Fall 2021 I printed props for the UNH THDA mainstage production She Kills Monsters: three human skulls — one full-scale and two at roughly quarter scale.

Three skulls before finishing — one large FDM, two small (one FDM, one resin)
Large skull (FDM / PLA): Printed in three sections on the Ender 3. Smooth process until a worn nozzle caused a jam mid-run. Swapped the nozzle, finished the print.
Small skull #1 (FDM / ABS): First ABS print on a printer without a heated bed. ABS typically requires one to prevent warping, but the print came out successfully. Some under-extrusion from a nozzle temperature that was slightly too low left minor surface artifacts, but these disappeared after sanding and painting.
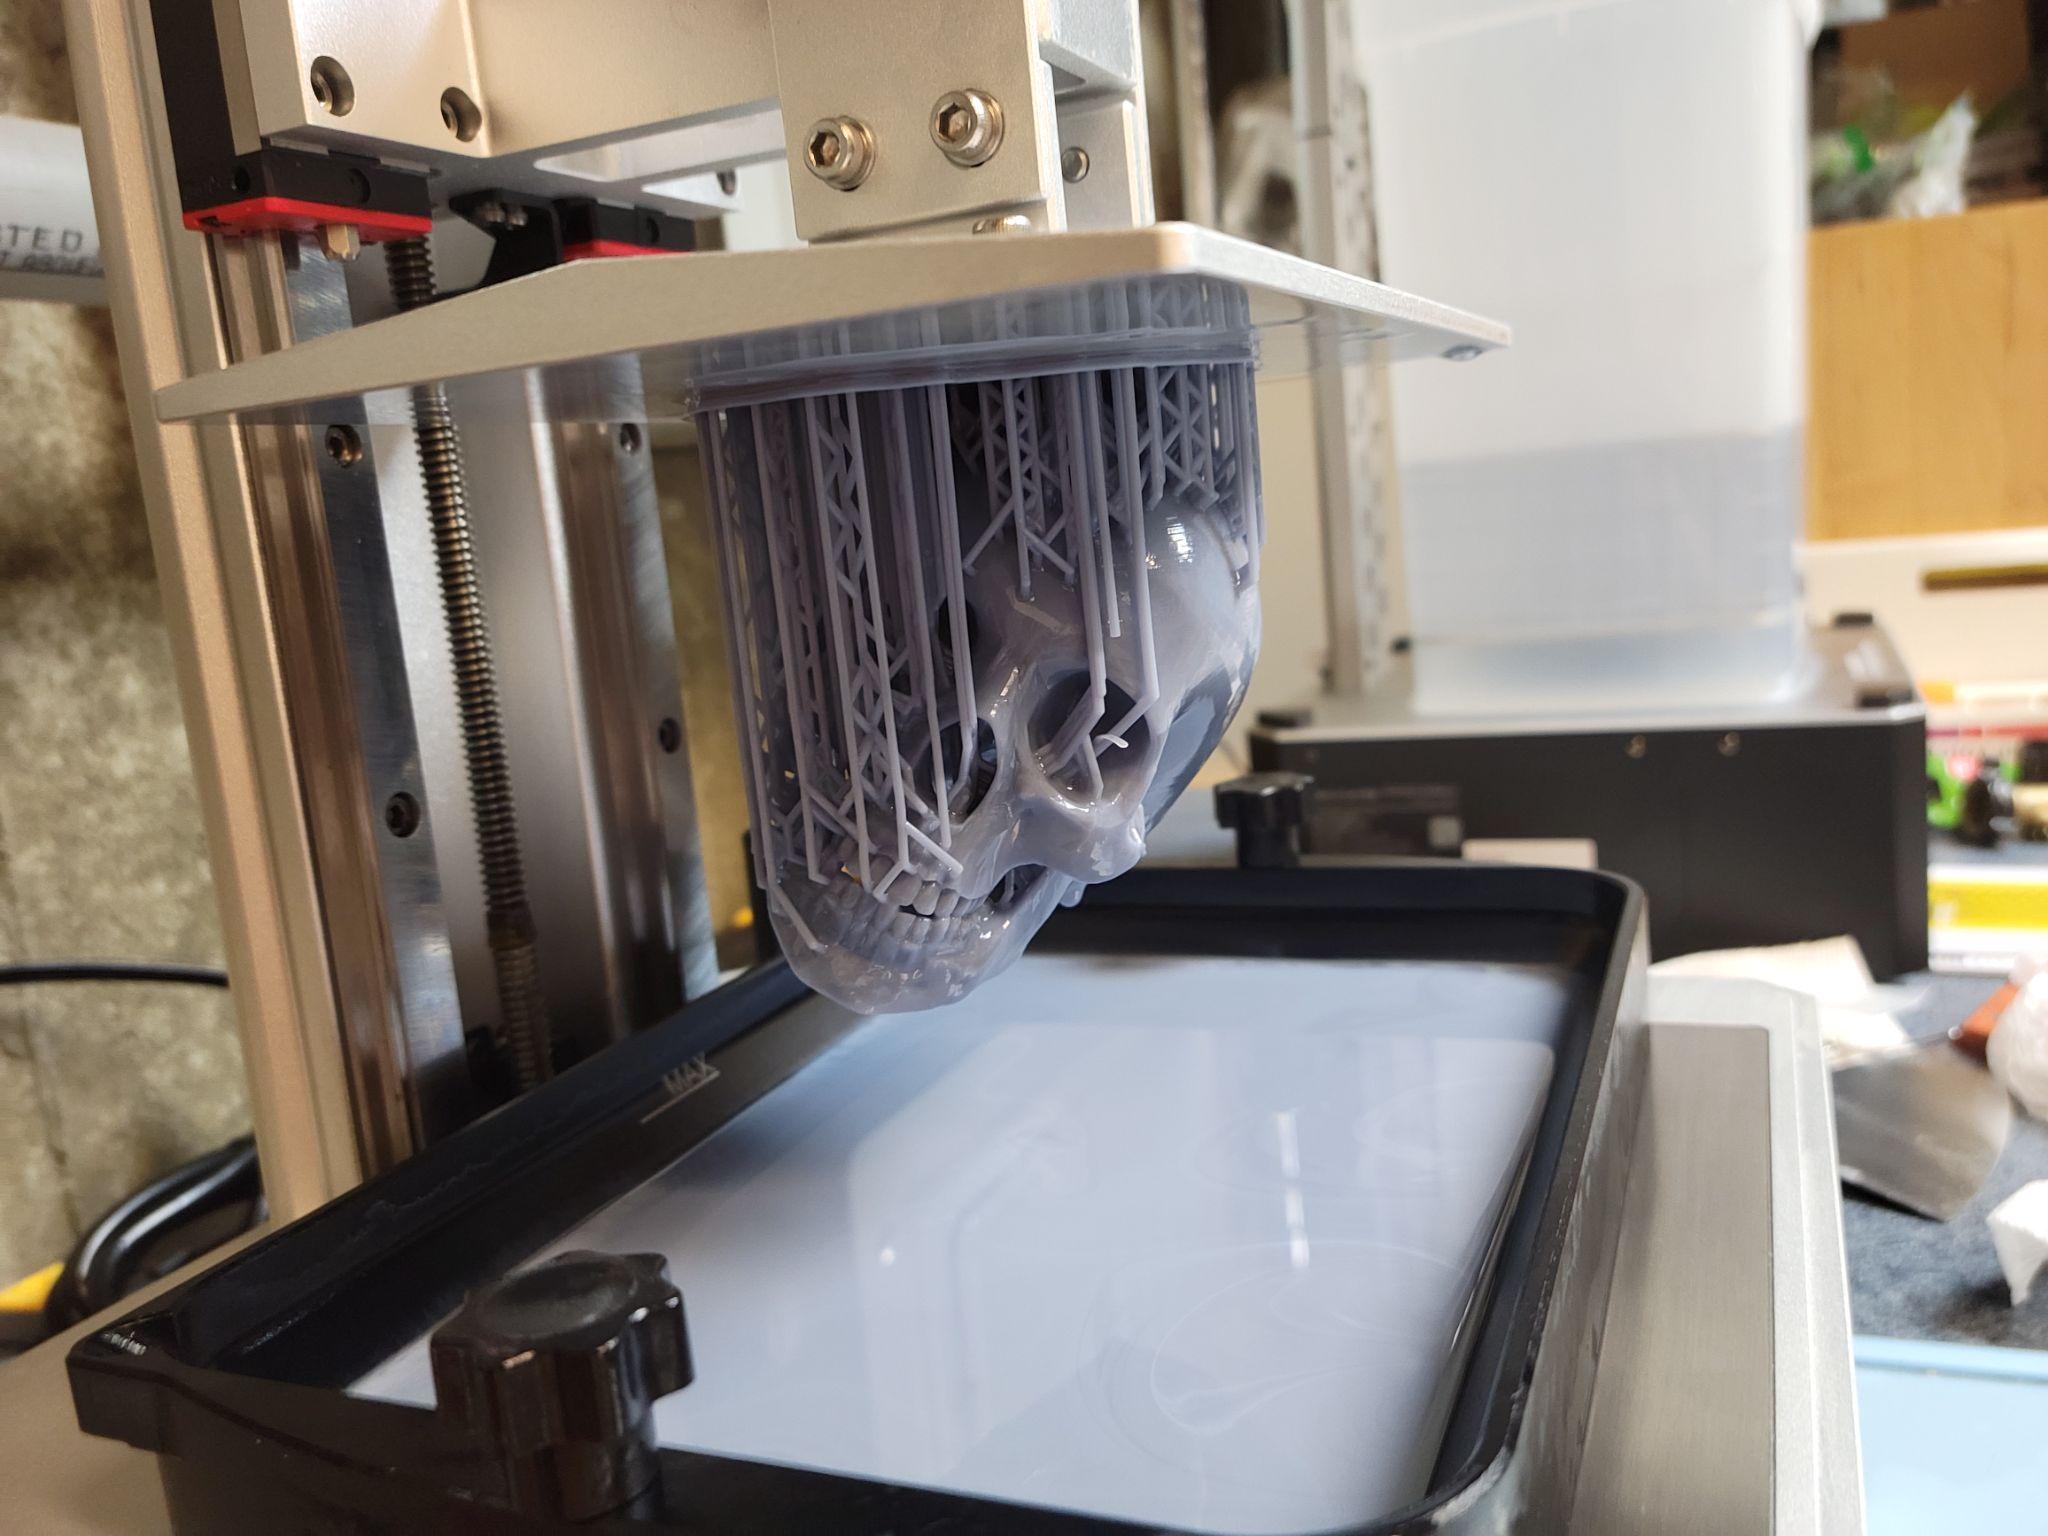
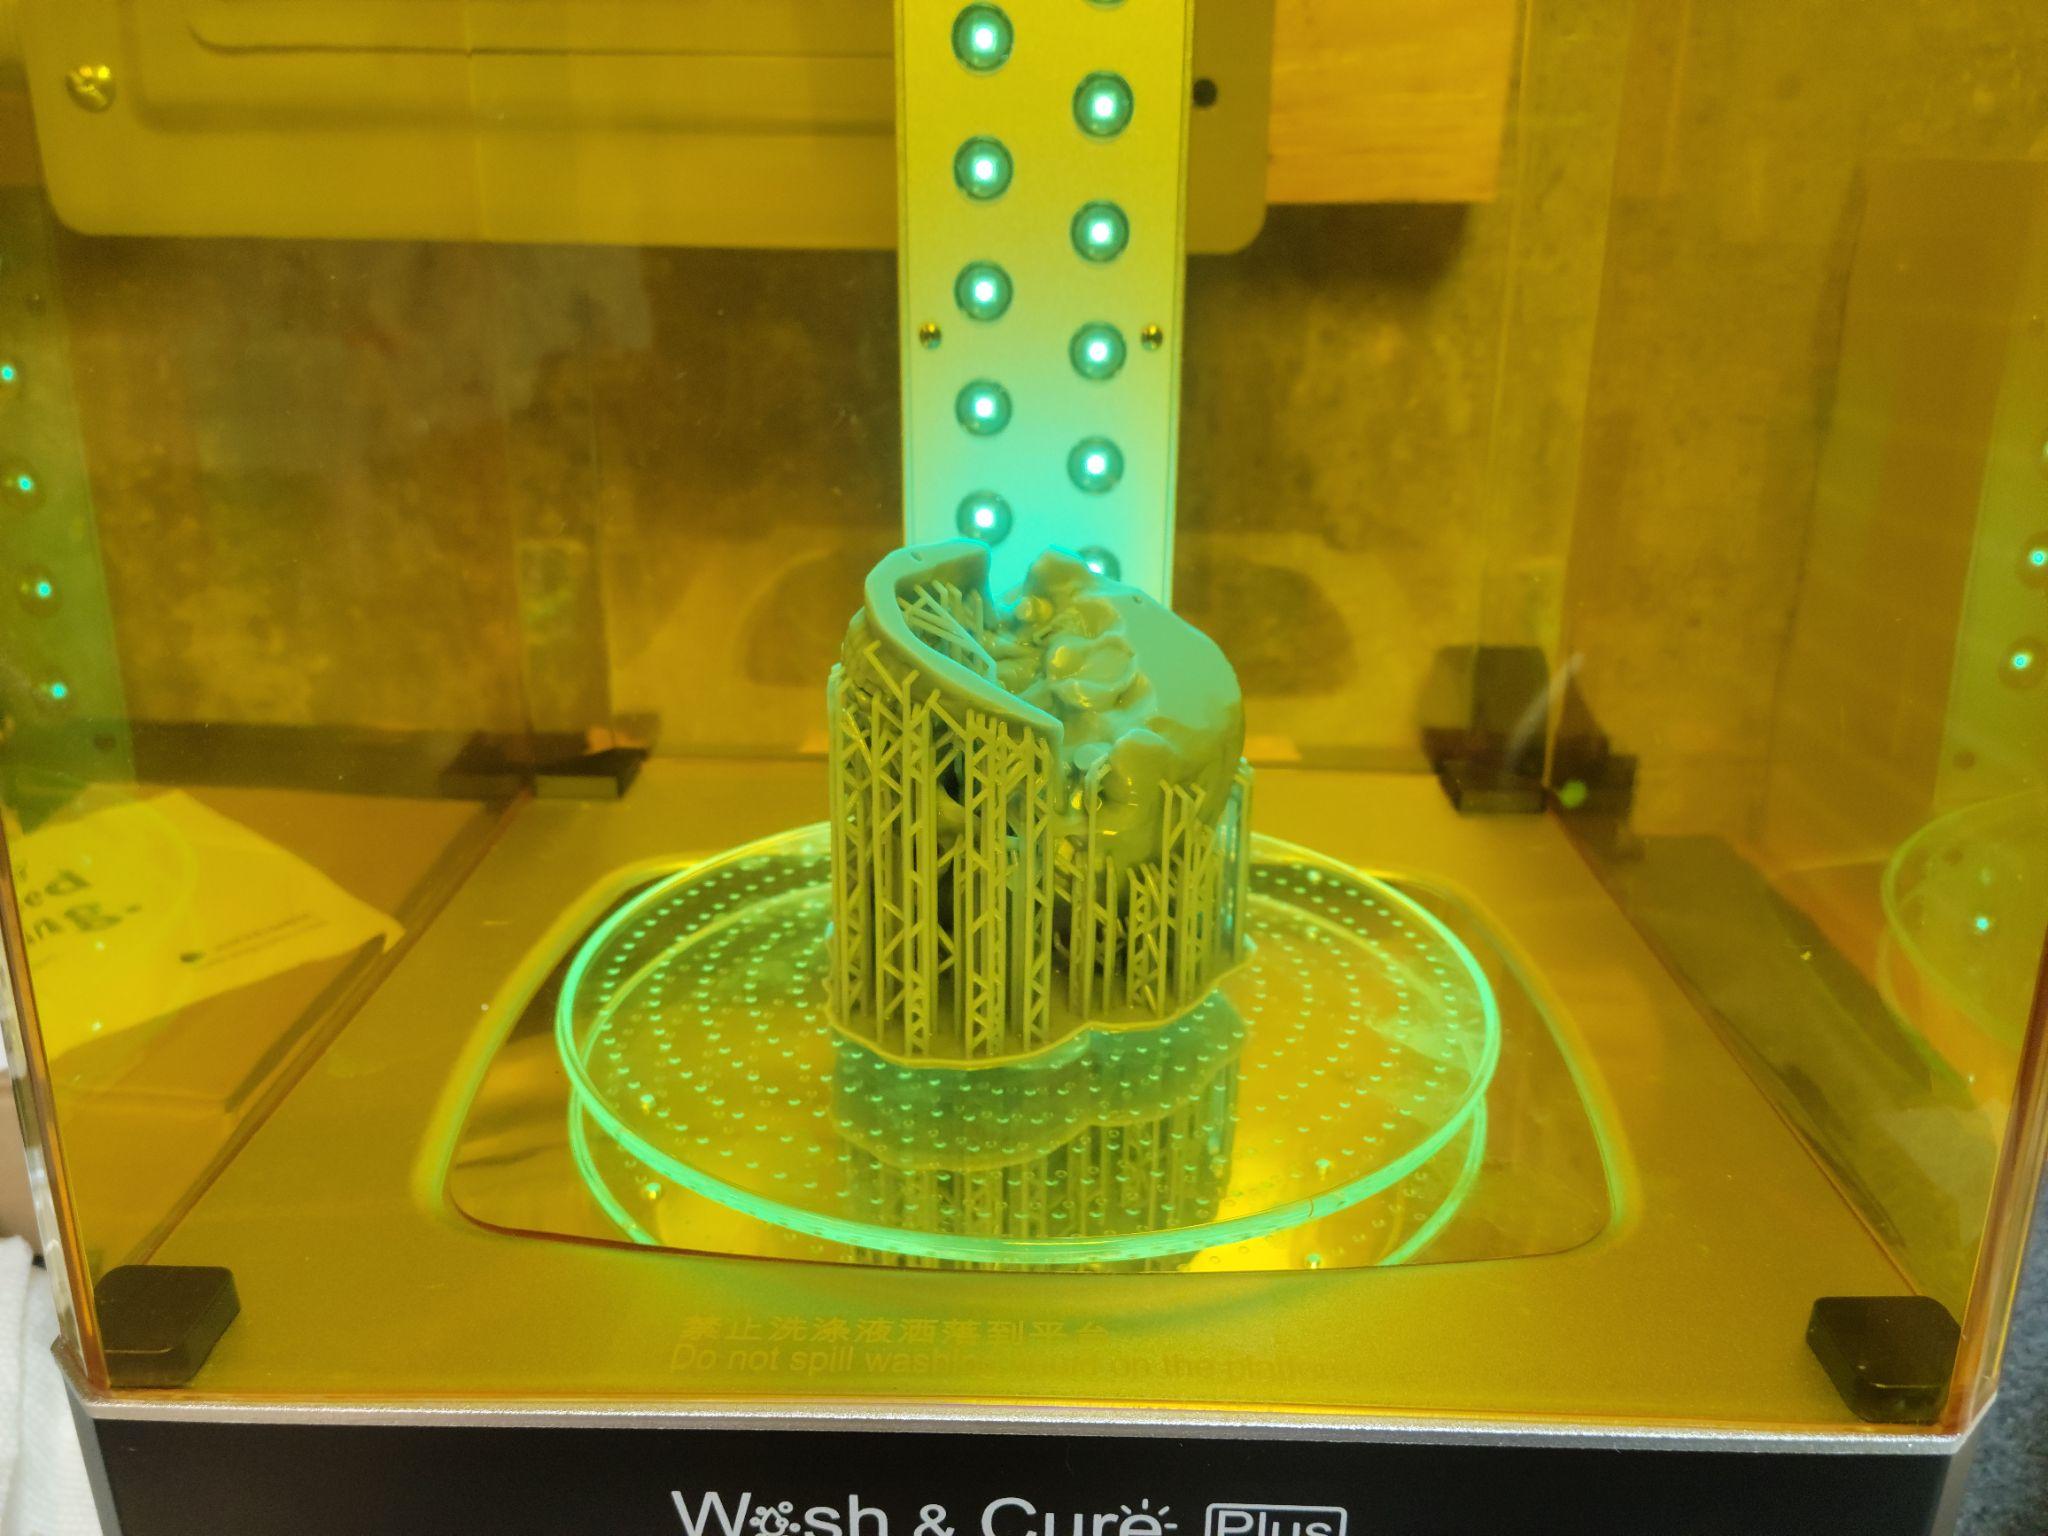
Small skull #2 (SLA / Resin): The most instructive of the three. The skull was hollowed to save material and weight, with two small drain holes modeled in to let uncured resin escape. Getting a successful print took several attempts — switching slicers and increasing the exposure time for the first few layers finally did it. The result made the advantages of resin obvious: the surface detail was dramatically superior to either FDM skull, smooth enough right off the printer that only the support contact points needed sanding.

Finished skulls after painting — the resin skull shows notably finer surface detail
Skull detail — process comparison

Skull detail
Skull detail
Skull detail

Final skulls ready for the production
Resin Printing Deep Dive
After the skull project I continued with the Anycubic Photon Mono X to better understand the SLA workflow.
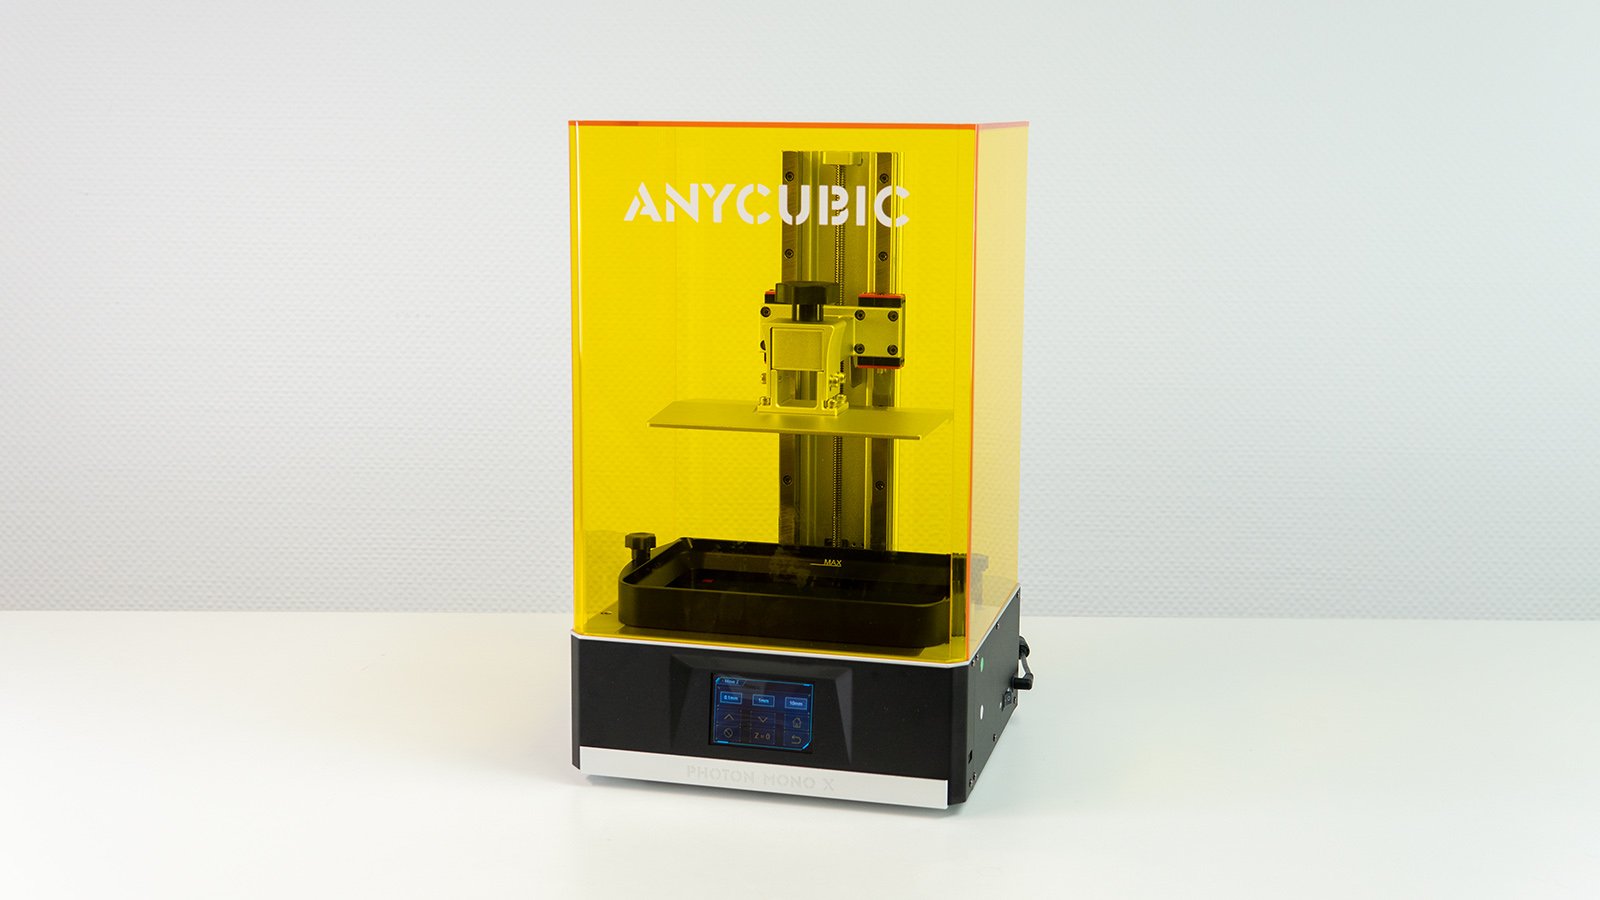
The Anycubic Photon Mono X — the resin printer used throughout this phase of research
The process: the build plate is lowered into a vat of UV resin. Below the vat, separated by a clear film, is a UV display panel that projects each 2D cross-section. The resin cures to the plate or the previous layer, then the plate rises incrementally to add the next layer. The motion is vertical, opposite to FDM, which means prints hang from the build plate as they grow.
First successful part off the resin printer
Resin part under UV post-cure lamp — a required step after printing
The initial learning curve was steep. Failures were frequent early on and diagnosing them was harder than with FDM — a failed resin print involves draining the vat, cleaning the FEP film, and starting over.
A failed resin print — part detached from the build plate mid-run. Diagnosing and recovering from failures like this is part of the learning curve.
Once dialed in, the results were consistent and the surface quality was significantly better than anything achievable with FDM at similar cost. The tradeoffs are real — resin is more expensive per volume, build volumes are smaller, uncured resin is hazardous, and post-curing is an additional step — but for fine-detail props and anything where surface quality matters, it’s worth it.
Wood PLA — Experiment and Findings
I also tested a wood-fill PLA filament — a blend of PLA and wood fibers that can be sanded and stained like real wood. This required a hardened steel nozzle (wood fiber is abrasive enough to quickly wear brass) and a larger nozzle diameter to reduce clogging risk.

A failed wood PLA print — stringing and clogging were persistent problems with this material
The results were inconsistent. The material strings badly because retraction causes the plastic binder to burn off and clog around the wood fibers. Successful prints depended heavily on part geometry. And even when the prints came out, post-processing was still required to achieve a convincing wood look.
My conclusion: wood PLA offers a legitimately different aesthetic finish, but the difficulty of printing it reliably doesn’t yet justify choosing it over other materials for most theatrical use.
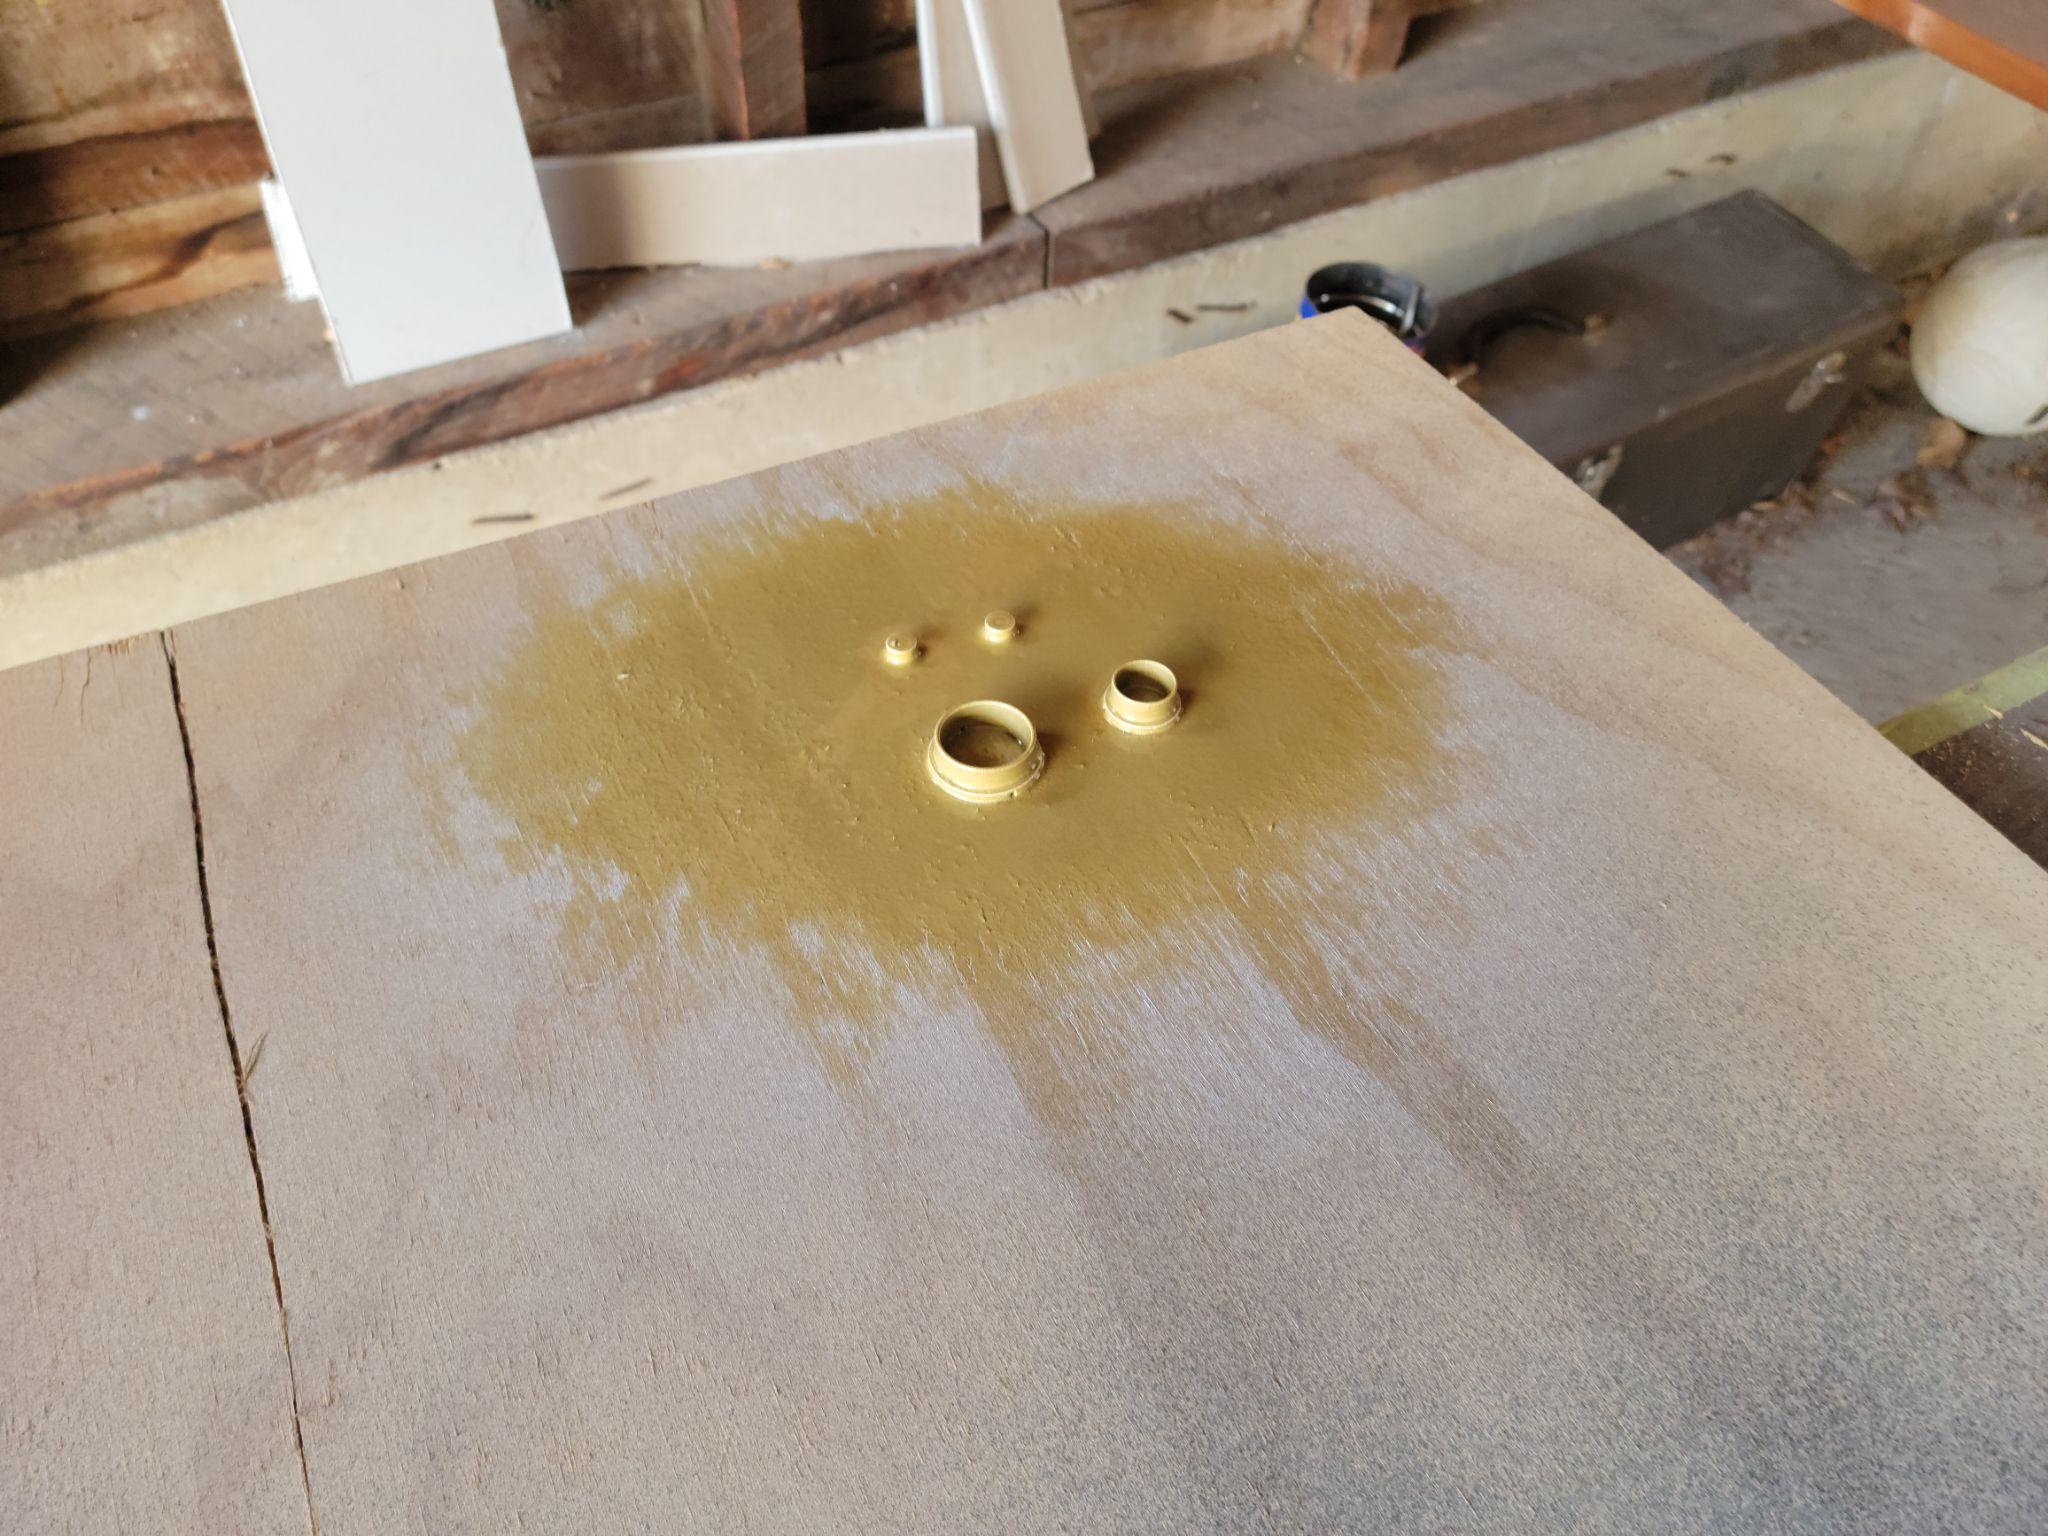
Other Experiments
Beyond the main prop builds, the research included a number of smaller experiments to understand the range of what’s achievable with desktop 3D printing.
First objects printed at the start of the project — early calibration and learning prints
Early test prints
Continued early experimentation
A functional drain printed to catch water from a leaky pipe — 3D printing solving a real practical problem
Drain detail
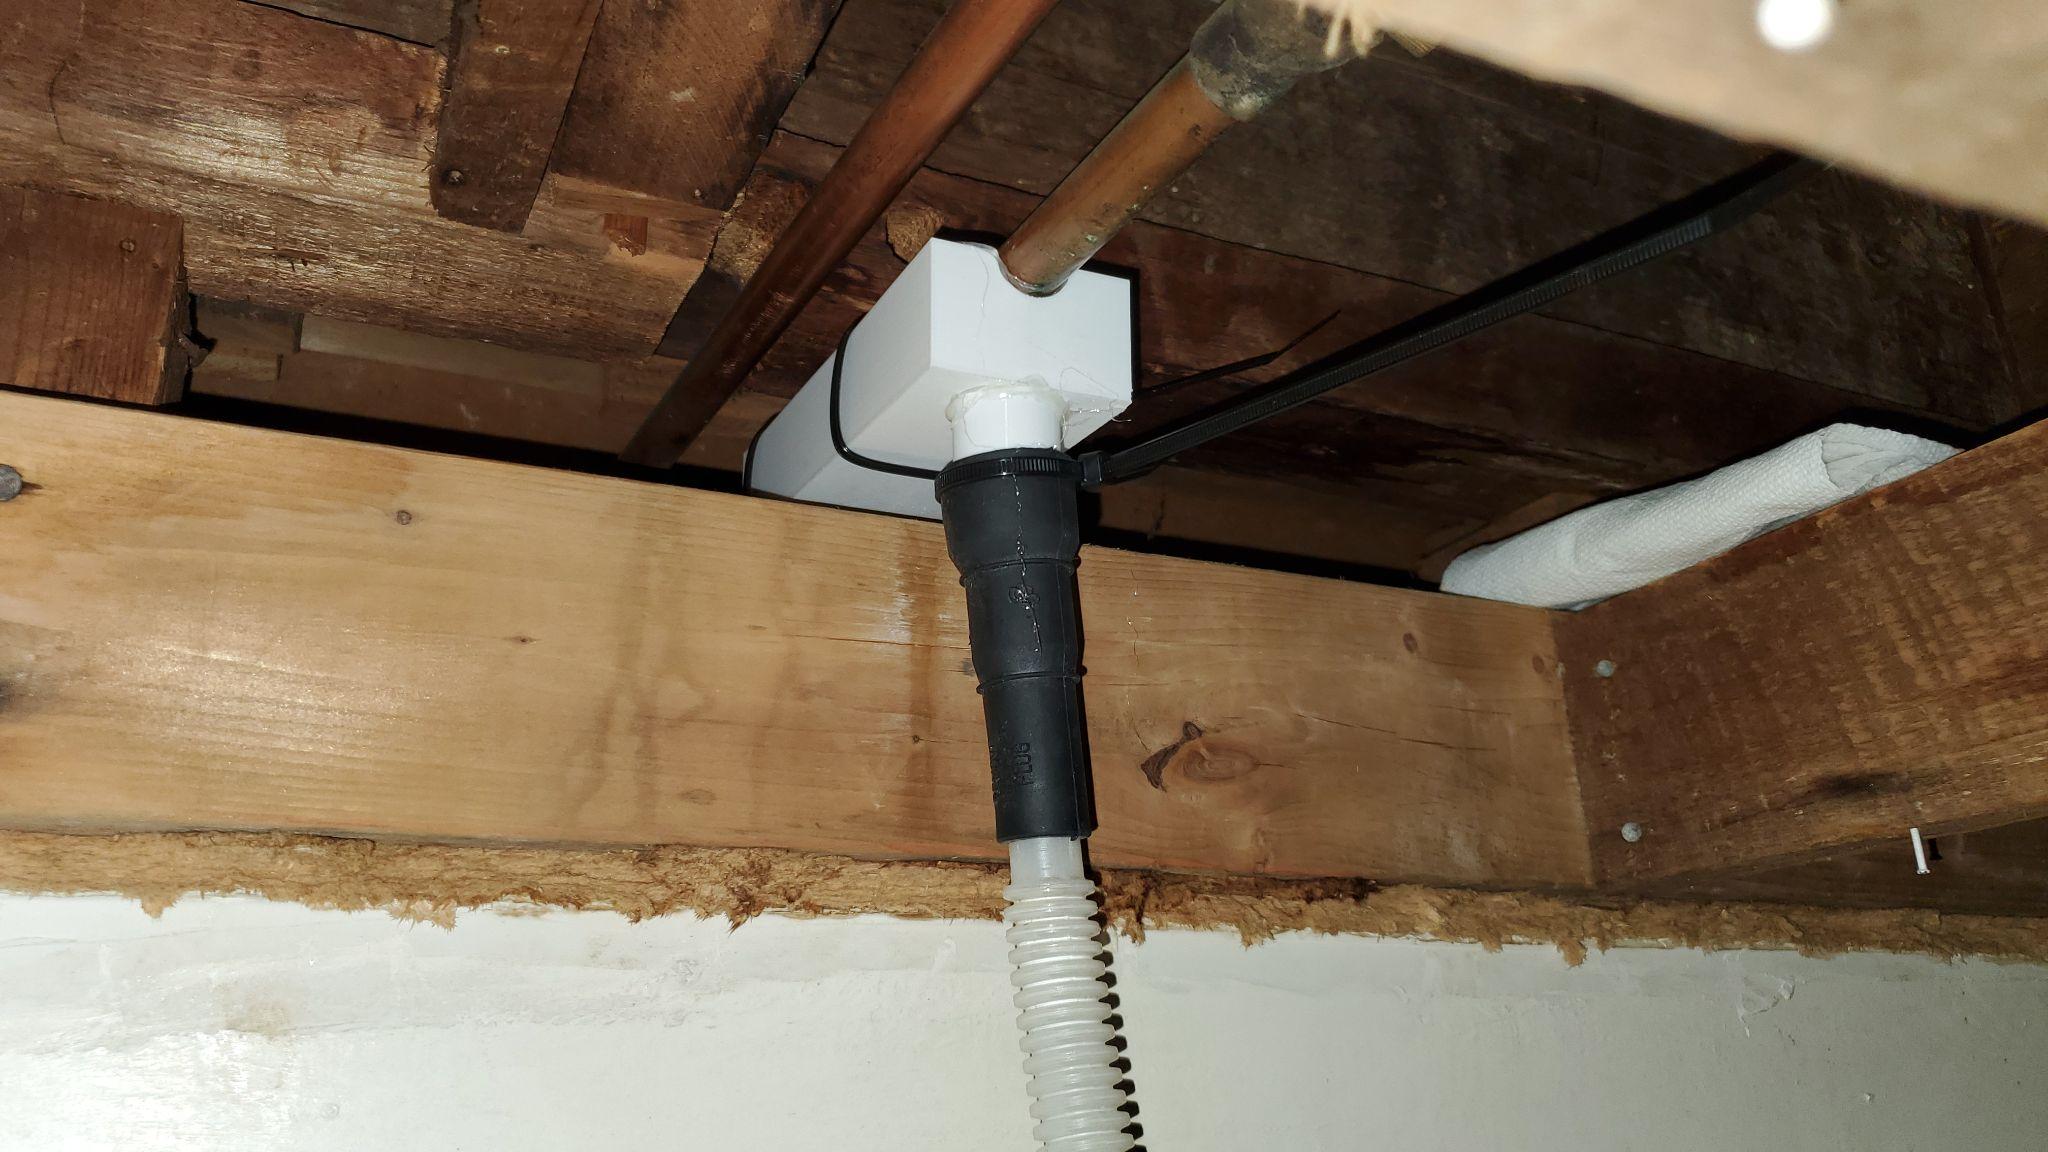
Drain installed
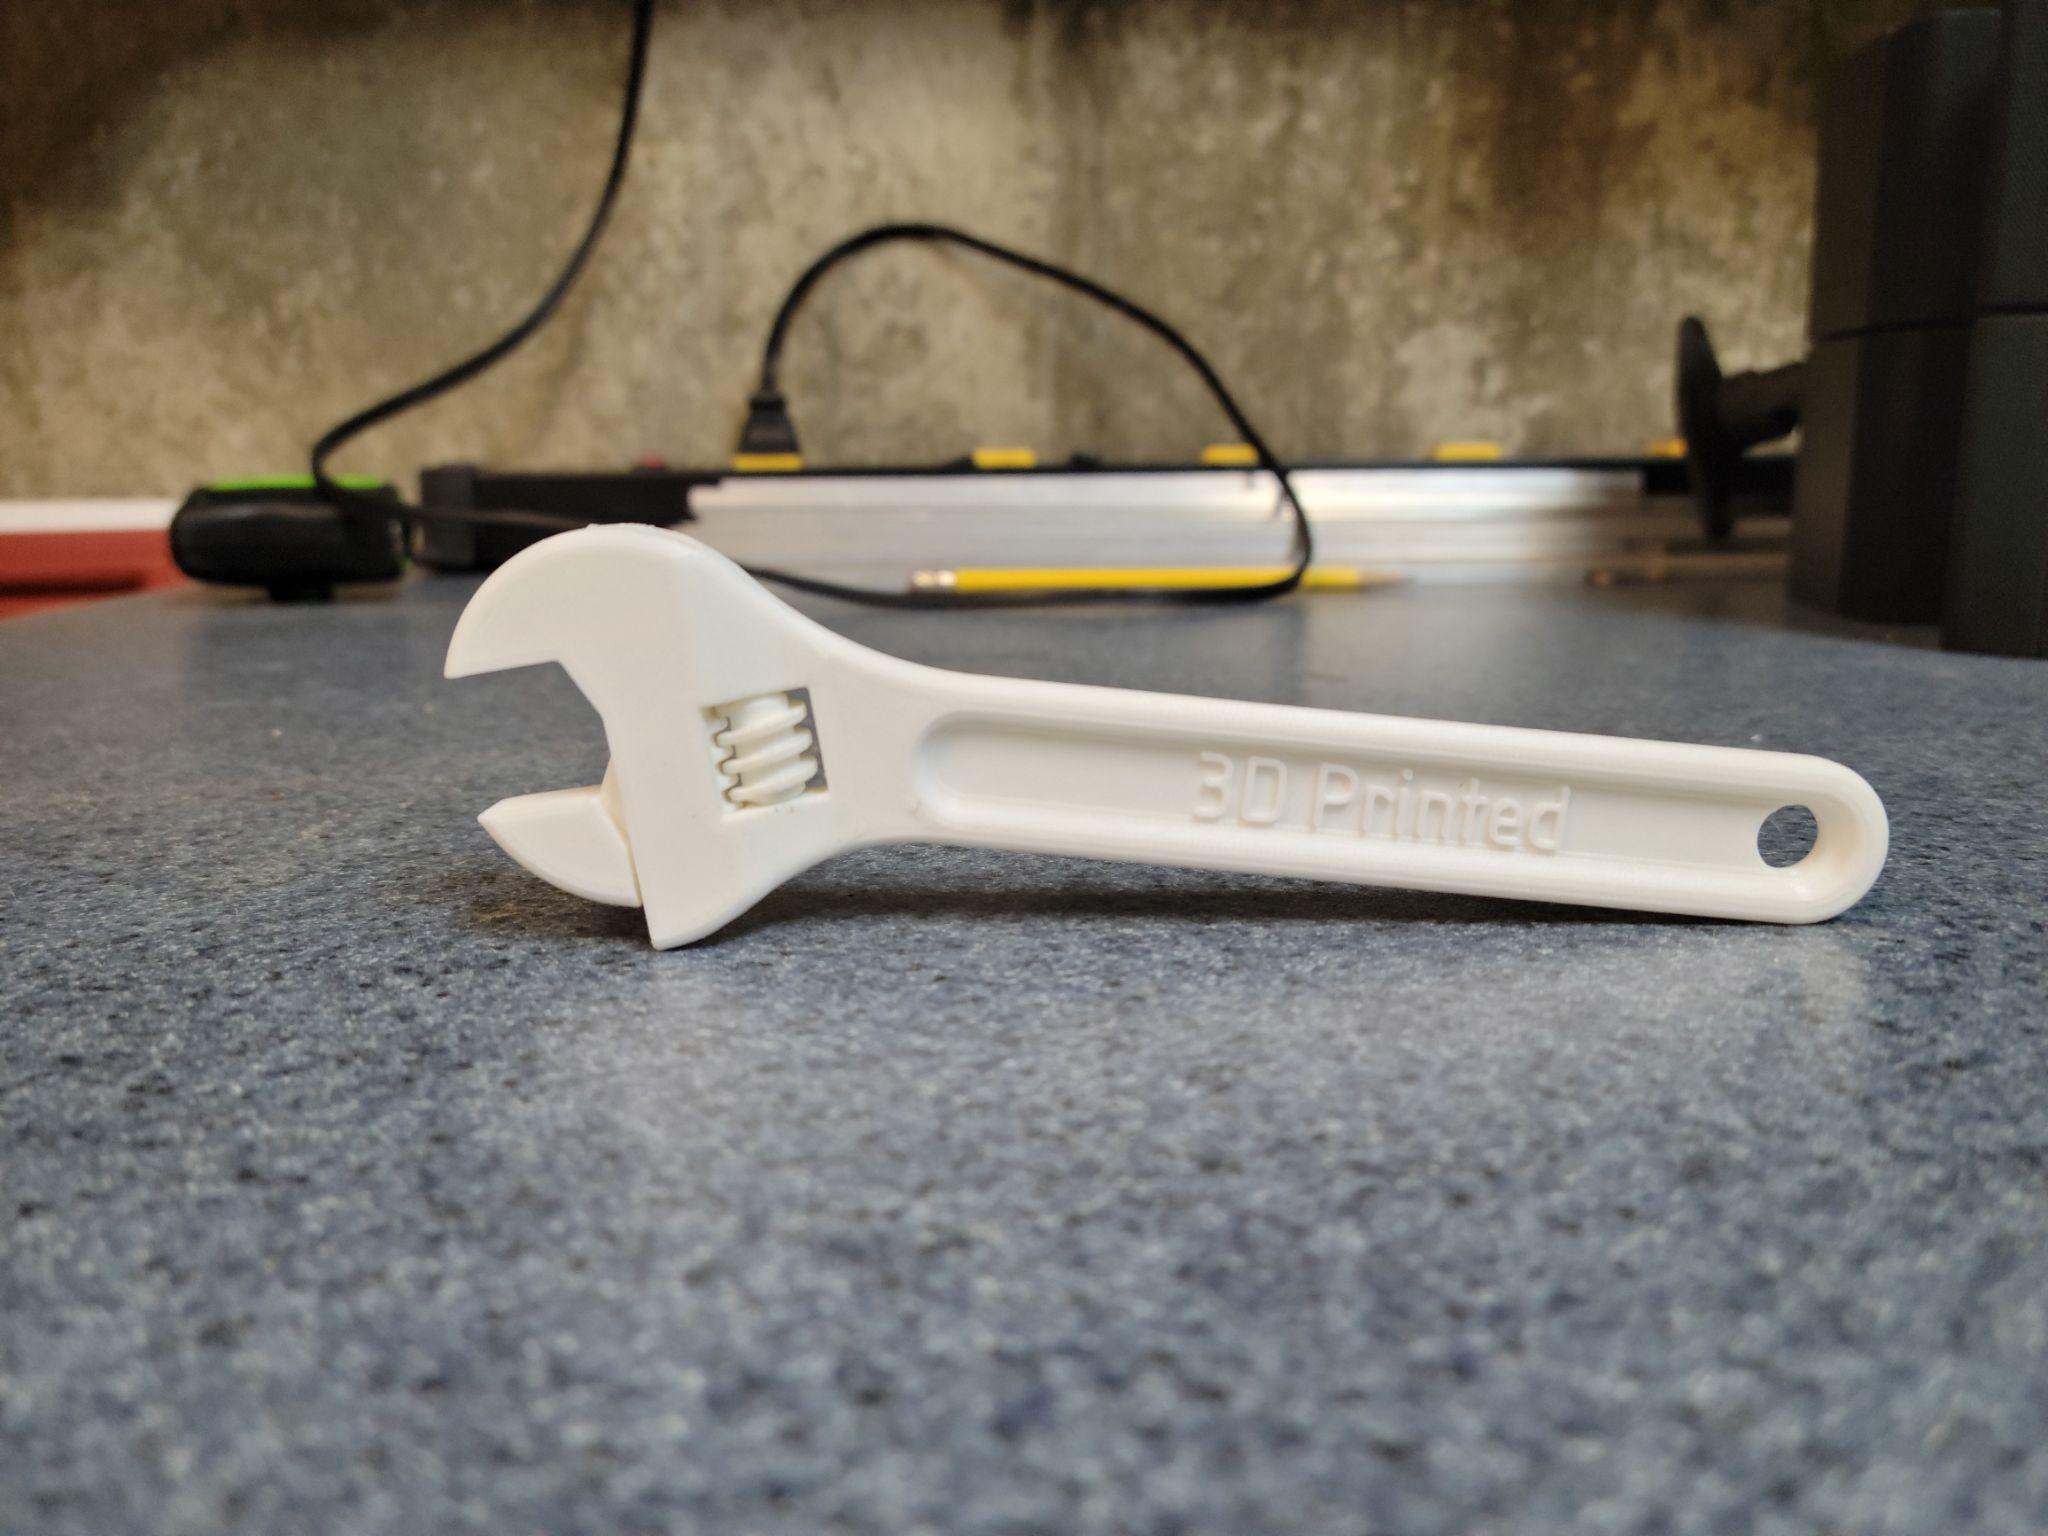
A fully functional 3D printed wrench — demonstrating that printed parts can be genuinely functional, not just decorative

A lithophane — an image embedded in translucent PLA that only reveals itself when backlit
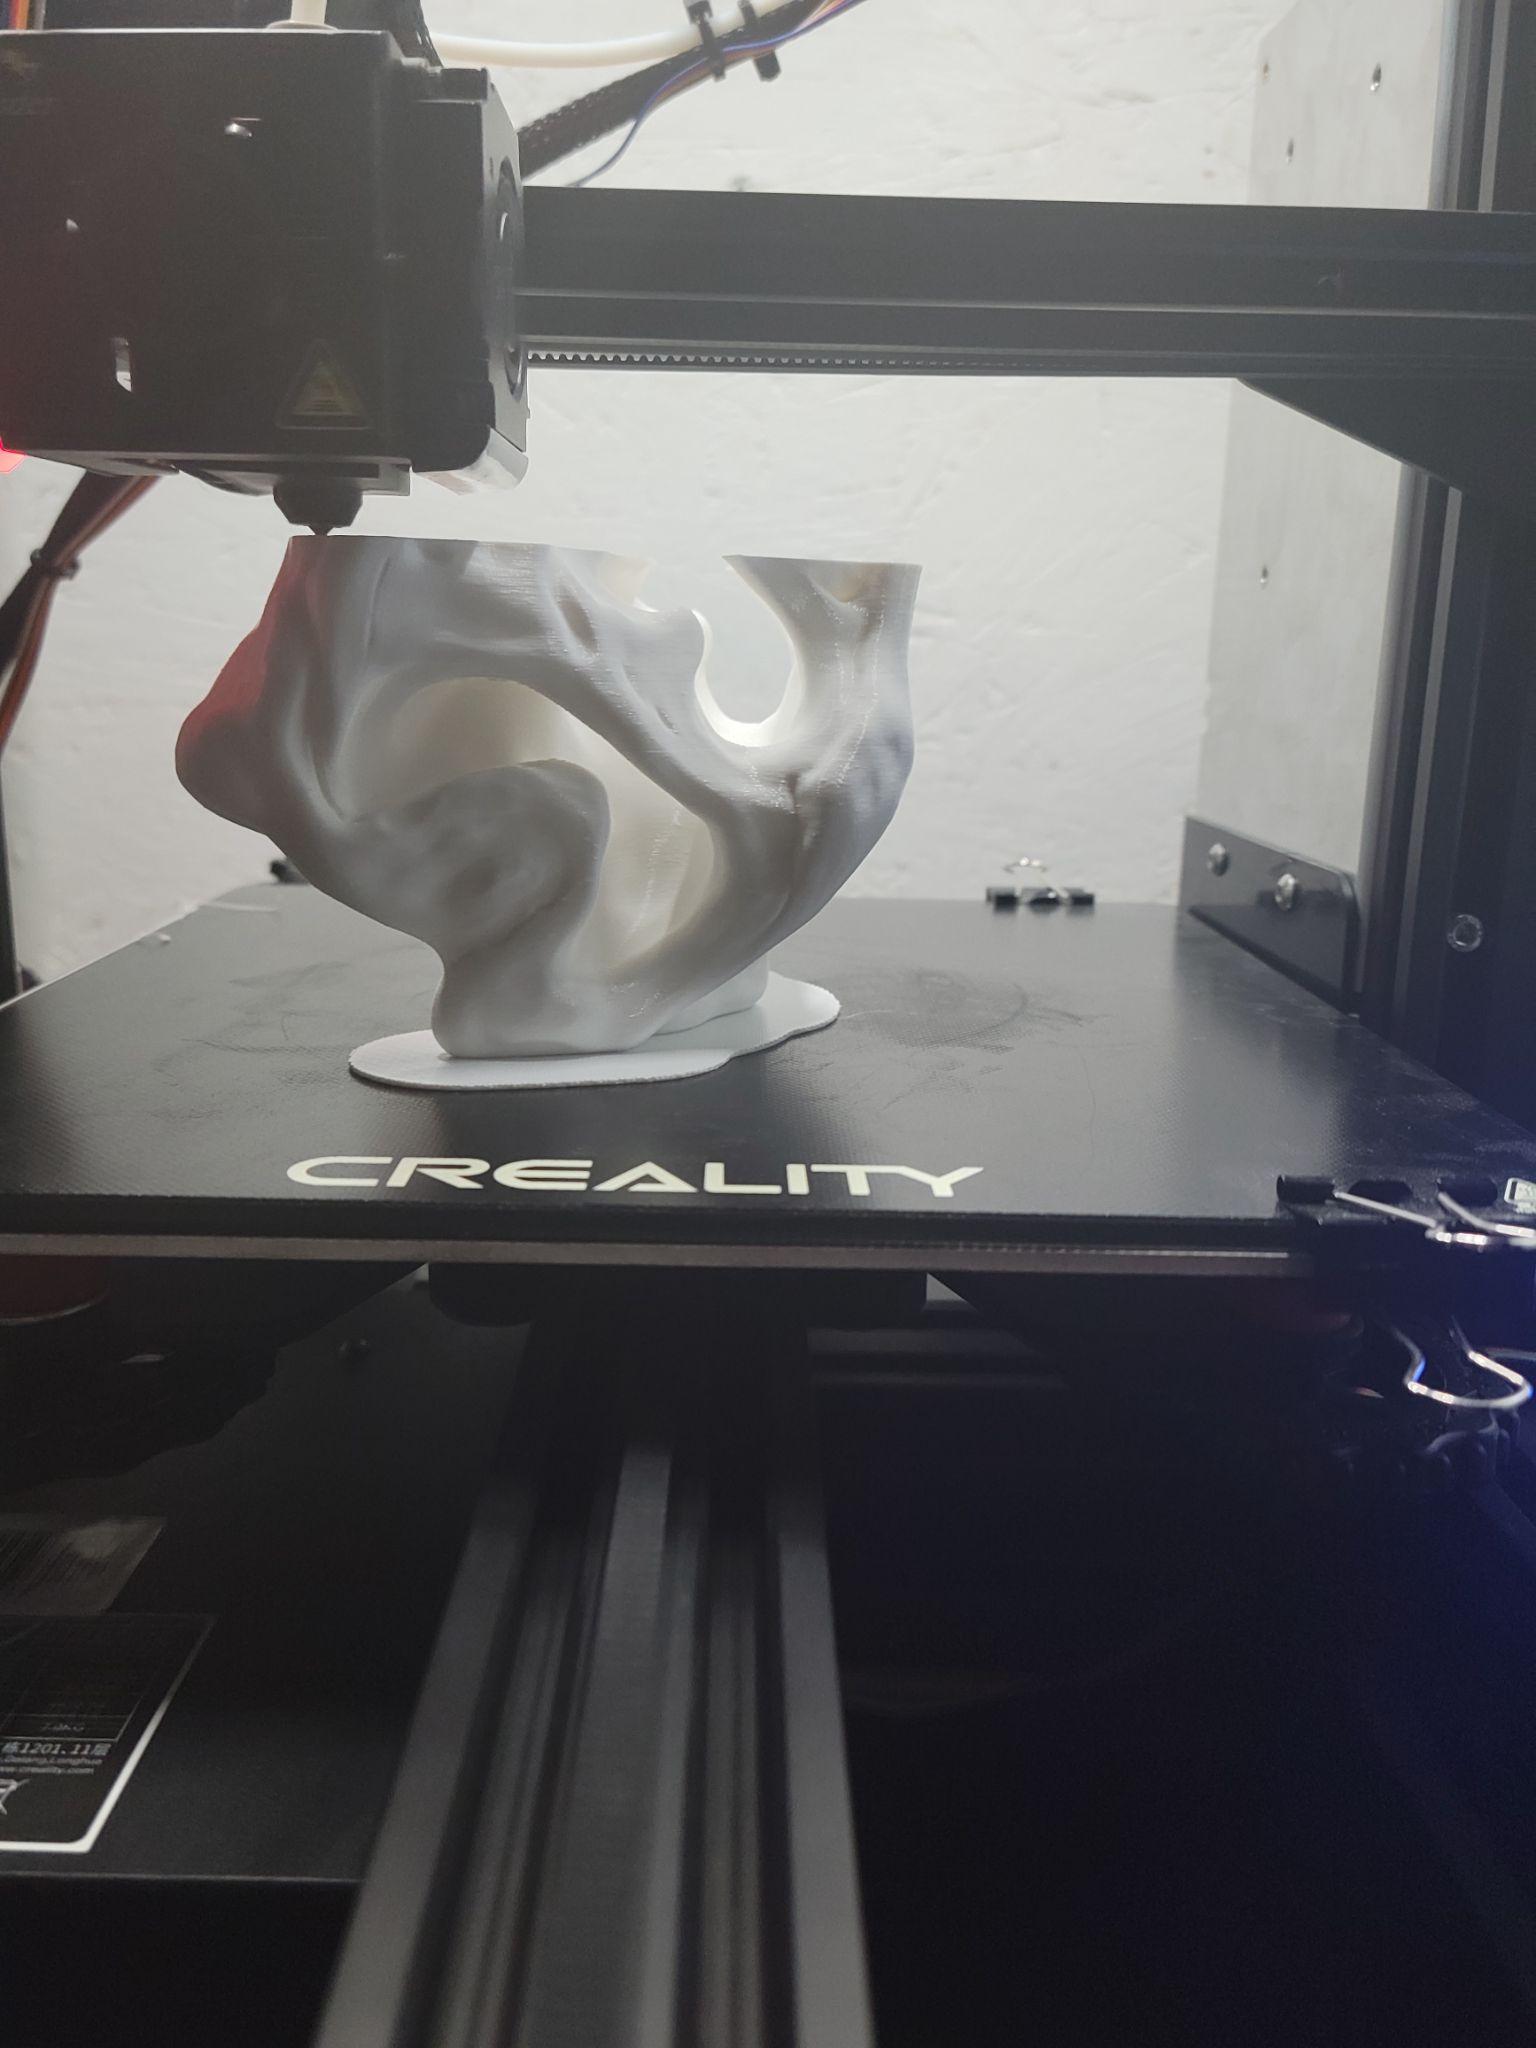
3D printed T-Rex skull — a multi-part assembly showing what’s achievable with FDM at larger scales
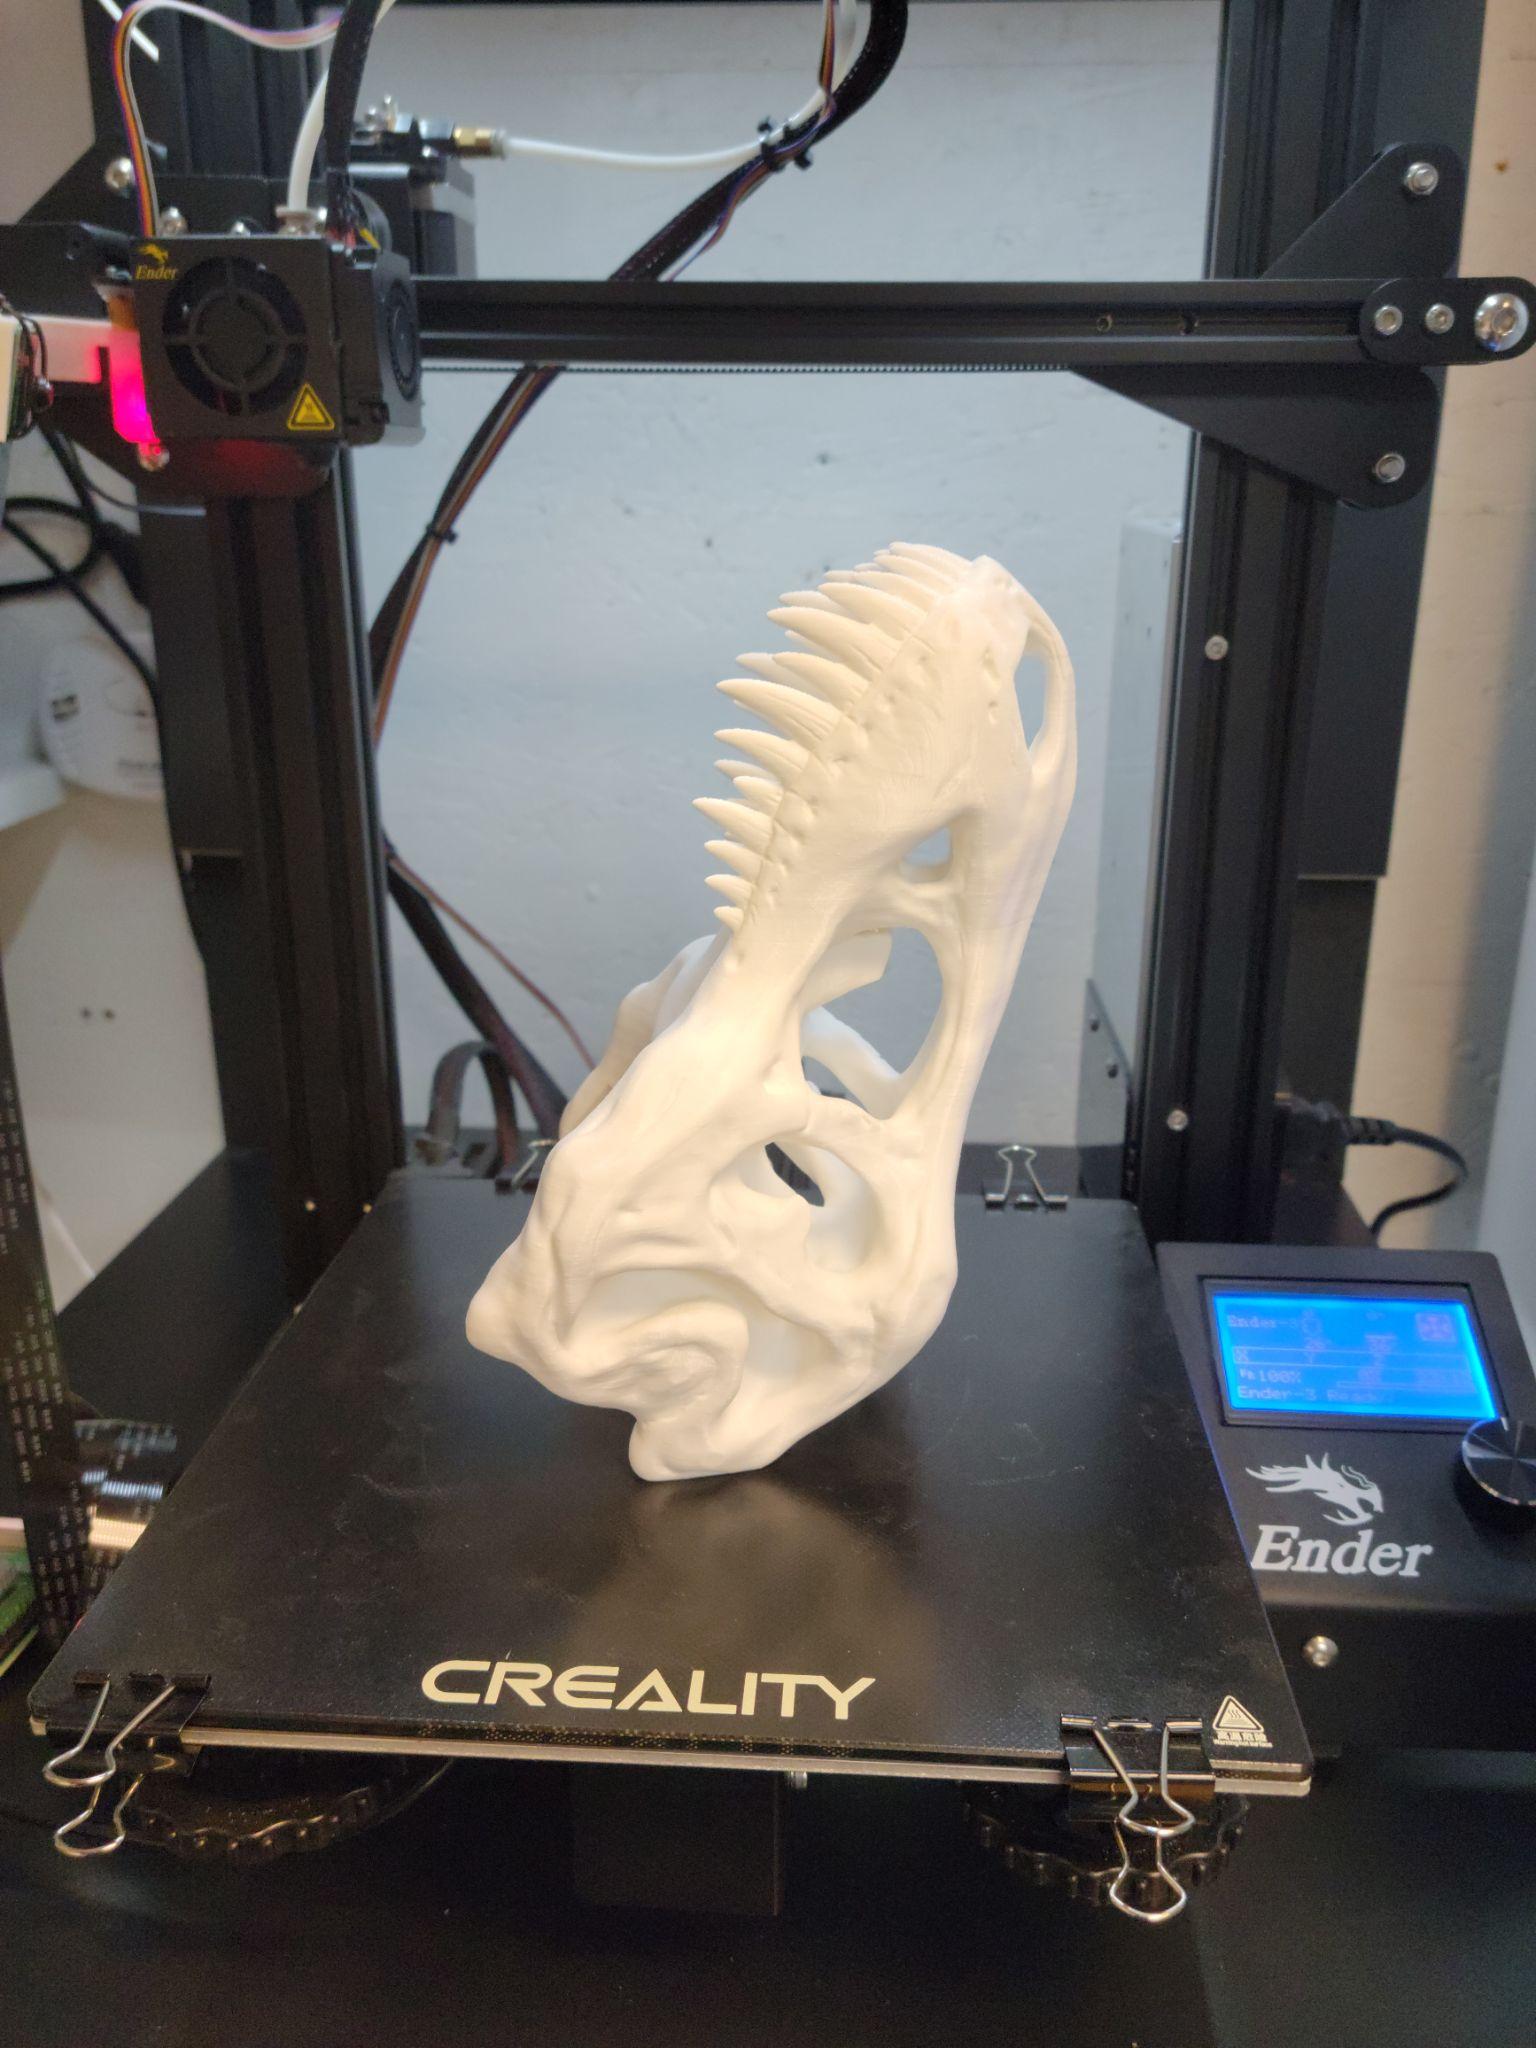
T-Rex skull detail
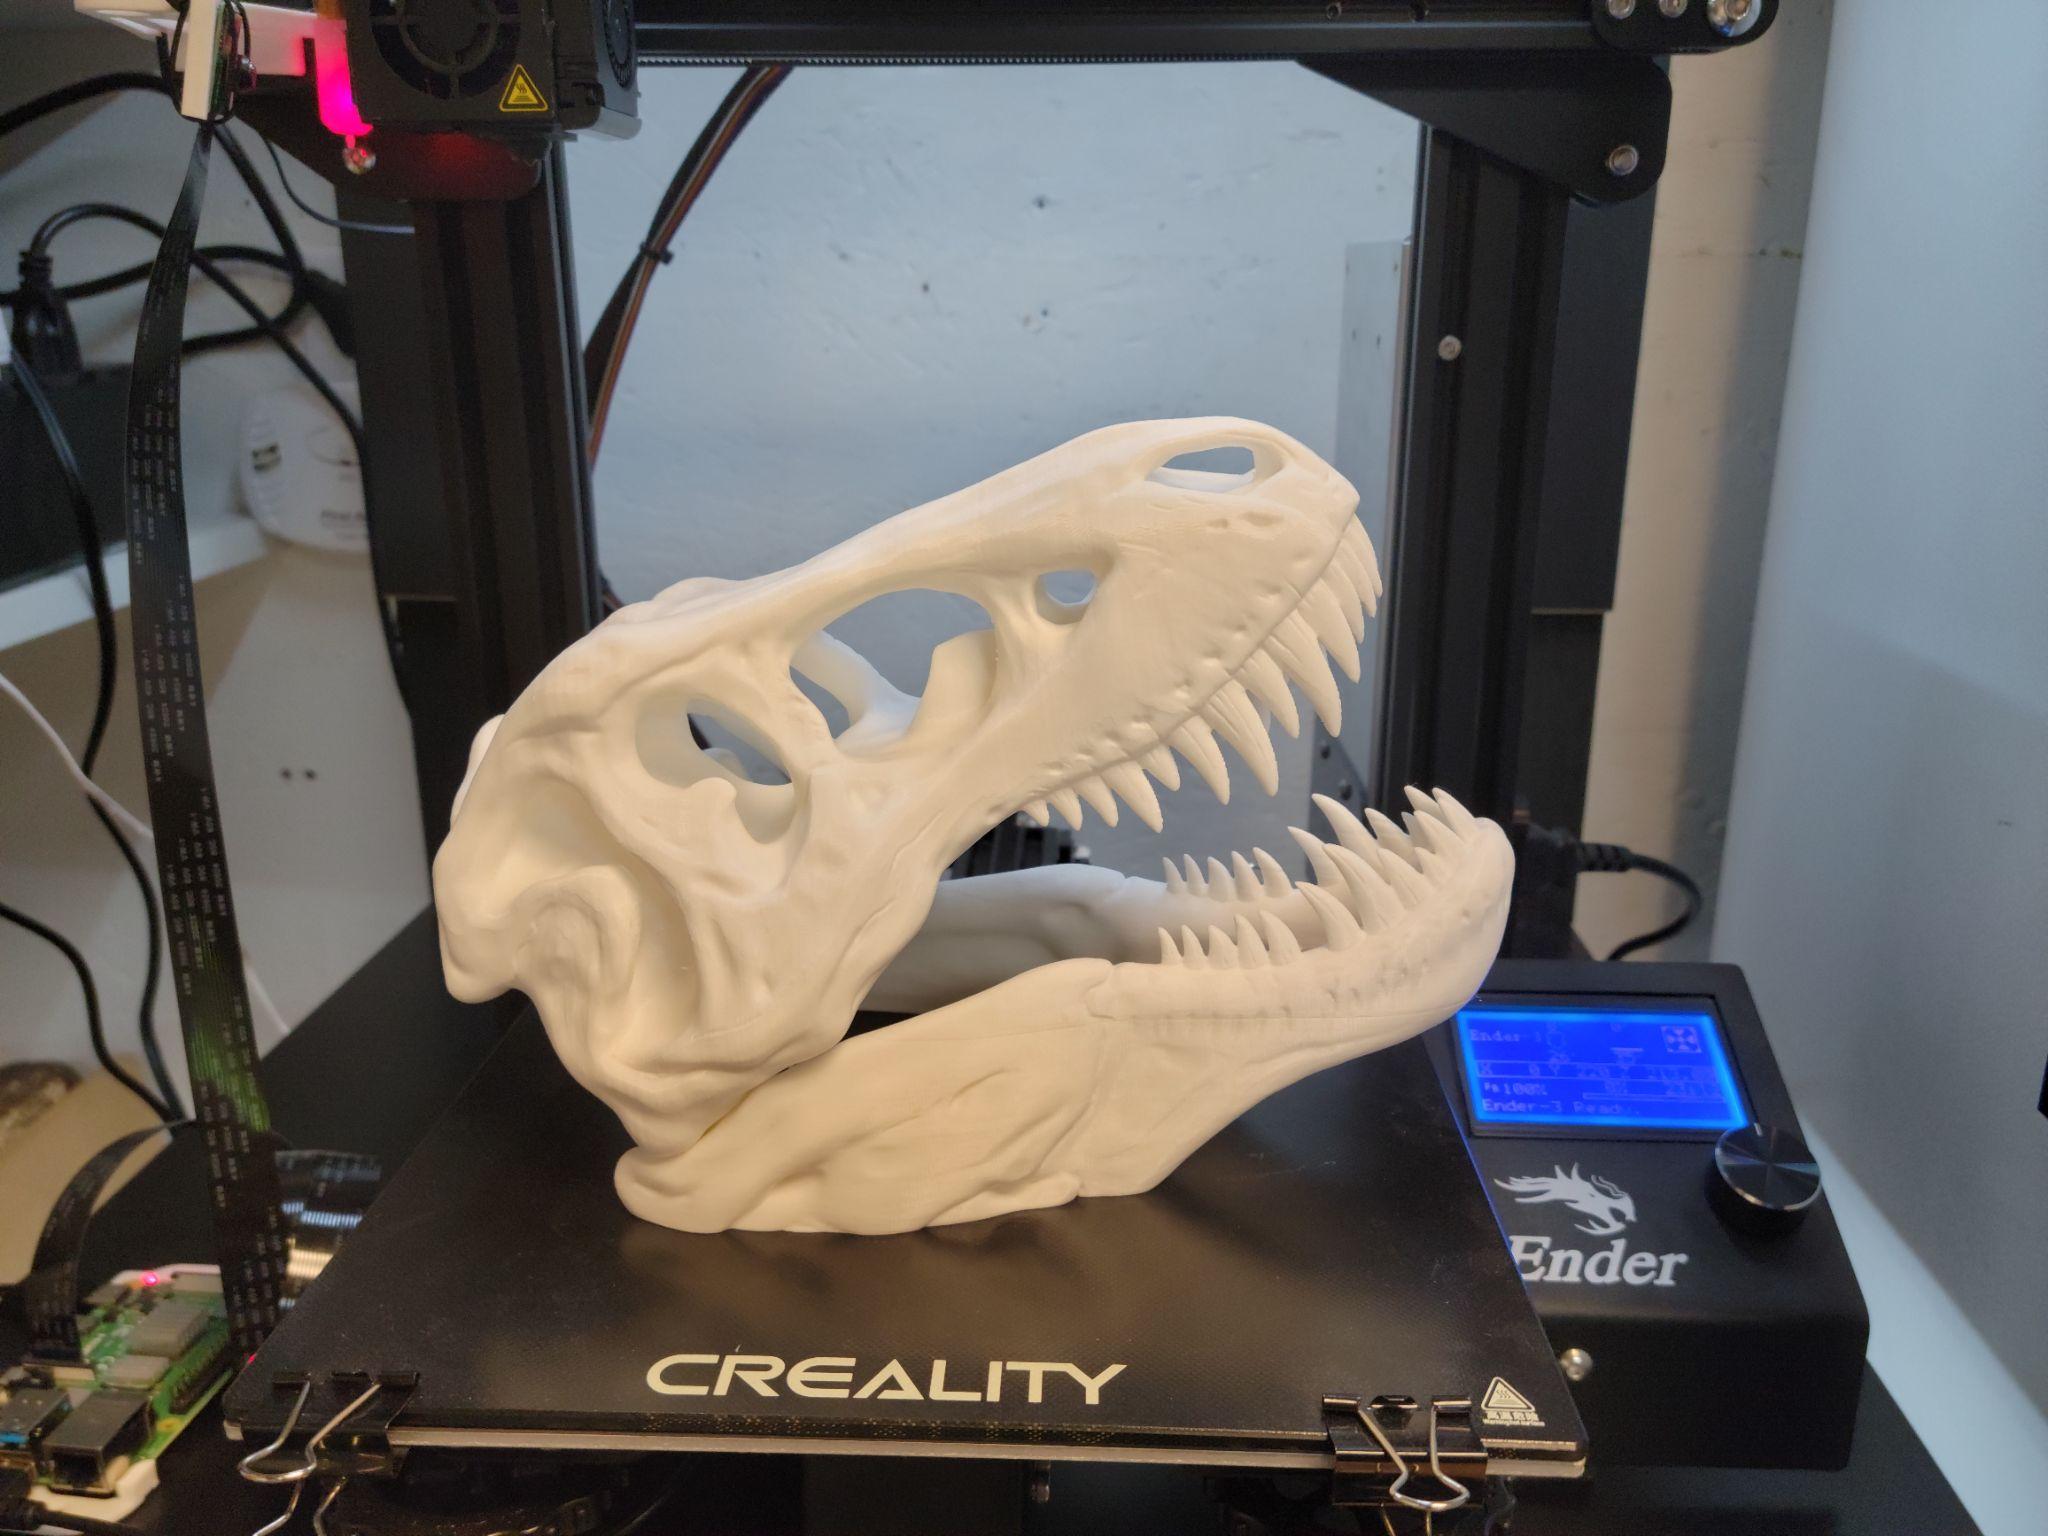
T-Rex skull assembled
Outcomes and Recommendations
The research answered the original question practically: 3D printing is viable for theatre at multiple budget levels, but the right printer for the application matters more than the cheapest option.
For a department like UNH THDA, a mid-range FDM printer in the Qidi tier represents the most productive entry point — reliable enough to use without constant intervention, capable enough for props, costume pieces, and set detail work. Budget printers can work but require more staff time to maintain. High-end machines are justified at large-scale operations with high throughput needs.
Resin printing is a strong complement to FDM for detail-heavy pieces. Combining both — printing masters on FDM and casting production copies in polyurethane resin — offers the best of both technologies at manageable cost.
UNH THDA subsequently purchased a Creality CR-10 Plus based on findings from this research.